Apollo / using kontakt – Vir2 Instruments Apollo Manual User Manual
Page 7
APOLL
O
07
Apollo/
USING
KONTAKT
CHAPTER 0
3
/ USING K
ONT
AK
T
HOW TO ACCESS THE Apollo LIBRARY FROM KONTAKT
Apollo ships as a Kontakt-powered library, and Apollo is opened from within
Kontakt, which can be run either as a standalone application, or as a plug-in
hosted by any major sequencer on either Macintosh or Windows platforms.
All these versions are installed by the Easy Install option of the installer.
Users who don’t own a sequencer, or would like to simply boot up and be
able to play Apollo, can go to their Applications folder (Mac) or Program
Files folder (Windows) to launch Native Instruments > Kontakt.
Users who wish to use Apollo for sequencing or recording should use it in
plug-in mode within a host sequencer. Kontakt supports the VST, AudioUnit,
and RTAS plug-in formats. Any host sequencer that supports these plug-in
formats properly will be able to use Kontakt. Instructions vary slightly from
sequencer to sequencer, but the general procedure is to instantiate Kontakt
as a virtual instrument plug-in, then load an Apollo instrument in Kontakt,
then route a MIDI track to Kontakt so it can be triggered and recorded.
The following instructions will help standalone and plug-in users get up and
running quickly with a basic track of Apollo.
USING KONTAKT IN STANDALONE MODE
The standalone Kontakt application can be found in the Applications >
Kontakt 5 folder for Mac users, or Program Files > Native Instruments >
Kontakt 5 for Windows users.
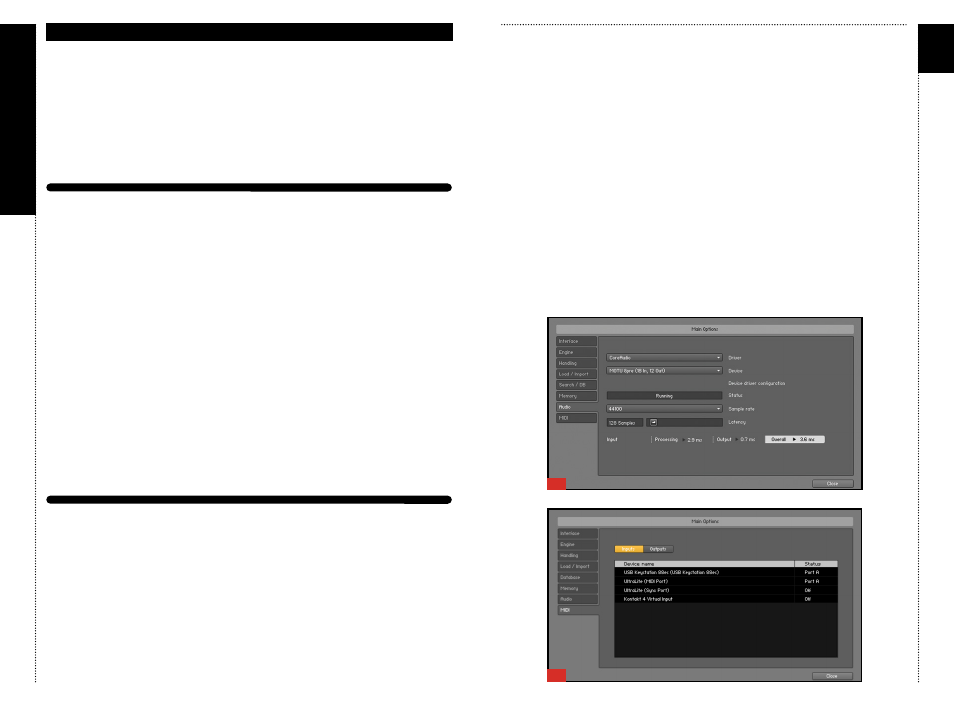
After launching the Kontakt application for the first time, you will be
presented with a dialog box to set up your audio and MIDI settings. Settings
will vary for each user according to the specific setup, but the important
thing is to route the audio to a valid audio device, and to set the buffer
reasonably low for good latency performance. We recommend 256 samples
or less. The lower the latency slider, the less latency (the split second
CHAPTER 03
08
between the physical playing of the note and the sound coming out of
Kontakt) will be, but the harder the computer will have to work. Typical
useful values range between 128 and 256, however very fast computers may
be able to handle lower values, while very slow computers may need higher
values.
[01]
The MIDI page of the Options dialog box must be configured in order to let
Kontakt know which MIDI device(s) to respond to. Kontakt will respond to
up to four MIDI input ports (A, B, C, and D), so we recommend you switch
one MIDI source on to Port A, as shown in the graphic below.
[02]
More detailed information on the setup options can be found in the
accompanying Kontakt manual.
Once you have completed Kontakt setup, jump ahead to the Getting
Started with Apollo section below.
01
02