Working with pc sync, 1 installing pc sync on your pc, 2 first steps – Casio PV-750 Plus v3.0 User Manual
Page 13: 1 running the program
Chapter 3 – Working with PC sync
3.1 Installing PC sync on Your PC
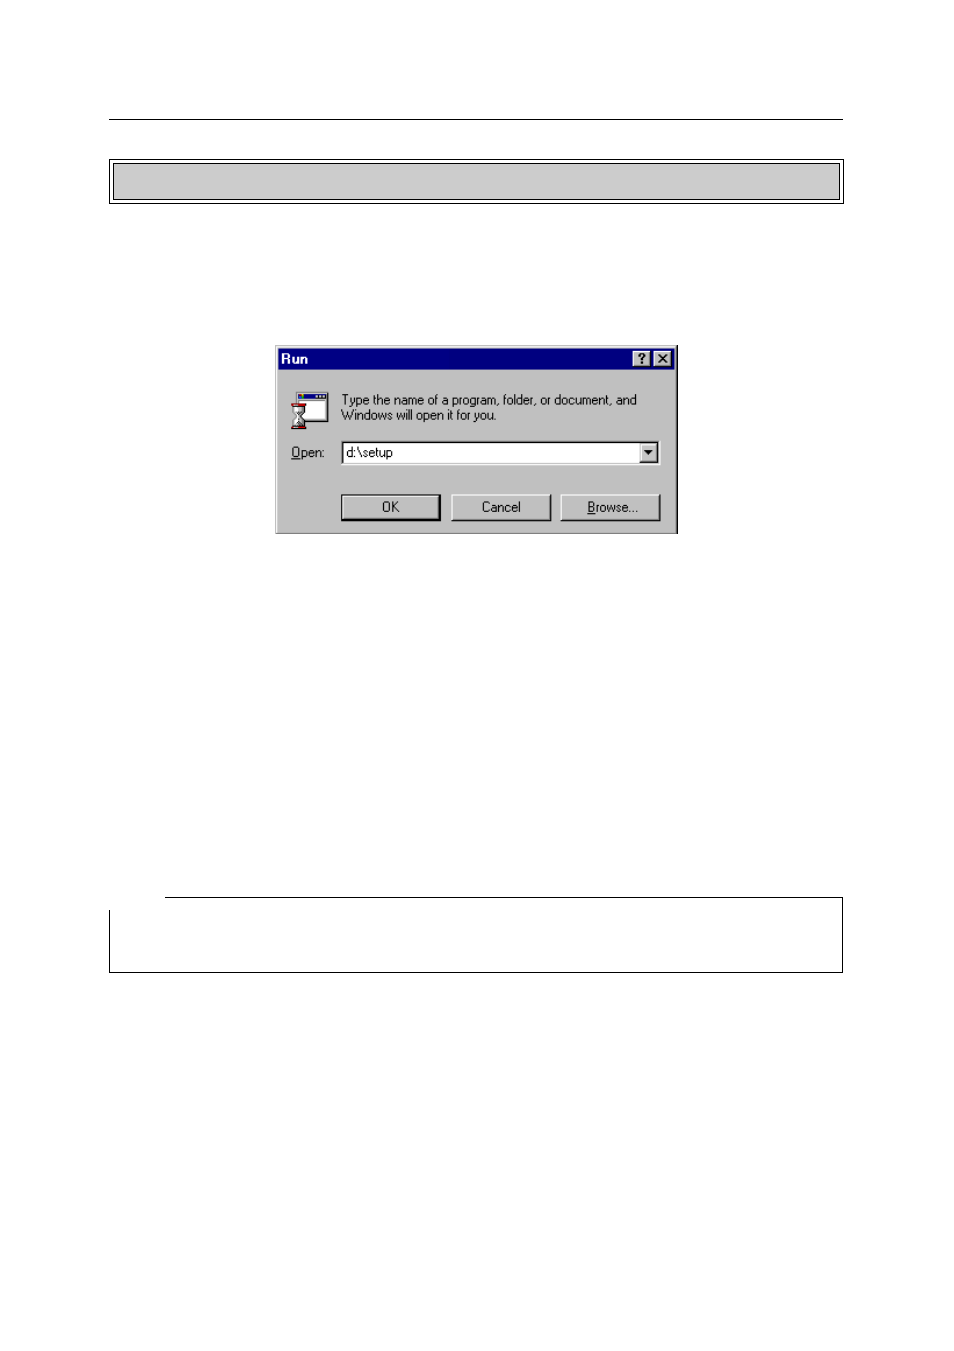
Run Windows and insert the CD into the CD-ROM drive. Go to the Start menu and select
Run. Enter
"
d:\setup
"
into the dialog window that is presented and click [OK].
If your CD-ROM drive has a different letter, enter this letter instead of
"
d:
"
. If the installation
program is not on a CD-ROM, but on some other data medium, enter the complete path
required for running the installation program (e.g.
"
c:\ download\setup
"
).
Follow the screen prompts presented by the installation program
.
3.2 First Steps
This chapter gives you a number of examples, to illustrate the use of the program. Each
example is based on the preceding one and can easily be followed on your computer. If you
require further details about each function, use the context-sensitive on-line help system.
An introduction to this system can be found in Chapter 4.
Note:
As the examples involve data transmission, we suggest that you connect the cable to
the two units before running the program, following the instructions given in Chapter 2.
3.2.1 Running the Program
Once the program has been correctly installed, you can run it with the mouse in the usual
way. Open the group called "PC sync for Windows" in Program Manager, and double click
on the program of the same name.
Working with PC sync
13