Connect and operate – VANCO Handheld 4K HDMI Tester User Manual
Page 6
www.vanco1.com
800-626-6445
6
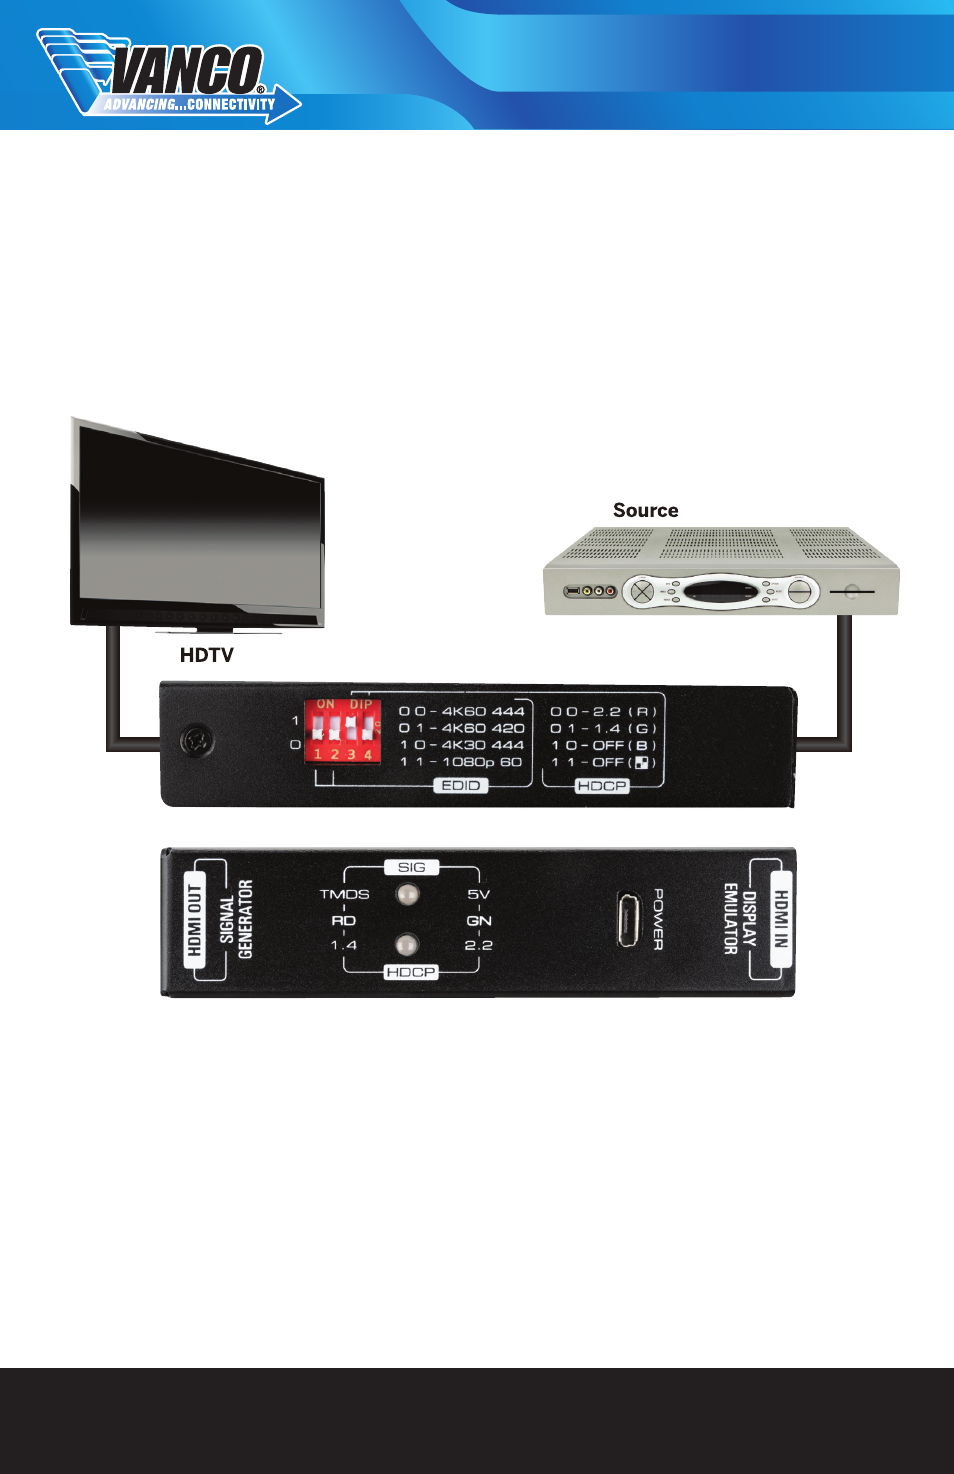
1. Connect the HDMI output of the HD4KTEST to an HDMI display
2. Adjust the dip switches on the HD4KTEST to the capabilities of the display or the resolution and settings
you wish to test (see Dip Switch Table Settings)
3. NOTE: The example above has all dip switches in the down or “0” position for 4K@60Hz, 4:4:4 and
HDCP 2.2
4. Connect the provided micro USB cable to the HD4KTEST for power
NOTE: Depending on the dip switch settings you are using, you will see a different color on the display if the
signal is passing correctly. If no color is shown on the display, the signal is not being passed to the display.
(see Dip Switch Table Settings)
CONNECT AND OPERATE
Signal Generator (to test a display and/or cabling):
The HD4KTEST will output different colors on an HDMI connected display to signify if the signal is
passing properly through the cabling and to the display. See the “Dip Switch Table” to identify what
the color of the video image on the display means.
HD4KTEST LEDs
Signal LED
Red
Green
Off
Signal Generator
Signal
n/a
No Signal Detected
Display Emulator
5V and TMDS
Detected
5V Detected
No Signal Detected