Groth 1800A User Manual
Page 8
Page 8 of 17
VII. VALVE
TESTING PROCEDURE
General Information
1. Use only appropriate testing equipment designated by local regulations (e.g. API 2000, ISO
28300, EN14015).
2. Calibrate all measuring devices according to device manufacturer schedule.
Seat Leakage Test (Pressure/Vacuum)
1. Test the pressure and/or vacuum seat leakage three times to verify leak tightness. Record all
test pressure and vacuum readings on the Shop Data Sheet.
2. Slowly open the Test Stand Pressure Test or Vacuum Test valve (supply pressure).
3. Adjust the appropriate flow meter to achieve the specified flow rate listed Table 4 below.
4. With the valve flowing at the flow rate indicated in Table 4, read the test stand supply pressure
using the manometer or gauge.
5. The acceptance criteria for this test are that the peak pressure attained at the specified flow
rate be at least 75% of the specified set pressure or vacuum listed on the sales order.
Perform this test three times to verify proper operation.
6. If the valve fails to meet the 75% criteria, it must be disassembled and the pallet, diaphragm or
seat repaired or replaced. The pallet assembly shall be weighed to confirm that it meets the
weight tolerance specified in the appropriate Assembly Procedure. If the pallet assembly
weight exceeds the limits, adjust the pallet weights and retest beginning at Section 4.3.2.
7. Record the test results under the Seat Leakage Test 1-3 (Pressure/Vacuum) on a Shop Data
Sheet.
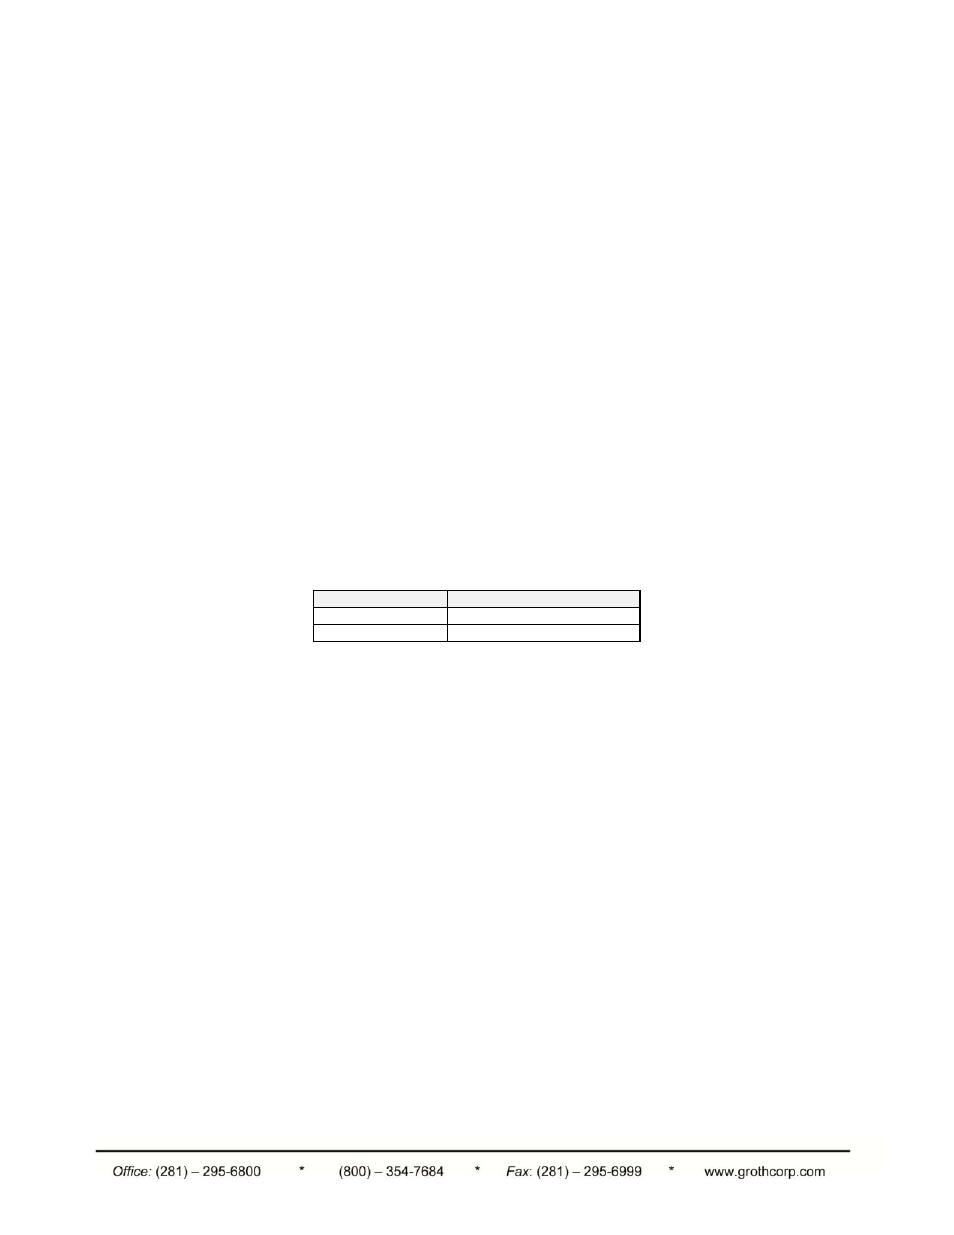
Table 4: Seat Leakage Test Criteria
Valve Size
Test Flow Rate
2" - 6"
0.5 ft3/hr (0.0142 m3/hr)
8"- 12"
5.0 ft3/hr (0.1416 m3/hr)
Set Pressure and/or Vacuum Test
1. Test the set pressure and/or vacuum three times to verify proper operation. Record all test
pressure and vacuum readings on the Shop Data Sheet.
2. With the valve mounted on the test stand from previous test, slowly increase the pressure
while monitoring the air supply pressure flow rate. For vacuum tests, the block valve is opened
sufficiently to allow a steady increase in vacuum condition. As the setting is approached,
continue to open the valve.
3. The set pressure (vacuum) will be the point at which the test pressure (vacuum) does not
increase with a corresponding increase in flow rate. Normally, at this point, the test pressure
(vacuum) will fluctuate up and down as the valve relieves, while the flow rate remains steady.
The set pressure or set vacuum is the maximum pressure or vacuum achieved during the test.
4. Repeat this test two more times to achieve a total of three measurements of set pressure and
vacuum.
5. The acceptable tolerance range for set pressure (vacuum) is +/- 10%. All three test results
must fall within the specified tolerances for the pressure and vacuum settings listed on the
sales order. Record the three set pressures and vacuum measurements on the Shop Data
Sheet.
6. If all three set test values are not within the allowable tolerance, disassemble the valve; inspect
the pallet, seat and diaphragms. It may be necessary to lap the seat or replace one or more
components. If the pallet weight falls within the limits, but still exceeds either the pressure or
vacuum setting tolerance, consult Groth Corporation.