Casio EX-TR200 User Manual
Page 87

87
Using the Camera with a Computer
.
To connect the camera to your computer and save files
1.
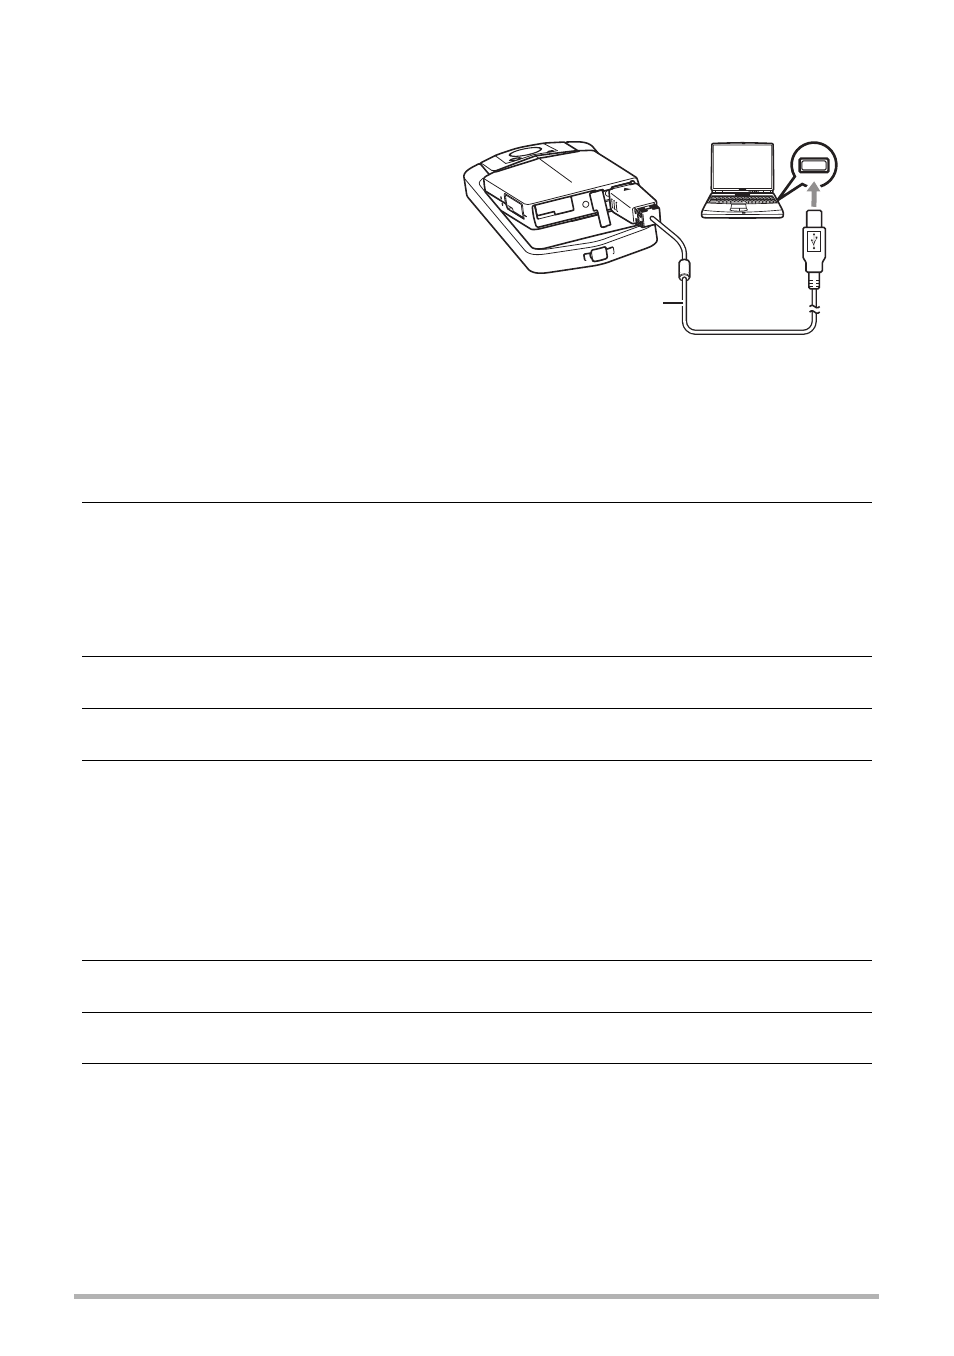
Turn off the camera and then
use the USB cable that
comes with the camera to
connect it to your Macintosh.
The camera will turn on
automatically and battery
charging will start (page 21).
• The camera may not turn on
automatically in the case of
certain computer models or
connection conditions. If this
happens, press [p] (Power) to
turn on the camera.
• For details about connecting to the camera and precautions when connecting,
see page 21.
2.
Double-click the camera’s drive icon.
The camera’s back lamp will light green at this time. In this mode, your Macintosh
recognizes the memory card loaded in the camera (or the camera’s built-in
memory if it does not have a memory card loaded) as a drive. The appearance of
the drive icon depends on the Mac OS version you are using.
3.
Drag the “DCIM” folder to the folder to which you want to copy it.
4.
After the copy operation is complete, drag the drive icon to Trash.
5.
Disconnect the camera from the computer.
On the camera, press [p] (Power) to turn off the camera. After checking to make
sure that the back lamp is unlit or lit red, disconnect the USB cable.
.
To view copied images
1.
Double-click the camera’s drive icon.
2.
Double-click the “DCIM” folder to open it.
3.
Double-click the folder that contains the images you want to view.
4.
Double-click the image file you want to view.
• For information about file names, see “Memory Folder Structure” on page 93.
• An image that was rotated on the camera will be displayed on your Macintosh
screen in its original (unrotated) orientation.
USB cable (included)
USB port