Working with check boxes, Creating the check box, Working with combo boxes – QuickLabel PowerForms User Manual
Page 23: Working with combo box
- 23 -
3. Go to the Actions tab.
4. Click on the Edit button to open the Actions Editor window.
5. Define the actions you want to execute when the user will click on buttons. Drag the
appropriate actions from the list on the left side to the right working area. Set the action
properties, if necessary.
6. When ready, click on the OK button to close the Actions Editor.
7. Click on the OK button.
Note: To cancel placing an object on the form, press the ESC button.
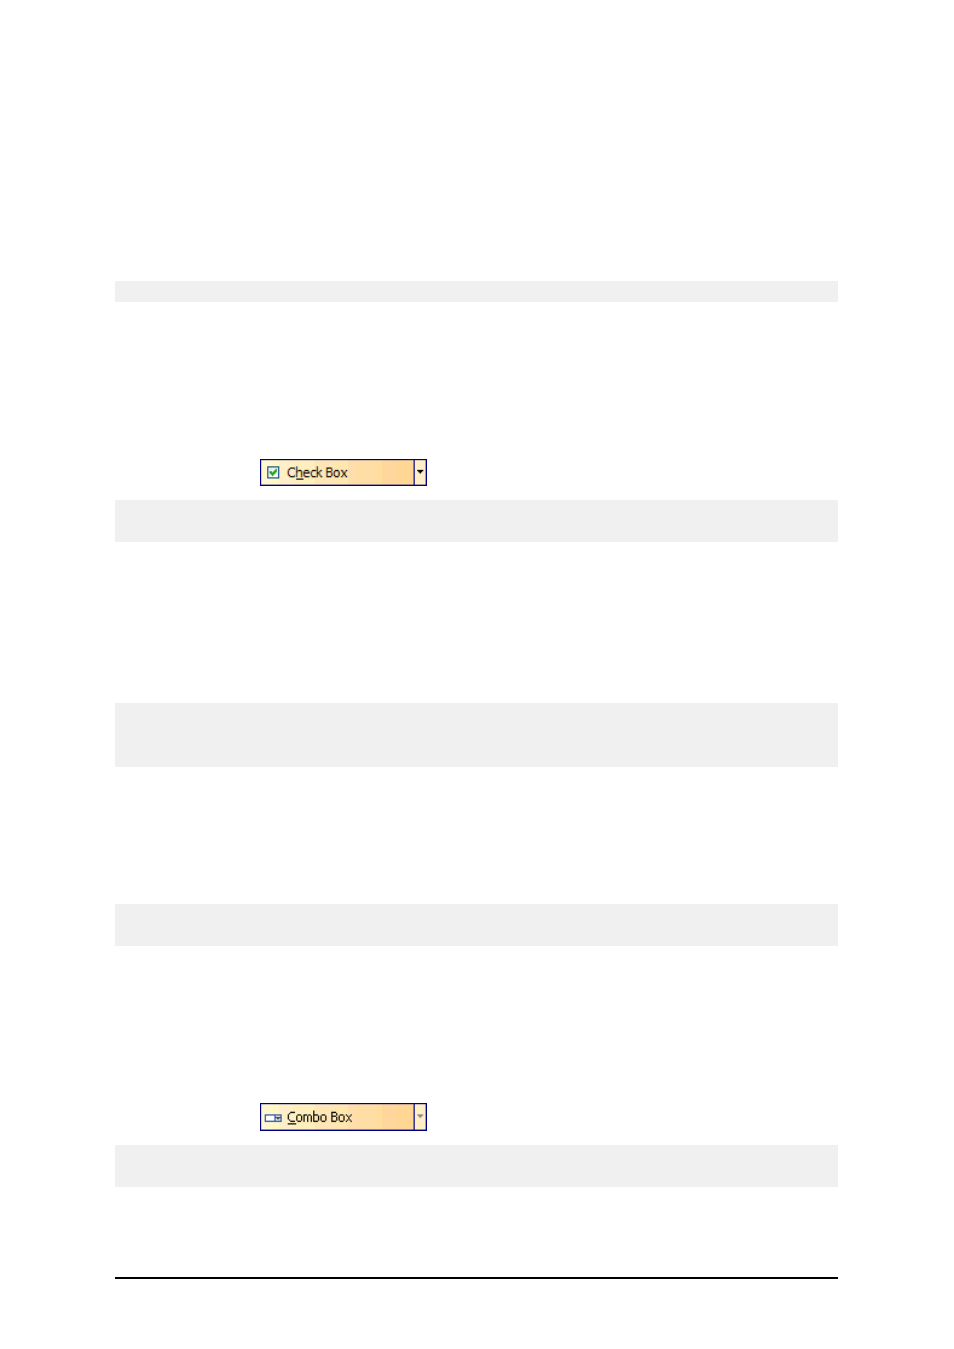
Working with Check Boxes
Creating the Check Box
To use the check box object, do the following:
1. Click on the
icon in the toolbox.
Note:
You can also select the command Check box in the Object menu.
2. Click on the form, where you want to position the object.
3. Double click on the object.
The dialog box opens with object properties.
4. Go to the Contents tab.
5. Select the variable from the list that will store the value for check box state (ena-
bled/disabled).
Note:
If no variable is available in the list, import the variables from the label (Design -> Get Variables)
or click on the button New.
7. Go to Values tab.
8. Type in the text for the check box. The text will explain to the user what he can ena-
ble/disable with the check box.
9. Enter the values for both states of the check box (enabled and disabled).
10. Click on the OK button.
Note:
To cancel placing an object on the form, press the ESC button.
Working with Combo Boxes
Working with Combo Box
To use the combo box object, do the following:
1. Click on the
icon in the toolbox.
Note:
You can also select the command Combo box in the Object menu.