Installation, Step 6. secure the speaker in place – SoundTraxx Tsunami Installation User Manual
Page 21
Tsunami Installation Guide
Page 18
Tsunami Installation Guide
Page 18
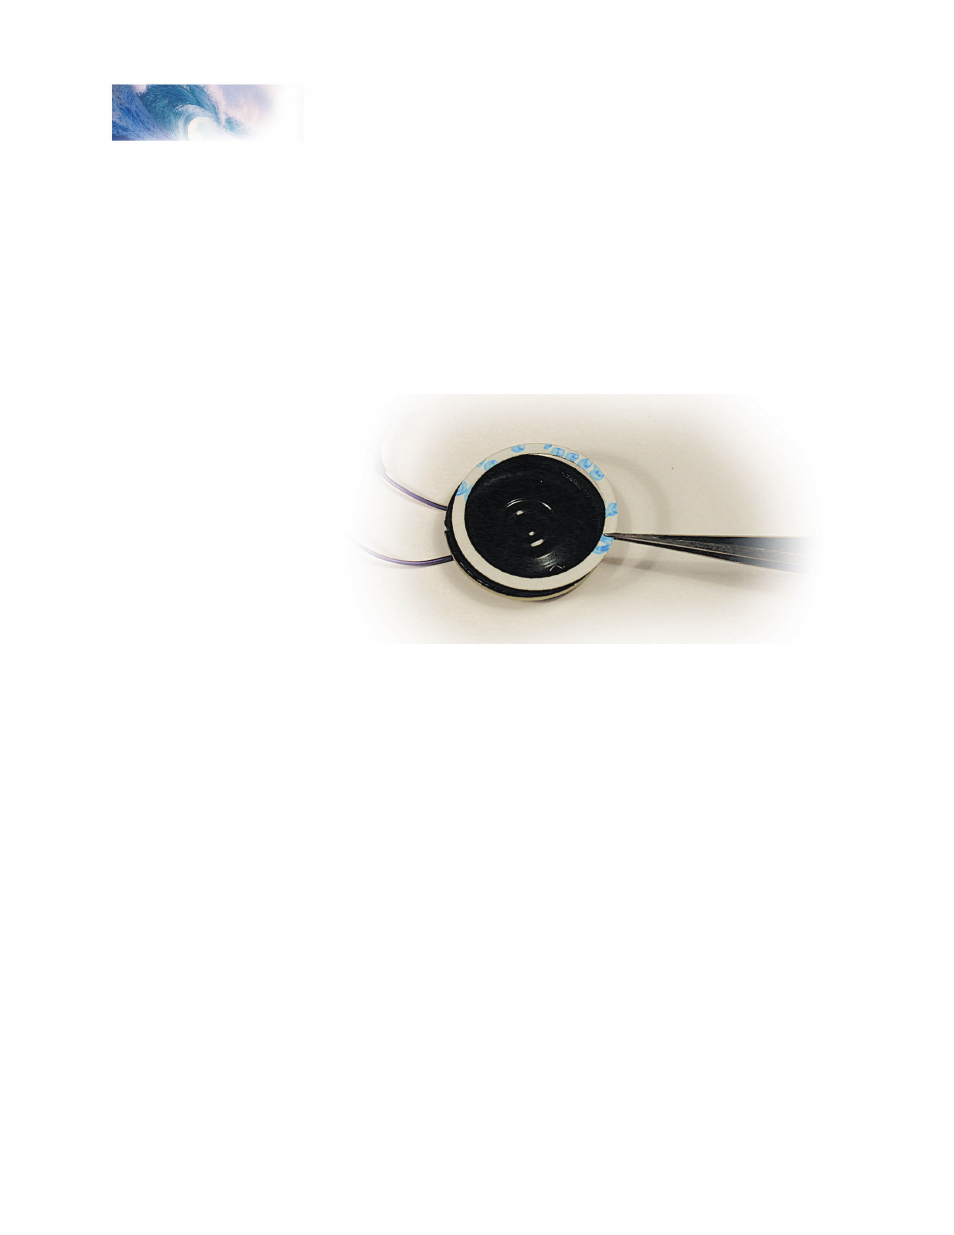
Step 6. Secure the Speaker in Place
Once work is complete and the speaker has been fitted in place, it must
be secured tightly to the enclosure. For the best sound, an airtight seal is
needed around the speaker edge.
We have found the best way to hold the speaker in place is to use our special
speaker gaskets. The gaskets have adhesive on both sides. Peel off the
backing with a pair of tweezers or the blade of a knife and mount one side to
the rim of the speaker, making sure not to stick the gasket to the cone itself.
Remove the other backing and mount your speaker in the desired location.
Figure 12 - Applying the Speaker Gasket
SoundTraxx has four different gasket sizes available in packages of four:
P.N. 810118
3/4” round gaskets for use with our 3/4” diameter speaker (P.N. 810053)
P.N. 810119
1” round gaskets for use with our 1’ diameter speaker (P.N. 810054)
P.N. 810120
20x40mm gaskets for use with our oval speaker (P.N. 810103)
P.N. 810121
14x25mm gaskets for use with our smallest oval speaker (P.N. 810112)
Another option is to use silicone RTV - it provides the airtight seal needed
and unlike epoxy or other hard glues, allows the speaker to be readily
removed in the future. Be careful that you don’t get any RTV onto the
speaker diaphragm, as this will severely distort the sound quality!
Installation