Press, And select, Figure 63 ) – Grass Valley Karrera Video Production Center Installation v.4.1 User Manual
Page 103: And instead of rebooting the panel, select, Figure 64 )
KARRERA — Installation & Service Manual
103
Network Configuration
CAUTION Changing the IP address of an operating Karrera component can disrupt
system communications until matching changes to the addresses other com-
ponents use are made on those other devices. Re-registering IP Node
addresses may also be necessary. See Control Panel Registration
6.
The Control Panel must be rebooted to make the IP address change take
effect. Select
Boot Panel
(press
Bank 3/7
) and select
Yes
(press
7
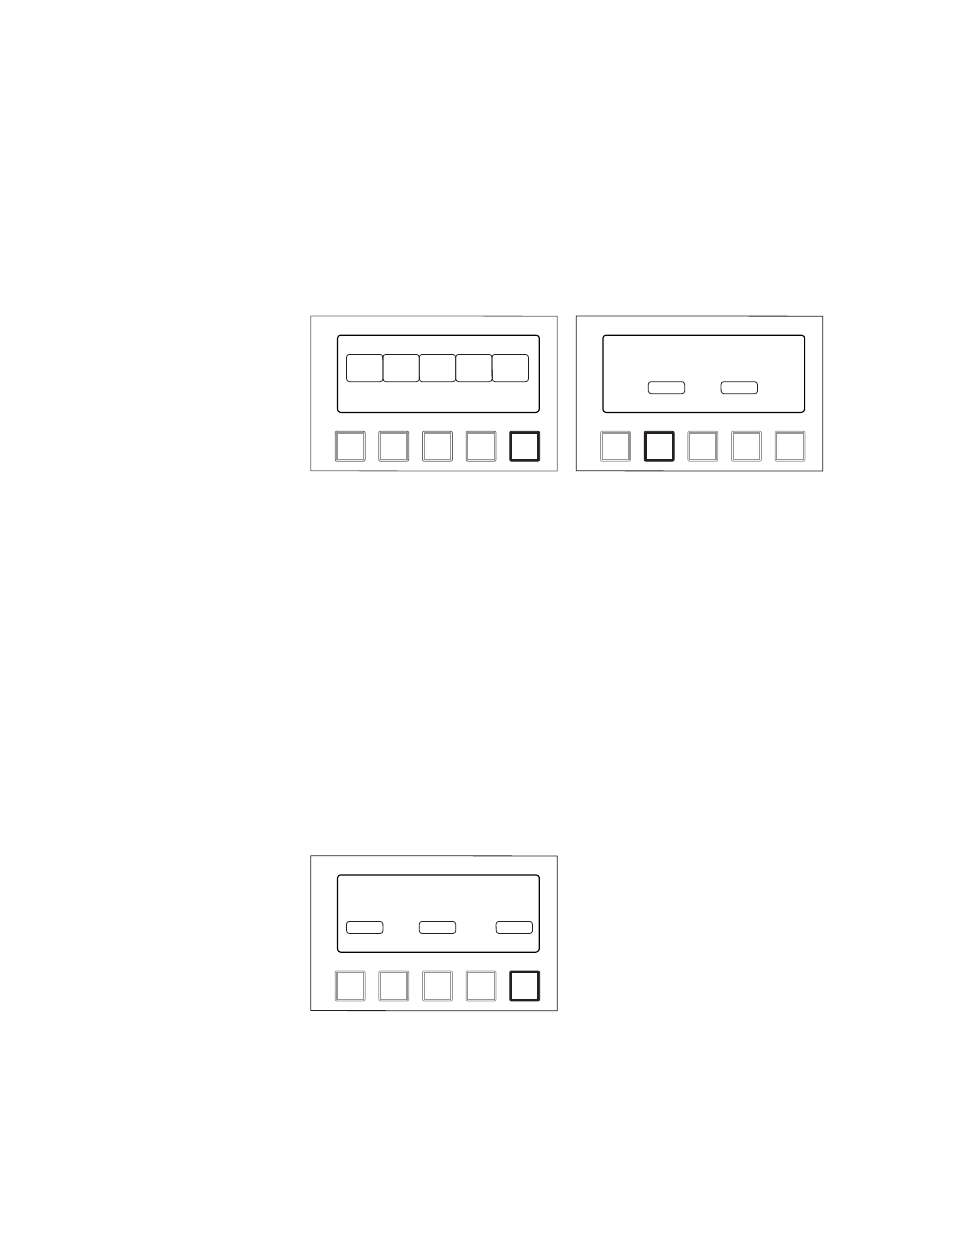
Figure 63. Karrera Panel IP Address Mode, Rebooting Panel
The Control Panel will reboot and operate with its new IP address.
Setting The Control Panel’s Subnet and Gateway Addresses
Follow the Control Panel IP procedure above to set the Subnet and
Gateway IP addresses of that panel, except select either
Panel Sub
(press
8
)
or
Gateway
(press
9
). Only one panel reboot is required, provided the infor-
mation is entered in IP, subnet, and gateway order.
Setting The Control Panel’s Target Video Processor Frame Address
Follow the Control Panel IP procedure above to set the IP Address that
Control Panel will use to communicate with the Video Processor frame,
except select
Frame IP
(press
Lrn
) and instead of rebooting the panel, select
Connect
(press
Bank 3/7
Figure 64. Karrera IP Panel Address Mode, Connecting to Frame
Note
Changing and saving the displayed Frame IP setting does not change the
Video Processor Frame IP address. To change the actual frame IP address,
see Setting IPs with Device Web Pages
9
Bank
ank
3 / 7
7
8
Lrn
IP Address Setup
Panel
Boot
Panel
Sub
Panel
IP
Frame
IP
9
Bank
ank
3 / 7
7
8
Lrn
Panel Reboot
Are you sure?
Yes
Gateway
No
8804_11
8804_15
9
Bank
ank
3 / 7
7
8
Lrn
Frame IP Address
10.168.0.170
Change
Cancel
Connect