PLANET NAS-3410 User Manual
Page 73
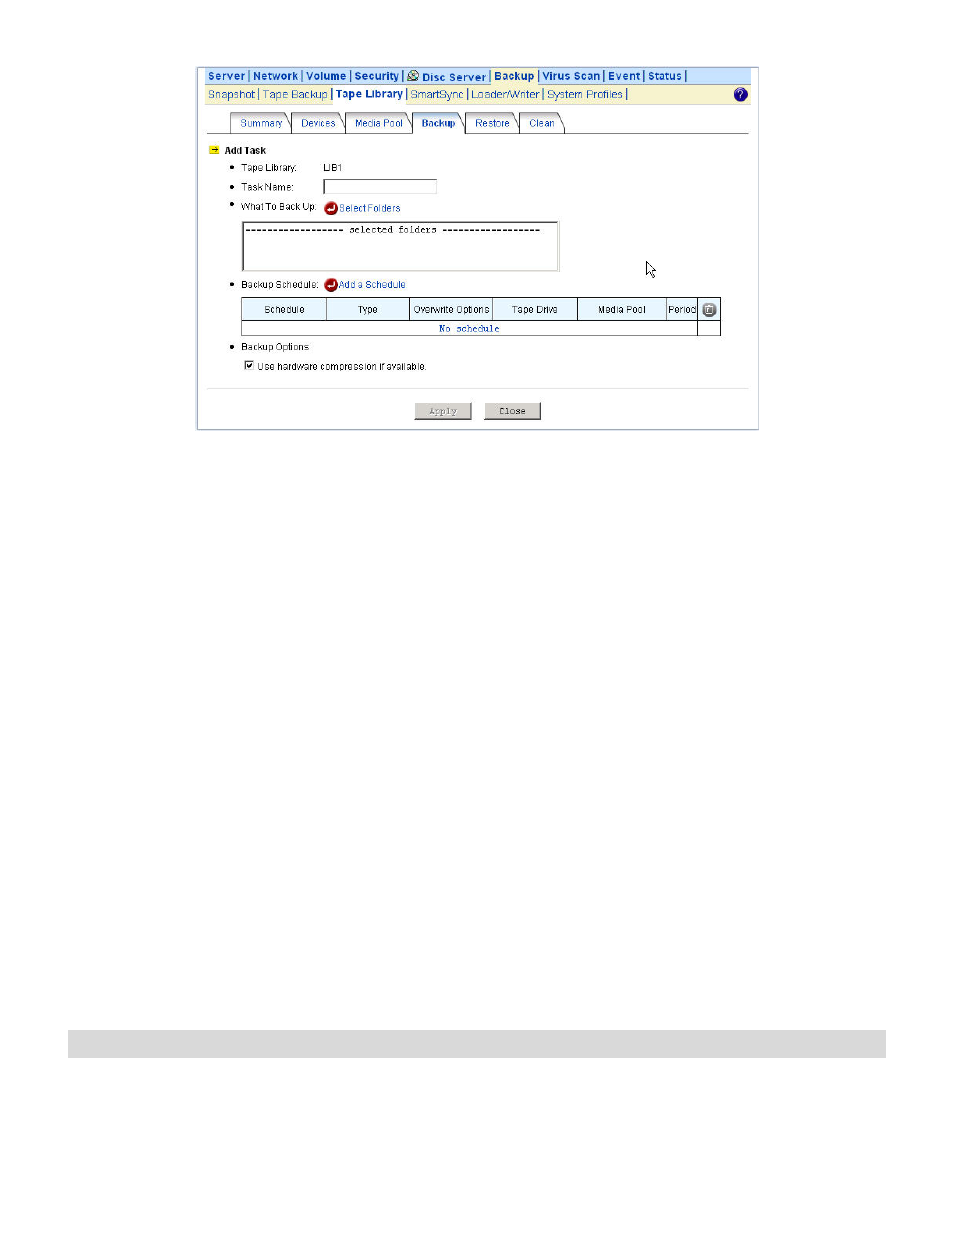
1. Specify the task name. The created backup set will be named after the task name, appended
by date/time.
2. Choose a tape library.
3. Specify what to backup by selecting source folders.
4. Add backup schedules by clicking the Add a Schedule hyperlink.
A. Select the tape drive. Usually it is set to Auto, allowing the NAS server to choose any
available tape drive to do the backups.
B. Select backup media. Please define a media pool on the Backup
ÆTape LibraryÆMedia
Pool menu if there is no media pool.
C. Choose to make full backups or incremental backup. A full backup will copy all selected
data. An incremental backup will only copy those data with archive bits set.
D. Set schedules.
E. Specify the tape retention period. A retention period is the number of days in which you
want to keep the backup data from being overwritten. For example, if the retention period
is set to 7 days, the tape will remain in the save set as long as it has been used and be
moved to the scratch set when it has not been used for 7 days.
F. Set overwrite options. If Overwrite the media is selected, it will only use blank tape or
scratch tape for backups and write data from the beginning of the tapes. If Append to the
media is selected, it will append data to the last used tape.
5. Specify whether to enable the hardware compression capability of the tape drives.
6. Click Apply to start to back up.
Restoring Data
To restore data, go to the Backup
ÆTape LibraryÆRestore menu. First, select the backup task
which created the backup sets. Then select a backup set and specify whether to restore all files or
67