Menu settings, Projection mode, Geometric correction – LEICA Cine 1 100" 3000-Lumen XPR UHD 4K Ultra Short-Throw SmHome Theater Projector User Manual
Page 26: Eye protection mode, Menu overview
MENU SETTINGS
PROJECTION MODE
Depending on the positioning of the Laser TV relative to the screen, the image
may have to be flipped or mirrored.
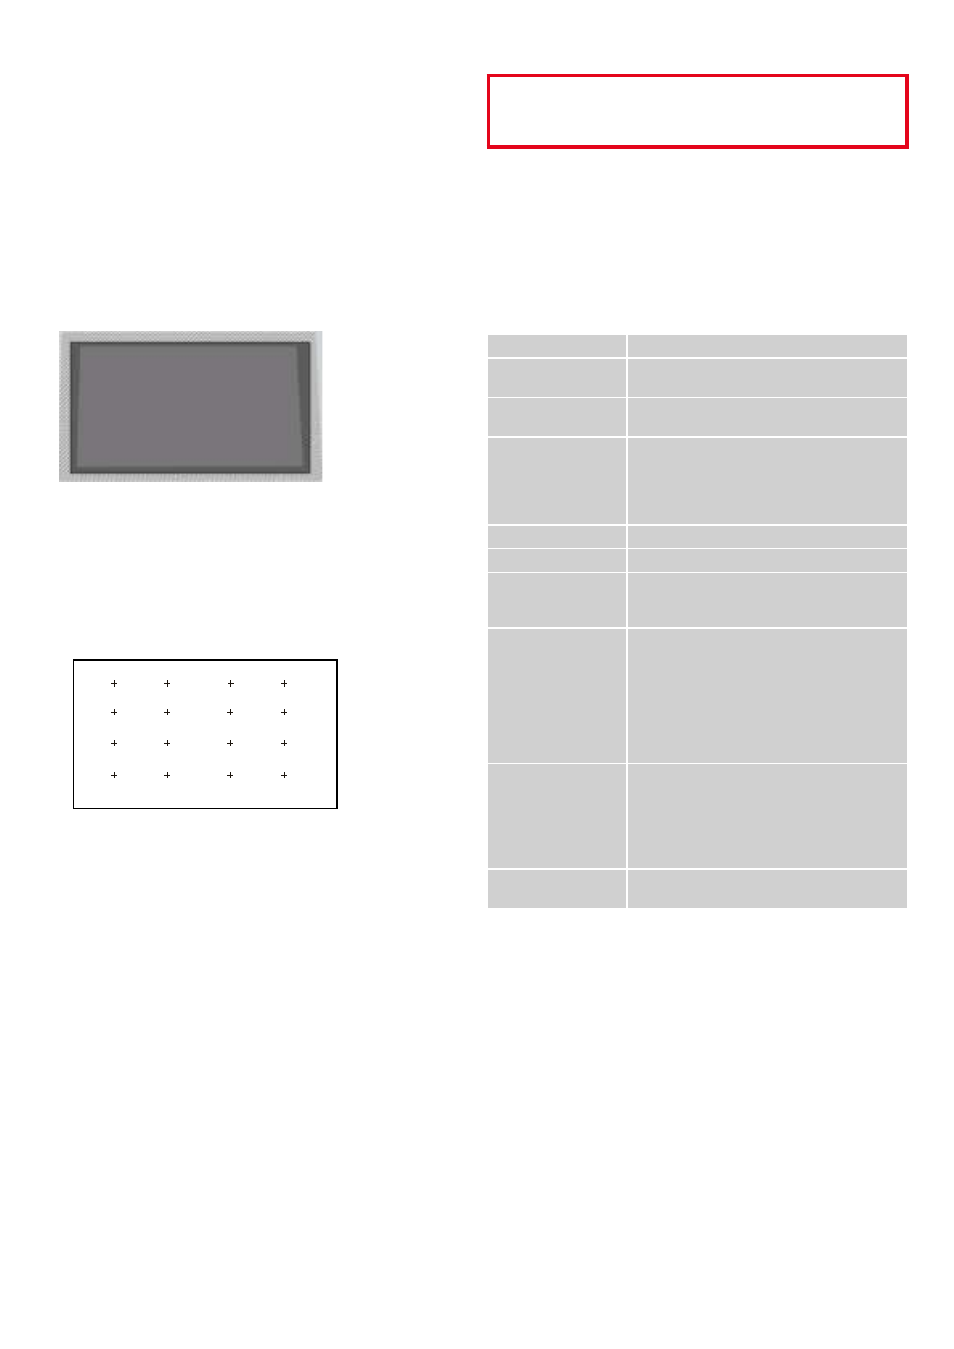
GEOMETRIC CORRECTION
AUTOMATIC
Automatic geometric correction is possible if the Laser TV and your mobile
device are connected to the same WLAN network.
▸
Position the device
▸
You may have to adjust the height of the levelling feet to fit the entire projected
image into the screen area (see p. 23)
▸
Access the menu function for automatic geometric correction
▸
Confirm automatic correction
• All previous data will be deleted.
▸
Ensure that the mobile device and the Laser TV are connected to the same
network
▸
Select “Next” in the menu
▸
Scan the QR code on the screen with the mobile device
• Automatic geometric correction begins.
• An alignment grid appears on the screen.
▸
Tap “+” on the mobile device to record an image of the entire image area
• Best results are achieved with landscape recordings from a distance of
approx. 3 m.
▸
Tap “Upload” on the mobile device
• The correction is executed.
MANUAL
During this correction process, points are moved using the remote control to
align the projected image exactly with the screen.
▸
Use the directional buttons of the remote control to select the desired point
▸
Press the
OK
button
▸
Use the directional buttons to move the selected focus point
• Press and hold: quick change.
• Press and release: fine setting.
▸
Press the
OK
button
• The setting is saved and you can proceed with the next point.
Returning to factory setting
▸
Select the “Reset” button
Note
• Manual geometric correction is only available in specific device models and
countries/regions
EYE PROTECTION MODE
Attention
Never look directly into the lens while the device is operational. Never look
directly into the emitted light beam! Doing so may cause severe damage to
your eyes or permanent blindness!
The eye protection mode prevents corneal damage due to accidental viewing
of the light beam. The light output will be temporarily deactivated after a
countdown of 5 s if anyone gets too close to the projector while it is running.
We highly recommend keeping the eye protection mode activated at all times!
MENU OVERVIEW
Additional settings, including the network connection, can be configured under
the menu item “Laser TV settings”.
Language
Menu language
TV Mode
Available selections: “Home Mode” or “Store
Mode”
Projection Mode
Various modes, depending on the placement of
the Laser TV
Wireless Network
Where an Ethernet connection is not possible or
wanted, a WLAN connection can be set up under
this menu item. A network can be added from the
displayed list of networks, or a hidden network
can be added.
Country
The country, where the device will be used
Time zone
The time zone, in which the device will be used
Auto Geometric
Correction
Automatic geometric correction via app will be
executed, and any existing correction data will be
overwritten
End User License
Agreement
The use of this device is governed by the end
user license agreement. All smart functions of
the device will remain deactivated if the end user
license agreement is not accepted. All smart
functions can be activated and deactivated indi-
vidually. The relevant data protection regulations
and provisions are deemed accepted, once all
smart functions are activated.
Improved Display
The picture and sound mode can be automatically
adapted to the displayed content (provided they
are correctly identified by the automated content
recognition service).
This function is only available in specific device
models and countries/regions
Setup Screen for
VIDAA Account
Linking the Laser TV to a VIDAA account.