Creating a dpof print order: print set – Nikon D750 DSLR Camera (Body Only) User Manual
Page 303
275
3
Adjust printing options.
Adjust printer settings as described in Step 2 on page 272.
4
Start printing.
Select
Start printing
and press
J
to start printing. To cancel
before all copies have been printed, press
J
.
Creating a DPOF Print Order: Print Set
The
DPOF print order
option in the playback menu is used to
create digital “print orders” for PictBridge-compatible printers
and devices that support DPOF (
488).
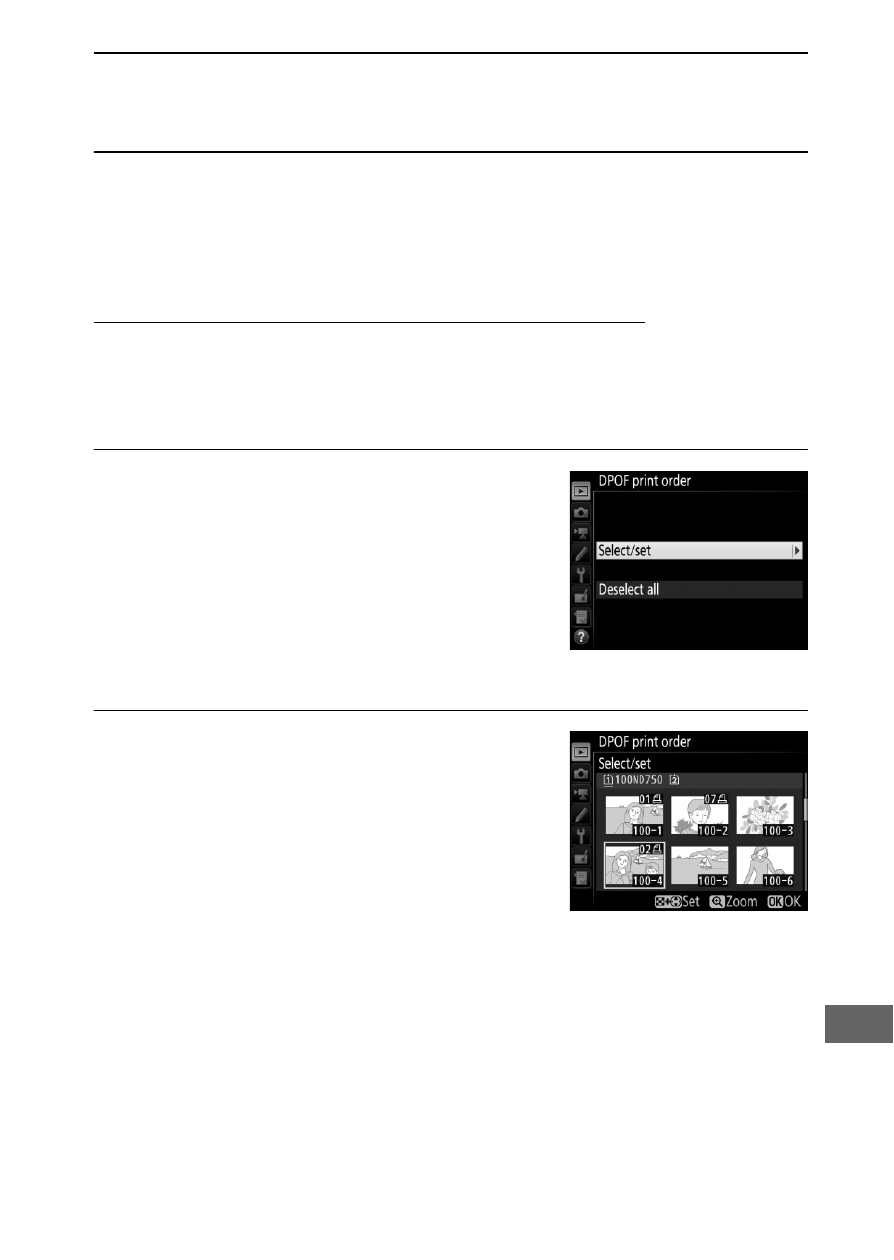
1
Choose
DPOF print order
>
Select/
set
.
Select
DPOF print order
in the
playback menu, then highlight
Select/set
and press
2
(to remove all
photographs from the print order,
select
Deselect all
).
2
Select pictures.
Use the multi selector to scroll
through the pictures on (to display
the current picture full screen, press
and hold the
X
/
T
button) and
keeping the
W
(
S
) button pressed,
press
1
or
3
to choose the number of
prints (maximum 99). To deselect a picture, set the number of
prints to zero. Press
J
when all the desired pictures have
been selected.