Page 25, Recording mode setting mode – Dexaplan DV 622 User Manual
Page 23
Page 25
Selection of the recording mode (still image
/ video
mode
)
/
- Selection of the TV system
- Leaving the setting mode
Still images or video sequences can be recorded automatically when
movement is detected.
Select the
icon.
Select the still image mode
(“Capture Format Photo” is displayed
at the bottom of the screen) or the video mode
(“Capture Format
AVI” is displayed at the bottom of the screen) by repeated pressing of
the “OK” button [13].
If the still image mode is selected in the live image mode, the symbol
is displayed on the screen and the LED
[8] does not light.
If the video mode is selected in the live image mode, the symbol
is
displayed on the screen and the LED
[8] lights.
You can also select the corresponding setting in the live image mode
directly by repeated pressing of the button [12] (Photo / AVI).
The still image / video mode setting cannot be changed in the live image
mode if recording is in progress.
For use in Europe, you must set the system to PAL (50 Hz image
refresh frequency) (factory setting).
If you have not adjusted the system to the correct TV system, the displayed
picture will be striped or black and white.
Select the icon
.
You can select the PAL
or NTSC
setting by repeated pressing
of the “OK” button [13].
Select the
icon.
Press the “OK” button [13] to confirm the selection.
You can also leave the setting mode by pressing the “Menu” button [5].
You cannot activate this mode if the device is in playback mode. Only the
full screen image displayed on the screen in the live image mode can be
stored. The picture-in-picture format can be displayed but not recorded.
The device can only store images from one video input.
Switch on the recording mode. Press the “Motion Detection” [3]
button for this; the LED
[9] lights. After activating the recording
mode, the symbol
at the top left of the screen flashes for approx.
75 seconds. During this time, the image is “learnt” by the internal
software (= learning phase). The software adapts itself to constant
image changes in order to not repeatedly by record the same
movements. The image learning is performed every time the recording
mode is activated.
Avoid movements in the camera image during the learning phase
otherwise the sensitivity of the motion detection will be reduced.
!
!
!
!
!
!
!
!
Tip:
Recording mode
Setting mode
!
!
!
!
!
!
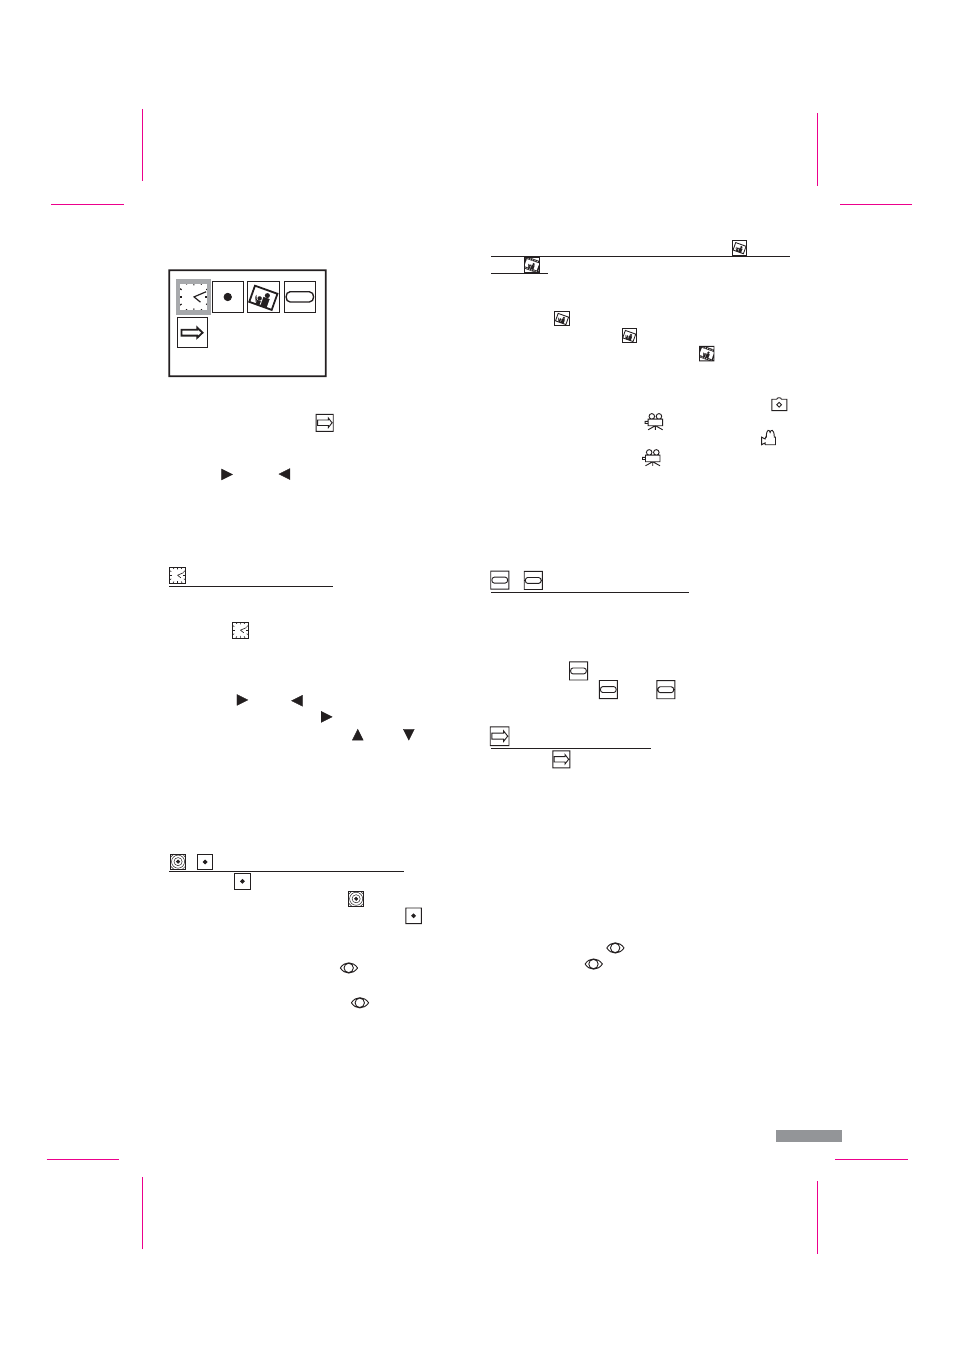
Press the “Menu” button [5] to access the setting mode. A screen with
5 icons is displayed (see Figure G): The top four icons symbolise the
settings, and the bottom icon
is used to exit from the setting
mode.
The blue frame shows the function to be changed. You can move this with
the buttons
[4] and
[2].
The framed setting can be selected by pressing the “OK” button [13].
You can leave the setting mode by pressing the “Menu” button [5].
If no button is pressed for 3 minutes in the setting mode, the setting mode
is ended automatically.
The event recorder has an on-screen clock. The date and time from this are
saved together with the stored images.
Select the
icon.
Press the “OK” button [13] to confirm the selection. The date
(YYYY/MM/DD) is displayed at the bottom in the image. You can
change the position which is red: Move the red position by pressing
the buttons
[4] and
[2]. You reach the time (HH:MM:SS) by
repeated pressing of the button
[4]. You can change the value of
the red position by pressing the buttons
[3] and
[12].
When you have made all your desired changes, confirm your changes
by pressing the “OK” button [13].
The date and time settings are retained for up to 12 hours if the power
supply is switched off.
Select the
icon.
You can switch the recording mode ON
("Motion Detection ON"
is displayed at the bottom of the screen) or OFF
("Motion
Detection OFF" is displayed at the bottom of the screen) by repeated
pressing of the “OK” button [13].
If recording mode is activated, the display
[9] lights in the live image
mode.
If recording mode is switched off, the display
[9] does not light in the
live image mode.
You can also select the corresponding setting in the live image mode
directly by repeated pressing of the button [3].
The recording mode cannot be switched off in the live image mode if
recording is in progress.
- Setting the date and time
/
- Switching recording mode ON/OFF
Note:
Tips:
GB / IE - 25
Time Setup
EXIT
PAL
Fig. G
EXIT
NTSC
PAL
PAL
NTSC
PAL
EXIT
EXIT