Send scanned data to an email recipient – Brother ADS-3100 High-Speed Desktop Color Scanner for Home & Small Offices User Manual
Page 53
Scan Using the Scan Functions on Your Brother Machine
> Send Scanned Data to an
Email Recipient
Send Scanned Data to an Email Recipient
Related Models
: ADS-3300W
Send scanned data directly from your machine to an email recipient without using a computer. This function
allows your machine to scan documents and send them to an email address without your machine being
connected to a computer. To send the scanned data as an attachment directly to your default email application
using the iPrint&Scan software on your computer, there is the "Scan to Email Attachment" function available
instead.
•
To send scanned data to an email recipient, you must configure your machine to communicate with your
network and email server, which is used to send and receive emails.
•
You can configure these items from the Web Based Management.
•
To use the Scan to Email Server function, your machine will need to be connected to a network and have
access to an SMTP server. You will need the following SMTP email settings before you can proceed:
-
Server address
-
Port number
-
User name
-
Encryption type (SSL or TLS)
-
Email server certificate (if used)
If you do not know these settings, contact your email service provider or network administrator.
1. Load your document.
2. Press
d
or
c
to display
[to Email Server]
, and press it.
3. Do one of the following to enter the destination email address:
•
To enter the email address manually, press
[Manual]
, and then enter the email address using the
keyboard on the LCD. When finished, press
[OK]
.
•
If the email address is stored in the machine's address book, press
[Address Book]
, and then select
the email address.
Press
[OK]
.
4. Press
to confirm the email address, and then press
[OK]
.
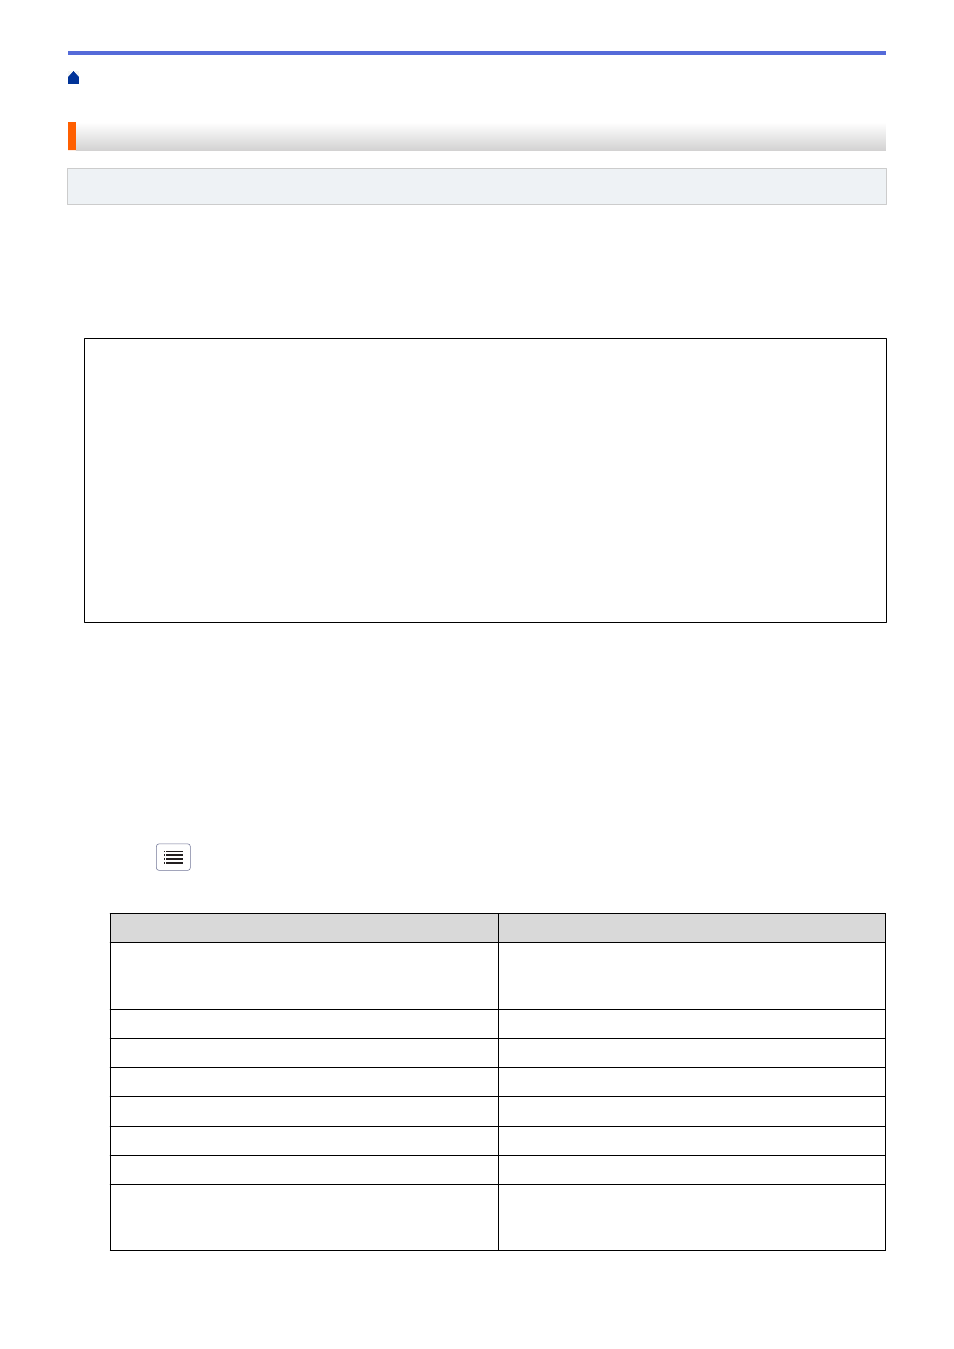
5. To change the scan settings, press
[Options]
. Configure the following settings:
Option
Description
2-sided Scan
When using 2-sided scanning, select
2-sided Scan:
Long Edge
so the layout of the data file’s pages
matches your original.
Color Setting
Select the color format for your document.
Resolution
Select the scan resolution for your document.
File Type
Select the file format for your document.
Document Size
Select your document size.
File Size
Select the file size for your document.
Skip Blank Page
When On is selected, blank pages are skipped.
Advanced Settings
Continuous Scan
Scan more pages than the maximum capacity of the
ADF and save them as one data file.
49