Scanners (windows only), About scanning, Get photos from scanners (windows only) – Adobe Elements Organizer 9 User Manual
Page 23
19
USING ELEMENTS 9 ORGANIZER
Import photos and videos
Last updated 9/12/2011
If you have changed the settings and are having trouble getting your media files, click Restore Default Settings to
restore the original preferences.
Scanners (Windows only)
About scanning
Elements
Organizer connects to your scanner so that you can get images of your photos, negatives, and slides. You can
get images from scanners in two ways:
•
Use the scanner driver plug-in module that came with your scanner. This software is either compatible with
Elements
Organizer or uses the TWAIN® interface to scan and open images directly in Elements
Organizer.
Note: The TWAIN manager is supported only on Windows.
•
Use the standalone scanning software that came with your scanner to scan and save your images. You can then
bring the images into Elements
Organizer using the File
>
Get Photos And Videos
>
From Files And
Folders command.
In Windows® XP and Windows Vista®, you can set preferences so that Elements
Organizer starts as soon as your
computer detects that your scanner is attached. See Windows Help for more information.
Before you try to scan and open your photos in Elements
Organizer, make sure that you’ve installed all the software
that came with your scanner. Carefully read any documentation that came with your scanner to make sure that it’s
connected properly to your computer. In Windows, if the Preferences dialog box appears on your screen after you
click Get Photos, set your scanner preferences.
Get photos from scanners (Windows only)
1 Make sure that your scanner is connected and switched on.
2 In the Elements
Organizer, select File
>
Get Photos And Videos
>
From Scanner from the pop-up menu.
Note: You can also get photos from a scanner from within Full Edit.
3 If the Get Photos From Scanner dialog box appears, choose the name of the scanner from the Scanner menu.
Note: If you get a None Detected message in the Scanner menu, make sure that the scanner is on and properly connected
to your computer.
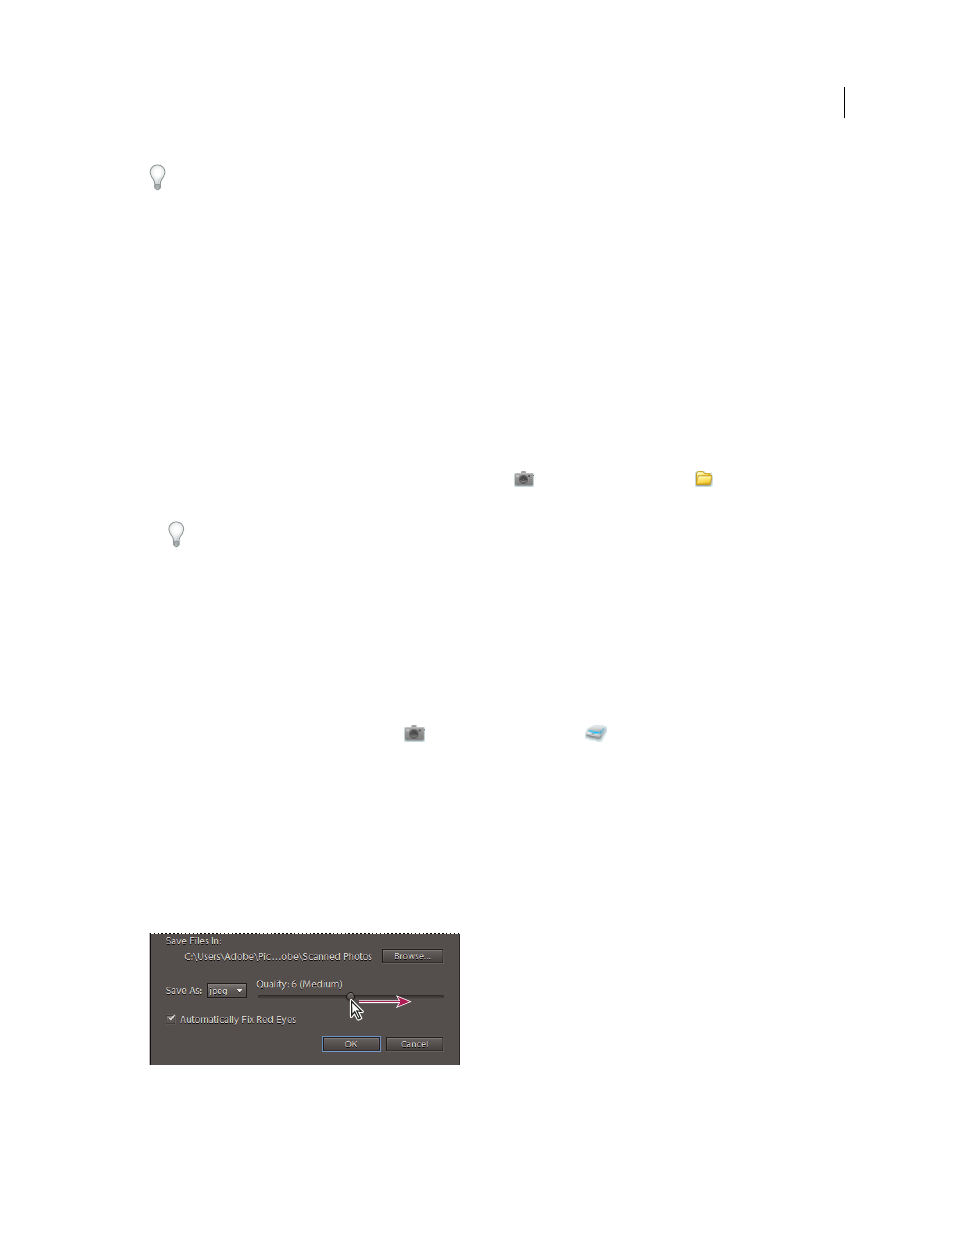
4 Click Browse to select a location for saving the photos.
5 Choose a file format from the Save As menu. JPEG, the default format, is usually the best choice. If you choose
JPEG, drag the Quality slider to the setting you want. The higher the quality, the larger the file size.
Drag the Quality slider to increase or decrease the file size and quality.