Adjusting audio gain, Using audio automation, Adjusting audio gain using audio automation – Grass Valley Aurora Edit LD v.7.0 User Manual
Page 132
Audio output routes to...
If the pan control is in this position...
All channels
Center
If you have more than eight audio tracks in your sequence, click the
Bank
Select
arrow to move to Bank 2 and then make your changes for the additional
tracks.
Adjusting audio gain
Adjust the audio gain to adjust the audio levels within a clip in your sequence.
Audio may record in at levels that are too low or too high. The Audio Gain feature
lets you compensate by adjusting the clip. You can adjust the audio between -41 dB
and +10 dB. To adjust an audio clip, you can use the Timeline Tool, the Trim Tool,
or the Audio Mixer Tool.
1. Select the clip you need to adjust.
2. Right-click in the appropriate audio track and choose
Adjust Audio Gain
.
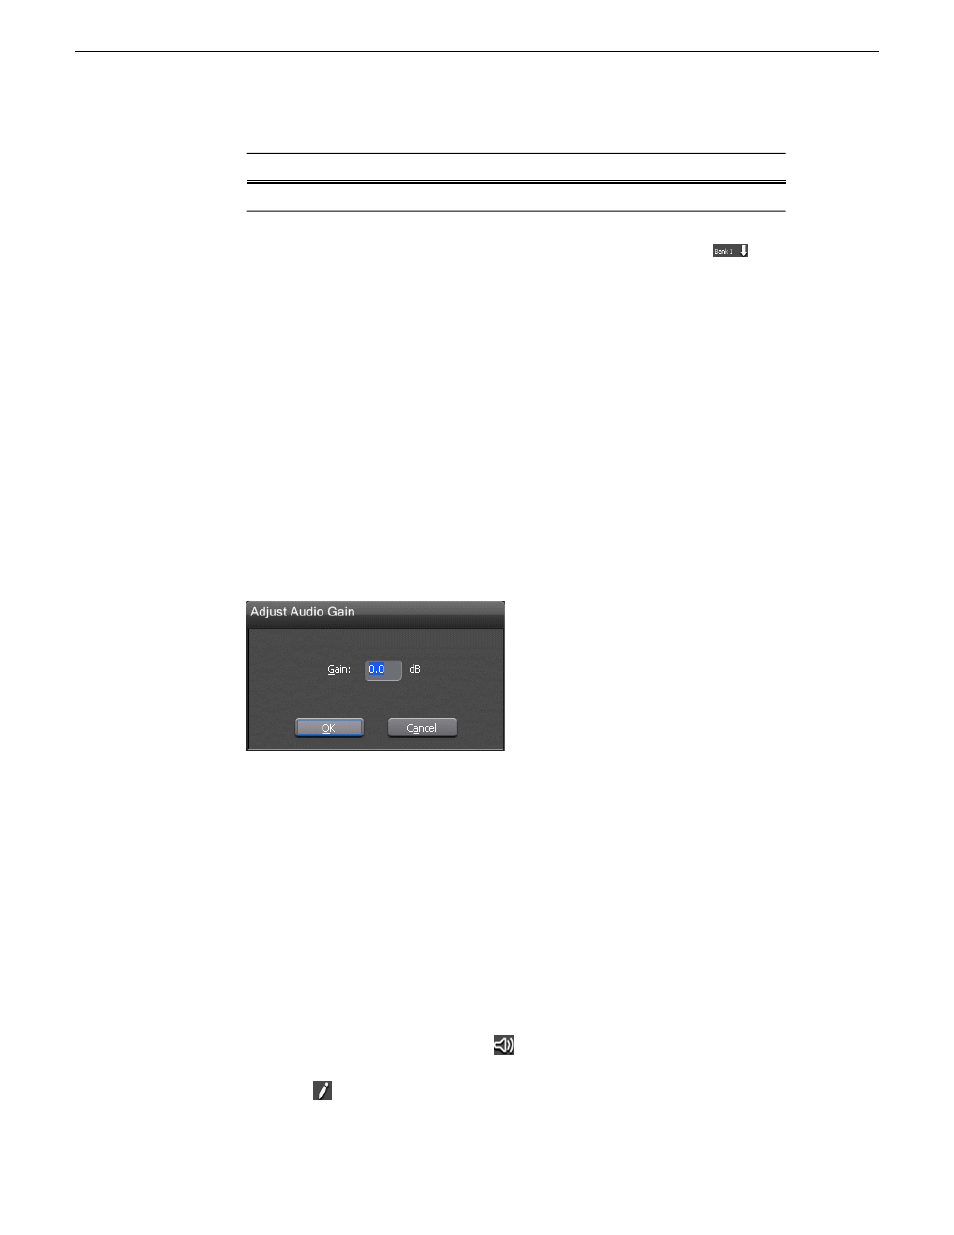
The Adjust Audio Gain dialog box appears.
3. Enter a new value for the audio gain:
•
To lower the gain, enter a value preceeded by a minus sign, such as -5.
•
To raise the gain, enter a value, such as 5.
4. Click
OK
.
The new value appears for the audio clip.
Using Audio Automation
You use Audio Automation to adjust volume on the fly while a sequence is playing.
1. Press
6
on the keyboard or click the
Audio Mixer Tool
button in the Timeline
toolbar.
2. Click the
Write Audio Automation
button.
132
Aurora Edit LD User Guide
08 April 2010
Audio