Displaying calibration values, Managing more than one block of calibrating data, 7 calibr a ting a 3-d t o uc h pr obe – HEIDENHAIN iTNC 530 (606 42x-02) User Manual
Page 580

580
Manual Operation and Setup
14.7 Calibr
a
ting a 3-D T
o
uc
h Pr
obe
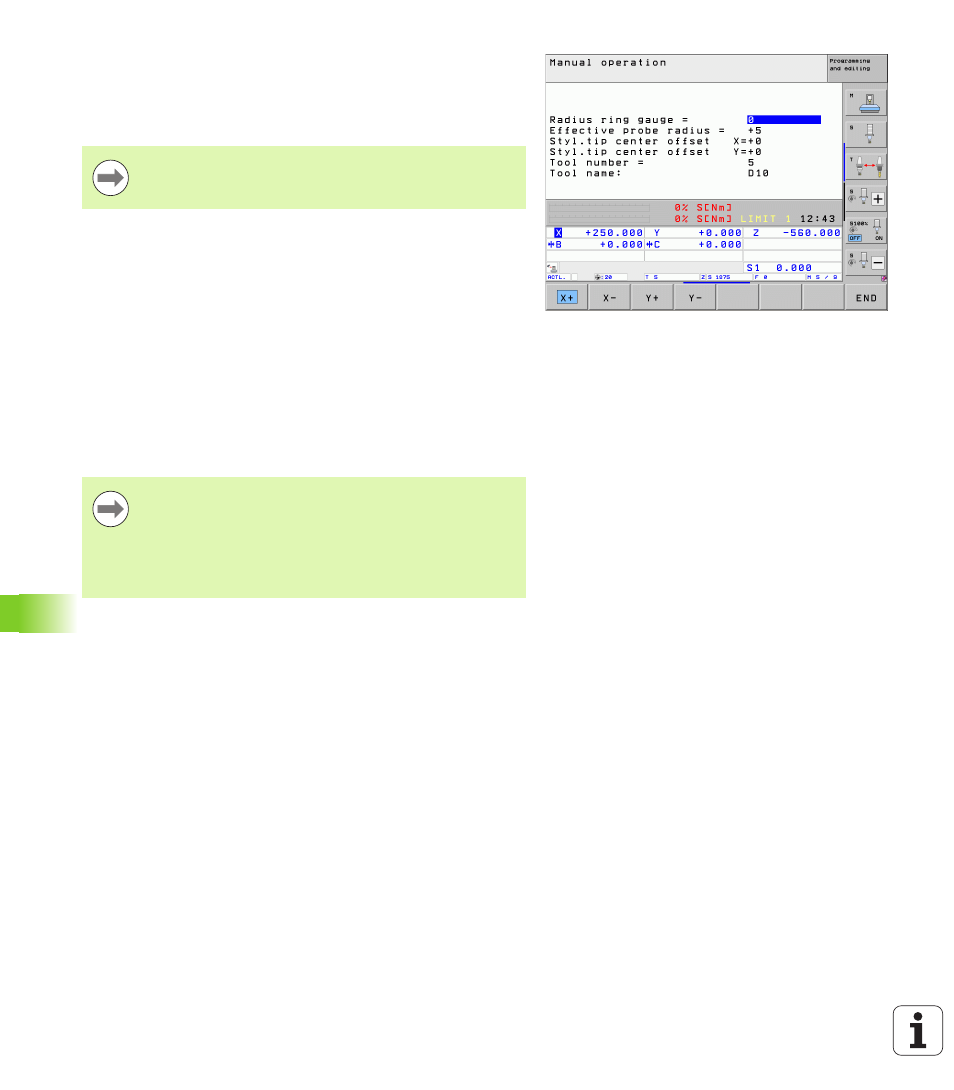
Displaying calibration values
The TNC stores the effective length and radius, as well as the center
misalignment, for use when the touch probe is needed again. You can
display the values on the screen with the soft keys CAL. L and CAL. R.
Managing more than one block of calibrating
data
If you use several touch probes or measuring contacts arranged in a
cross shape on your machine, you must also use several blocks of
calibration data.
To be able to use more than one block of calibration data, you must set
Machine Parameter 7411=1. To find the calibration data, proceed in
the same way as is done with one single touch probe. When exiting
the Calibration menu, press the ENT key to confirm the entry of the
calibration data in the tool table and for the TNC to save the calibration
data in the tool table. The line of the tool table, to which the TNC saves
the data, is determined by the active tool number.
If you want to use several touch probes or calibration data
blocks: See “Managing more than one block of calibrating
data” on page 580.
Make sure that you have activated the correct tool number
before using the touch probe, regardless of whether you
wish to run the touch probe cycle in automatic mode or
manual mode.
If MP 7411=1 is set, the TNC shows the tool number and
name in the calibration menu.