Vinpower Digital Titan Lightscribe Autoloader User Manual
Page 27
25
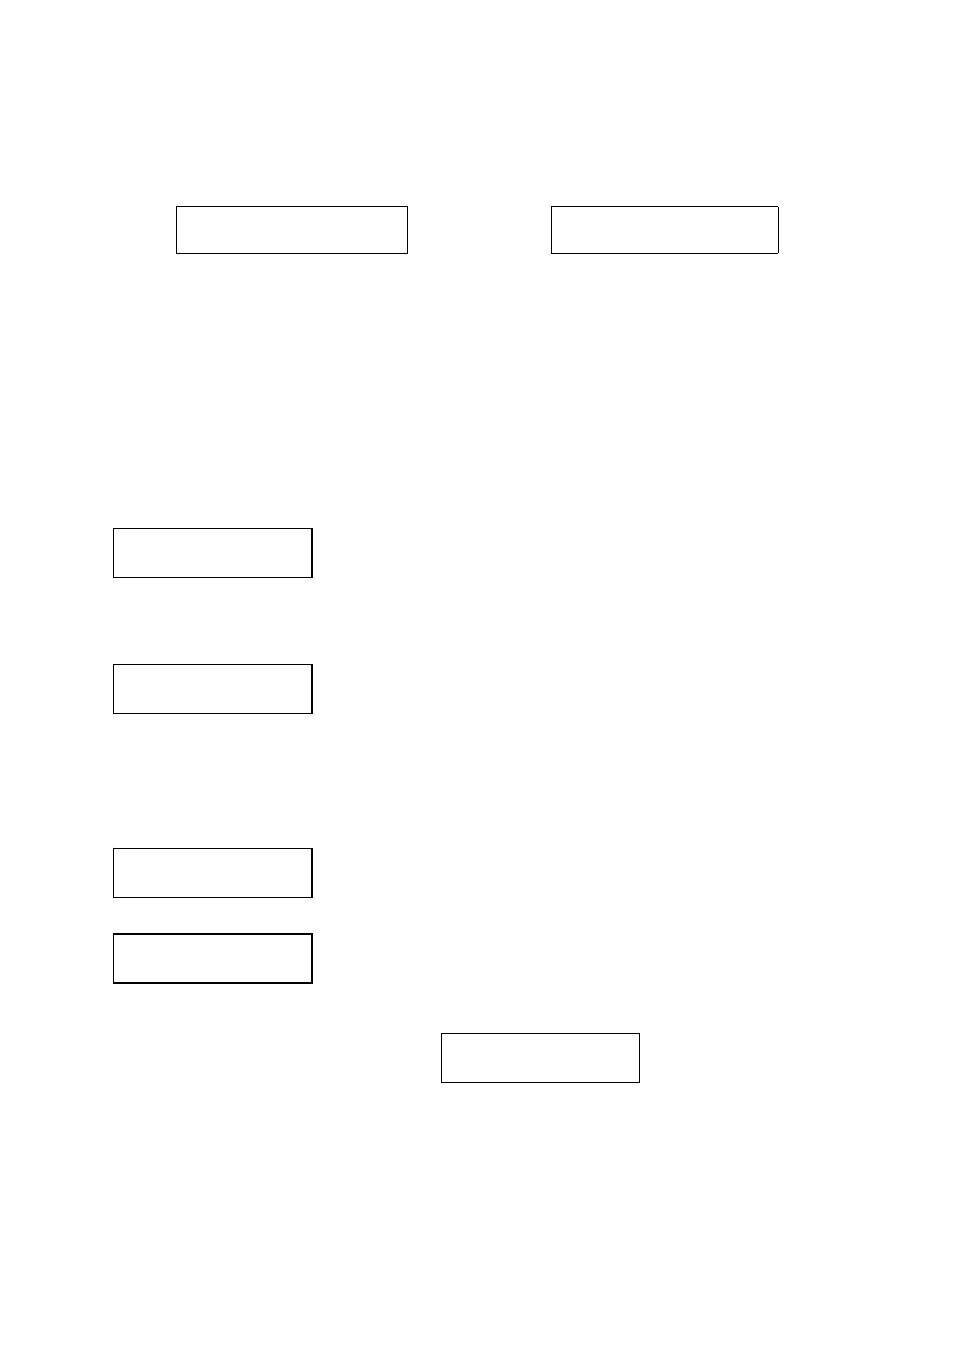
OK: 3 NG: 0 NB: 0
Input Bin > Drive01
Input Bin Empty
Reset Hopper?
Drive 1
OK: 1 NG: 0 NB: 0
Access Drive Log?
After two or three seconds of processing time, one of the following Copy Progress screens will appear.
Counter Specified
No Counter Specified
Printing... H
[FUN.lsi] 0/21 12%
or:
Printing... H
[FUN.lsi] 0 12%
“H” indicates the source of
the job resides in the Hard
Drive.
“FUN.lsi” indicates name of
the label file you are printing.
“12%” indicates the current
progress of the printing.
“0/21” indicates you have a
project size of 21 prints and
you have made printed 0
discs so far.
“H” indicates the source of
the job resides in the Hard
Drive.
“FUN.lsi” indicates name of
the label file you are printing.
“12%” indicates the current
progress of the printing.
“0” indicates you have
printed 0 discs so far.
Note: It is normal to see the progress indicator stay at 0% and 100% for several minutes due to the
initializing and finalizing process.
Once the printing run is completed, the loader will remove the printed disc(s)
from the drive and place the successfully printed disc(s) onto the Output
Spindle. If the printing process failed, the loader will place the failed disc
onto the Reject Area.
After the loader has placed the printed disc into the Output Spindle, the loader will then pick up another
LightScribe printable disc and load it into the drive. This is then repeated for each drive.
The printing process will continue until you either run out of LightScribe
printable discs or until the count that you loaded into the counter is reached.
If you run out of LightScribe printable discs and the job is not complete, the autoloader will give you an
opportunity to re-fill the spindle:
Important: When you add discs to the input spindle, be sure to remove your finished discs from the
Output Spindle.
At this point you can either put more LightScribe printable discs into the
input spindle(s) or press the ENT/Enter button to continue, or press the
ESC/Escape button to terminate your project.
Upon project termination, you shall see the Access Drive Log menu. You
can press the ENT/Enter button one time to see the drive log that indicates
the number of passes and fails for every drive/tray, or simply press the
ESC/Escape button to go back to the main menu.
If you choose to see the drive log file, you will see a screen similar to below:
“Drive 1” indicates the below results are for the 1
st
drive.
“OK: 1” indicates there was “1” successful print made by this drive.
“NG: 0” indicates there were “0” bad prints created by this drive.
“NB: 0” indicates there were “0” discs in this drive that were not
printable due to a non-printing error such as invalid media type, etc.
OK: 3 NG: 0 NB: 0
Drive01 > Output Bin