HEIDENHAIN TNC 640 (34059x-05) ISO programming User Manual
Page 266
Programming: Data Transfer from CAD Files
7.3
DXF converter (Option #42)
7
266
TNC 640 | User's ManualDIN/ISO Programming | 1/2015
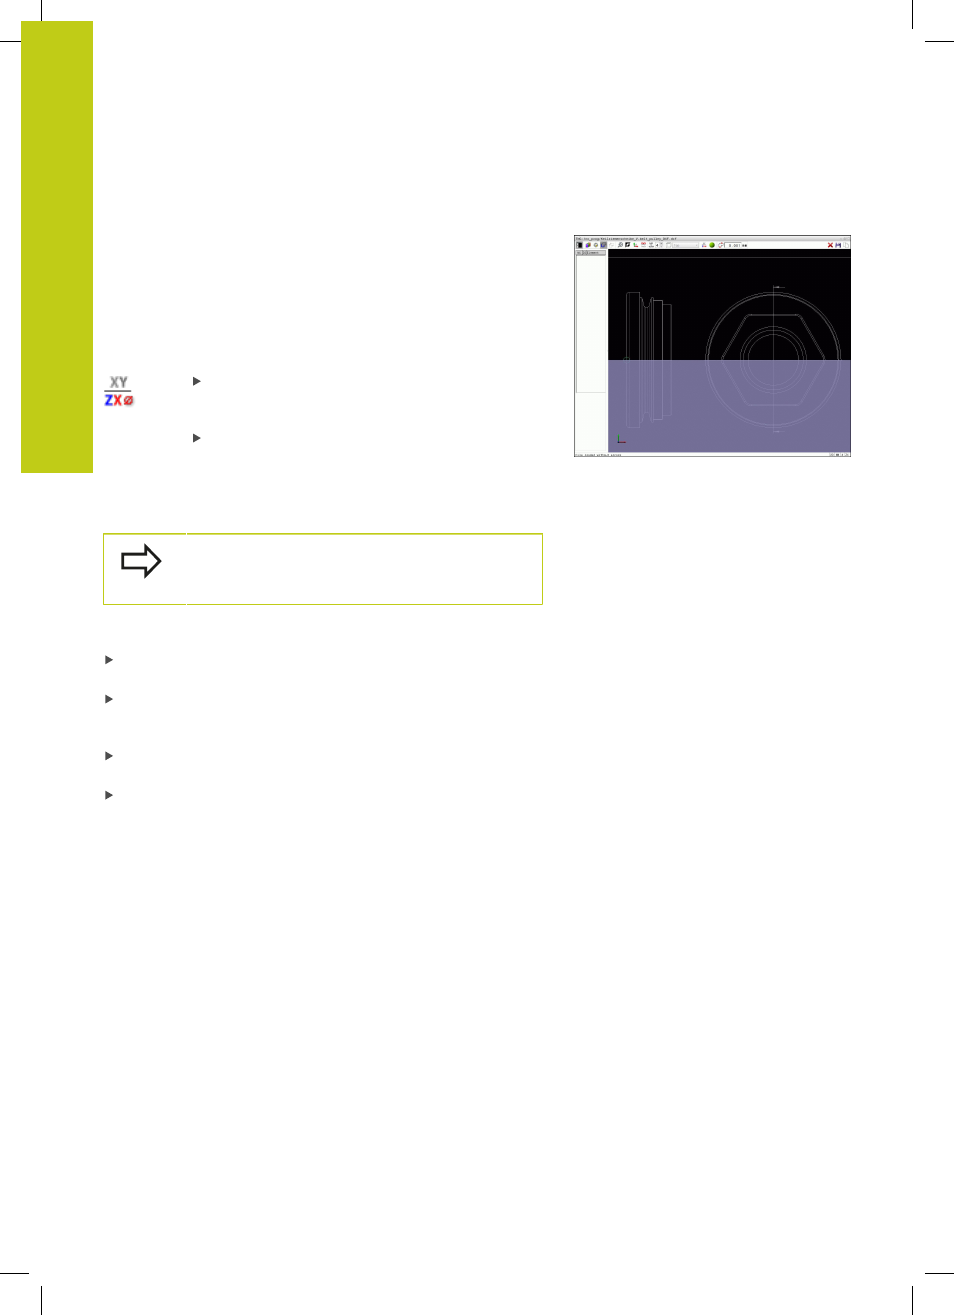
Select a contour for a turning operation
You can also use the DXF converter (option #50) to select contours
for turning. The icon is dimmed if option #50 is not enabled. Before
you enter a turning contour, you must set the datum onto the
rotary axis. If you select a turning contour, it is saved with Z and X
coordinates. In addition, all X coordinate values in turning contours
are transferred as diameter values, i.e. the drawing dimensions for
the X axis are doubled. All contour elements below the rotary axis
are not selected and are dimmed.
Select the mode for choosing a turning contour:
The TNC shows only the selectable elements
above the rotation center
Select the desired contour elements with the left
mouse button: The TNC displays the selected
contour elements in blue and shows the selected
elements with a symbol (circular or straight) in the
list view window
The icons specified above have identical functions
for both milling and turning. Icons not available for
turning are dimmed.
You can also use the mouse to change the turning graphic display.
The following functions are available:
To shift the model shown: Hold the center mouse button or the
wheel button down and move the mouse.
To zoom in on a certain area: Mark a zoom area by holding
the left mouse button down. After you release the left mouse
button, the TNC zooms in on the defined area.
To rapidly magnify or reduce any area: Rotate the mouse wheel
backwards or forwards.
To return to the standard display: Double-click with the right
mouse key.