Getting started, Windows quick audio test – Lynx Studio LT-TB Thunderbolt User Manual
Page 20
20
6 Getting Started
With the LT-TB drivers and Mixer application installed, the Aurora can now be used with
most popular third-party audio applications. However, it is a good practice to verify that the
system is functional by testing the Aurora/TB with the following procedure.
6.1 Windows Quick Audio Test
The installation of your Aurora-TB can be tested using the Lynx Mixer and the Lynx Demo
application that is installed automatically by the driver installer. This is a quick way of
verifying that the interface is installed correctly and properly connected to your external
equipment.
1. Connect the Analog Outputs of the Aurora to monitoring equipment capable of delivering
an audio signal for listening via headphones or speakers. Depending on your external
equipment, you may be using the Lynx CBL-AOUT85 or a third party equivalent. Verify
that Analog Outs 1 & 2 of the Aurora are connected to your external equipment. These
are the outputs used for this test.
2. For this test we will set the Aurora on Internal as the clock source. This is the default
state of the Aurora. If this has been altered, use the Lynx Mixer app to set the SYNC
SOURCE to “Internal”.
3. On the Aurora front panel, verify that TO ANALOG OUT is set to “LSLOT IN”
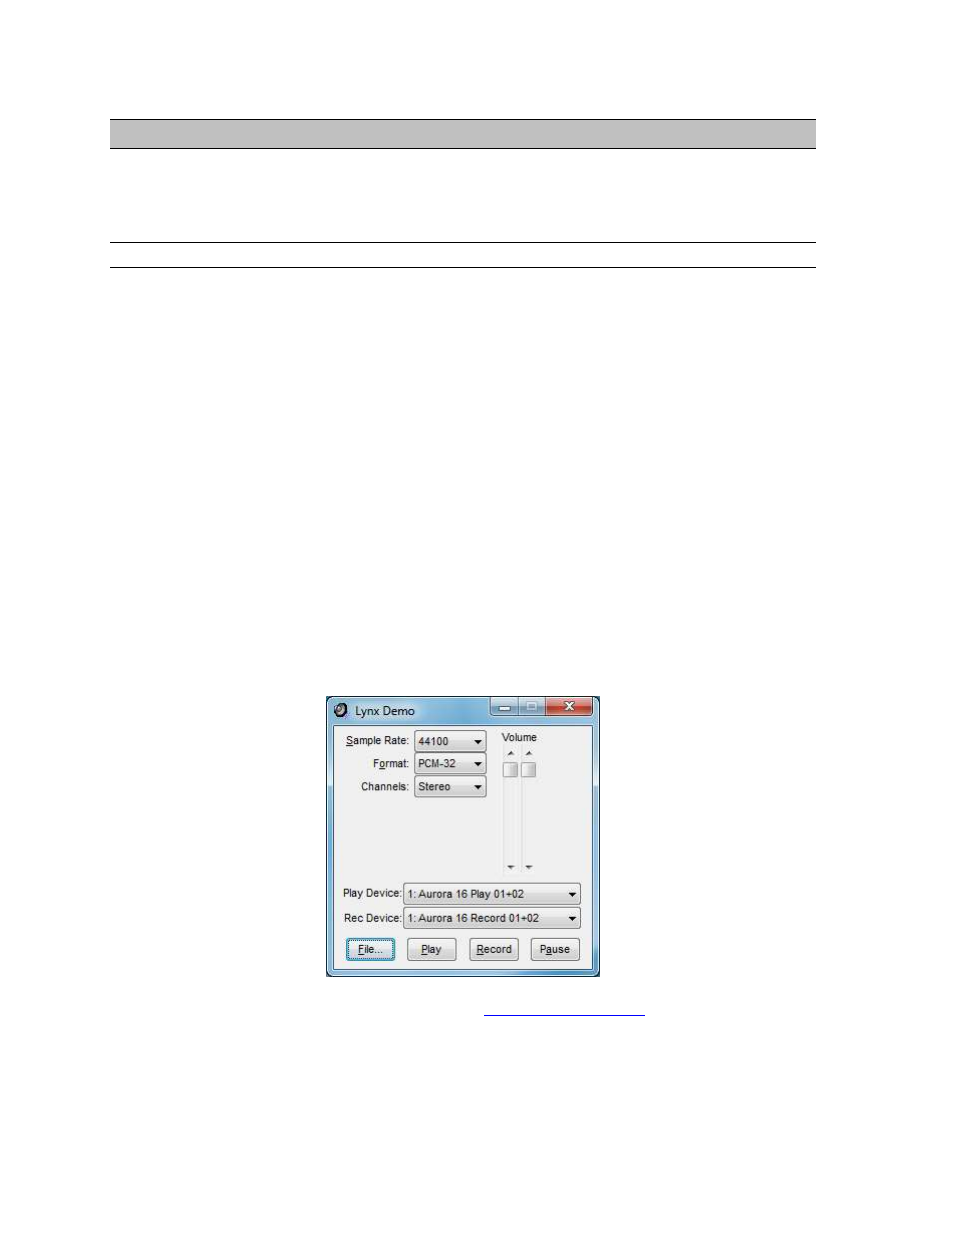
4. Open the Lynx Demo application by clicking Start > All Programs > Lynx Studio
Technology > Lynx Demo. The Lynx Demo program should appear in the upper left
corner of your screen. Make certain that the Play Device is set to Aurora Play 1+2.
5. Download “SineWaveMinus16.zip” from the
website: Support >
Downloads > Product=LT-TB > OS = Windows > All Files. Save it to the computer’s
desktop. Double click the file to extract SineWaveMinus16.wav
6. In Lynx Demo, click “File” and navigate to the computer’s Desktop, then select
“SineWaveMinus16.wav” and click “Open.”