Lynx Studio LT-TB Thunderbolt User Manual
Page 42
42
device order here. To determine which unit in the list is the one that you wish to use, follow
this process:
* From Control Panel > Sound > Playback, you will see all of the Aurora Devices. Play 1+2
in this list will be labeled as “Speakers”. Click one of them to select.
* Click Properties > Advanced
* Click the “Test” Button
* Look at the Auroras in your rack. Whichever shows Meter activity for the first pair of
channels when “Test” is clicked corresponds to that instance.
* When you determine the desired unit, from the Playback tab of SOUND, right-click that
device and select “Set as Default Device”.
When using ASIO applications, all of the Lynx Interfaces will be presented as a single ASIO
device, labeled “Lynx ASIO”. When “Lynx ASIO” is selected as the current audio device,
all of the I/O from all of the interfaces will be presented in order. The device order and
channel mode of each interface determines its position in the list of I/O. ASIO devices will
be labeled with the Device ID, then the Play or Record channels. For instance:
“1: Aurora Play 1+2” is for Unit 1, Channel 1+2
“2: Aurora Play 3+4” is for Unit 2 Channels 3+4
etc.
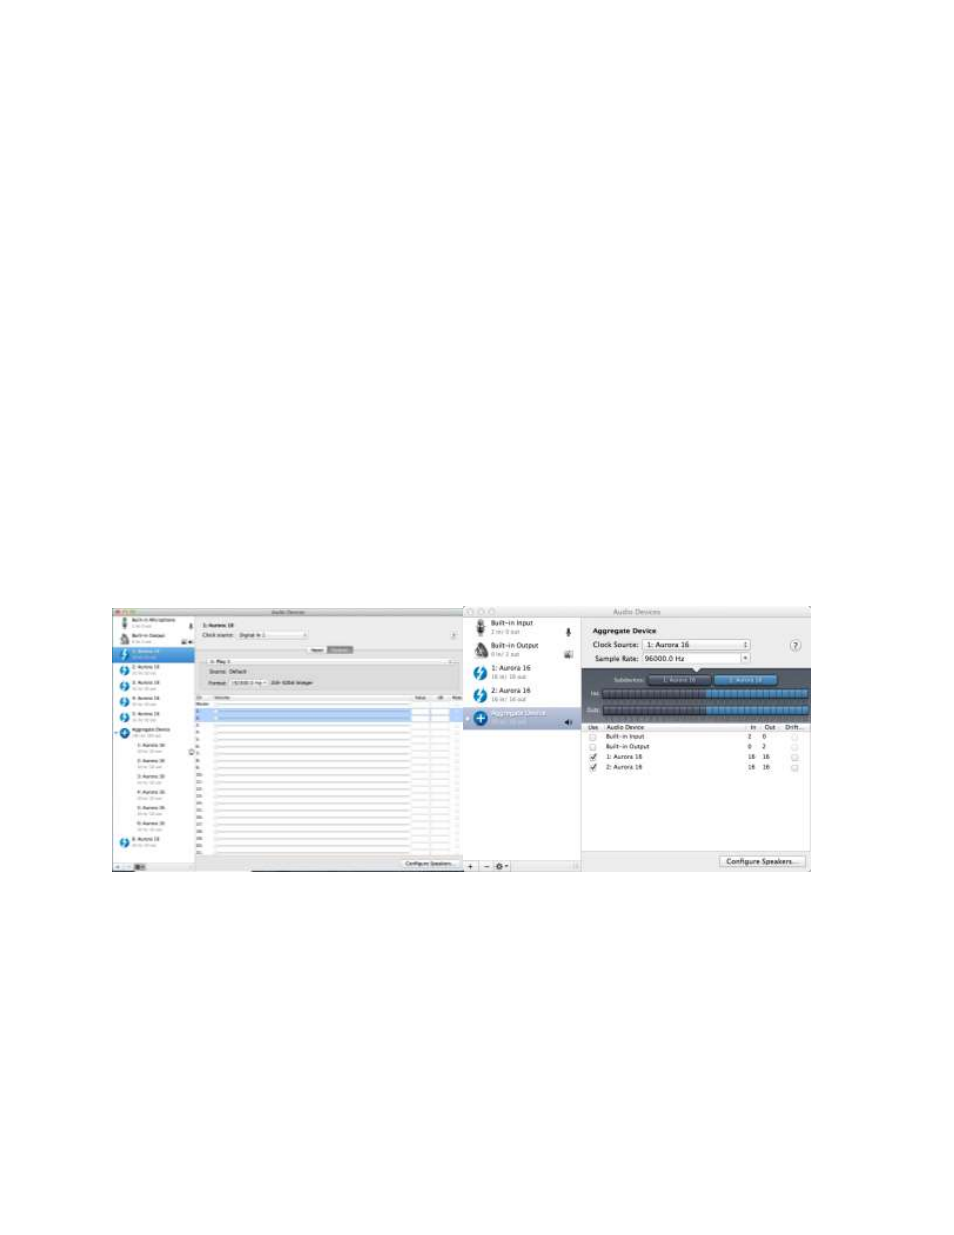
In OS X, all the units must be configured into a single “Aggregate Device” in order for their
combined I/O to be accessible to an audio application.
An Aggregate Device is created from Applications > Utilities > Audio MIDI Setup in OS X.
Make sure that the Audio Window is open. Click the “+” button at the bottom of the window
to create a new aggregate device. You can name it whatever you wish, or accept the default
name. Click to check each of the Lynx Interfaces that you wish to be combined into this
aggregate device. Up to six interfaces can be added. Make sure that the Drift or Resample
box is Un-Checked for each selected interface.
Now, your multi interface LT-TB Aggregate Device is ready to use from within your favorite
Audio application.