Installing the printer driver (network) – QuickLabel 200 Kiaro! User Manual
Page 30
Quick Start Guide
16
Kiaro! 200 User Guide
5
Choose
Update Driver
. When you are prompted, select the
Search automatically
for updated driver software
option. Windows will locate the driver on your
system and create a printer item.
Installing the Printer Driver (Network)
Use the following instructions to install the printer via a network connection on
Windows XP, Windows Vista, Windows 7, or Windows 8.
For detailed information about the topic of networking, refer to documentation
applicable to your network environment and/or contact your network administrator.
The printer uses the following ports: TCP 50000,50001,9100, UPD 50001,50002. The
printer cannot be used on a network where other devices on the network use the same
ports.
Note: When the Windows logo testing, publisher verification, or digital signing warning
messages appear, choose to continue the installation. These messages indicate that the driver has
not been “logo tested” by Microsoft. However, it has been tested thoroughly by QuickLabel
Systems, and will not cause any of the problems listed in these messages.
1
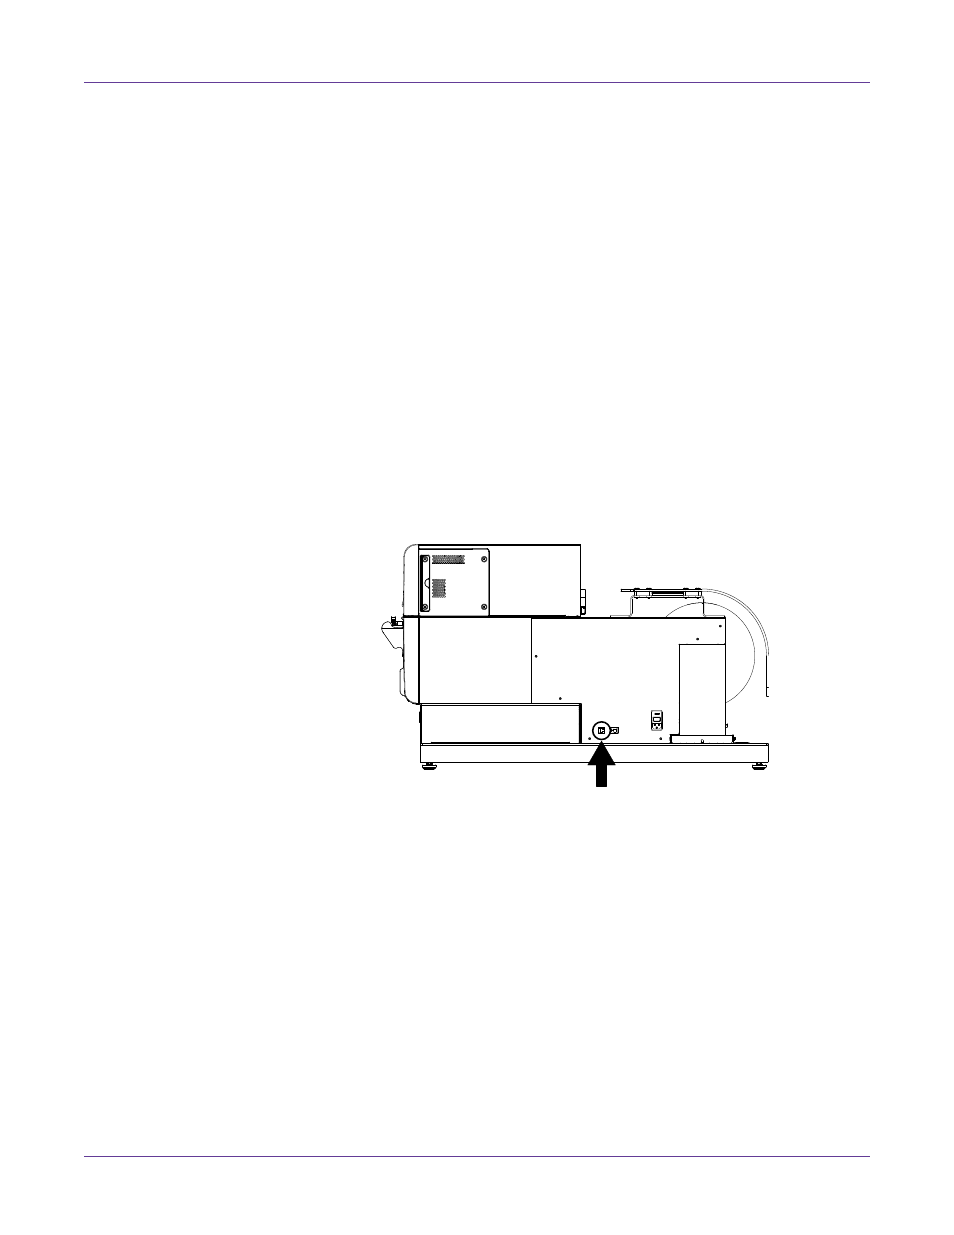
Ensure the printer is powered on and connected to the network via a LAN cable.
2
Power on your computer and insert the Kiaro! 200 Installer CD in the CD drive.
The Installer CD wizard will open. Choose
Next
.
Note: If the autorun program does not start automatically, use Windows Explorer to
launch the “Setup.exe” file located in the root level of the CD.