Turning on auto-calibration, Adjusting the density, Turning on auto-calibration adjusting the density – QuickLabel 200 Kiaro! User Manual
Page 95
Kiaro! 200 Maintenance Utility
Kiaro! 200 User Guide
81
3
Choose
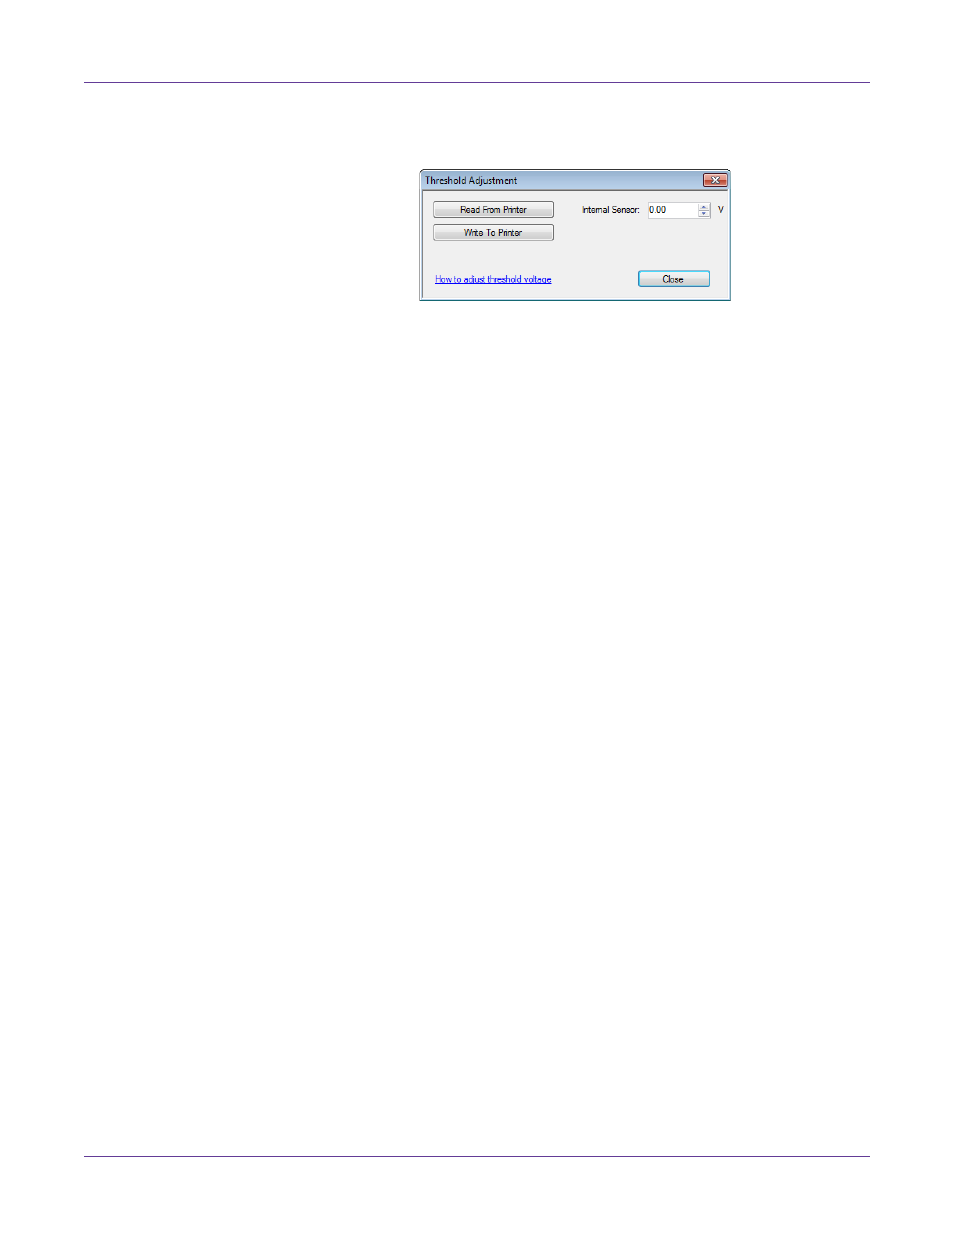
TOF Threshold Adjustment
. The Threshold Adjustment window will
open.
4
To read the internal sensor value from the printer and set the
Internal Sensor
control accordingly, choose
Read From Printer
.
5
Enter an adjustment based on the error message table above.
6
Choose
Write to Printer
. The threshold settings will be saved.
Related Topics:
- Turning On Auto-Calibration on page 81
Turning On Auto-Calibration
If the top-of-form sensor threshold has been adjusted in the Threshold Adjustment
window, the printer will use the adjusted calibration value.
Use the auto-calibration feature to disable this adjustment and return the printer to the
default automatic calibration mode.
1
Launch the Kiaro! 200 Maintenance Utility.
From the Windows Start Menu, choose
Start > All Programs > QuickLabel
Kiaro! 200 > Kiaro! 200 Maintenance Utility
. A language and printer prompt will
open.
Select a display language and the Kiaro! 200 printer you want to connect to.
Choose
OK
.
2
Choose the
Adjustments
tab.
3
Choose
Turn Auto-Calibration On
. Top-of-form sensor threshold adjustments
will be cleared and automatic calibration will be enabled.
Related Topics:
- Adjusting the Top-of-Form Threshold on page 80
Adjusting the Density
Use this adjustment if you notice color density differences between the areas printed
by each printhead.
1
Ensure that 8.35 x 6.1 in. (212 x 155 mm) media is loaded.