10 clone, 11 flip, 12 personalizing the toolbar – LSC Lighting CLARITY LX Series v.1 User Manual
Page 161: 10 dmx input

Clarity
Proglets
Operator Manual
Page 151
Hint: There are also Copy and Paste buttons on the front panel command centre. Copy and
Paste is a powerful function. It allows you to duplicate attribute settings between different
types of fixtures with just a few clicks or keystrokes.
For example, you have 12 fixtures that use Red, Green, Blue (additive) colour mixing and 12
fixtures that use Cyan, Magenta, Yellow (subtractive) colour mixing. Select the RGB fixtures
and set them to a colour (or even fan a range of colours) then press Copy. Select the CMY
fixtures then press Paste. All 24 fixtures are now set to matching colours. Clarity’s fixture
translation engine is very comprehensive and will attempt to convert all programming for all
attribute types.
21.9.10 Clone
This Clone function operates on the current fixture selection rather than patch selection as
described in the “Patch” section. See section 11.4.
21.9.11 Flip
Flip will alter the current pan and tilt values of the selected moving yoke fixture(s) to the other
possible combination of values that achieves the same position on stage.
Moving yoke fixtures typically have 2 combinations of pan & tilt values that can aim the fixture
at the same location. When a cue-list transitions from one position to another, it might be that
the yoke does an undesired ‘twirl’ because it current pan and tilt values cause it to take the
indirect route to the new position. If this occurs, edit the cue containing the starting position and
select the fixture that is taking the wrong path, then from the programmer's Toolbox click Flip,
then save the edit. The fixture will now transition to the next cue via the opposite route.
21.9.12 Personalizing the Toolbar
The Programmer Toolbar can be personalized by moving any button from the main toolbar to
the Toolbox and vice versa.
Right-click on any toolbar button and select Move to toolbox.
Right-click on any toolbox item and select Move to toolbar.
21.10 DMX INPUT
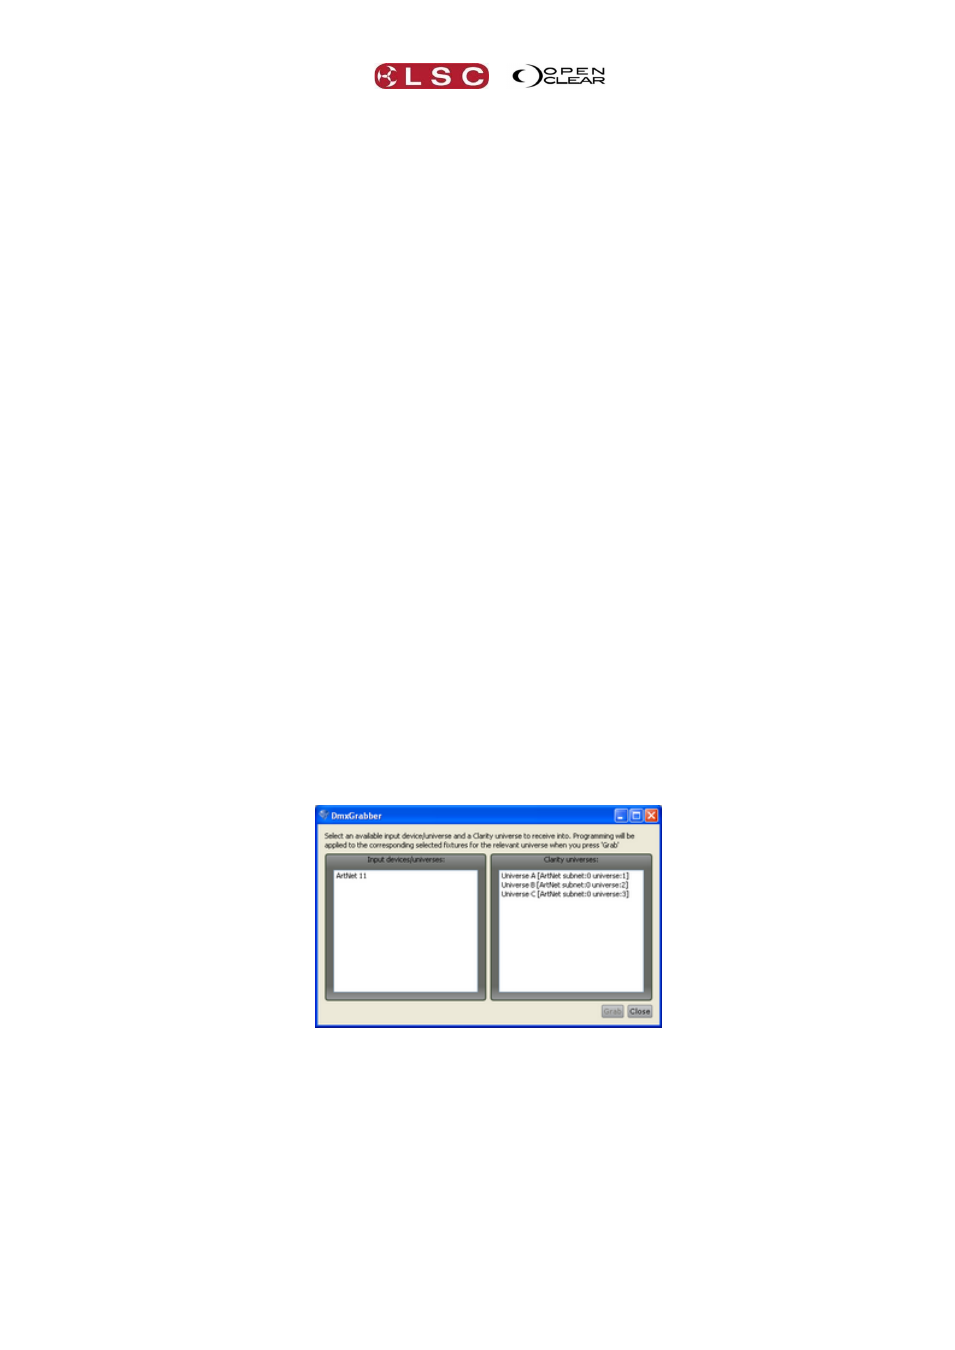
DMX data from other DMX devices can be grabbed by the current programmer.
Click on the programmer's Toolbox menu and select Grab DMX....
In the Input devices/universes pane on the left, select an available DMX input. At the
time of writing only ArtNet input is supported.
In the Clarity universes pane on the right, select the Clarity universe to which the
input DMX is to be applied.
In the current programmer, select the fixtures to which the input DMX levels are to be
applied.
Click Grab, to apply the current input DMX levels to the selected fixtures in the current
programmer.
Click Close when finished.