Distort objects using an envelope – Adobe Illustrator CS3 User Manual
Page 233

ILLUSTRATOR CS3
User Guide
227
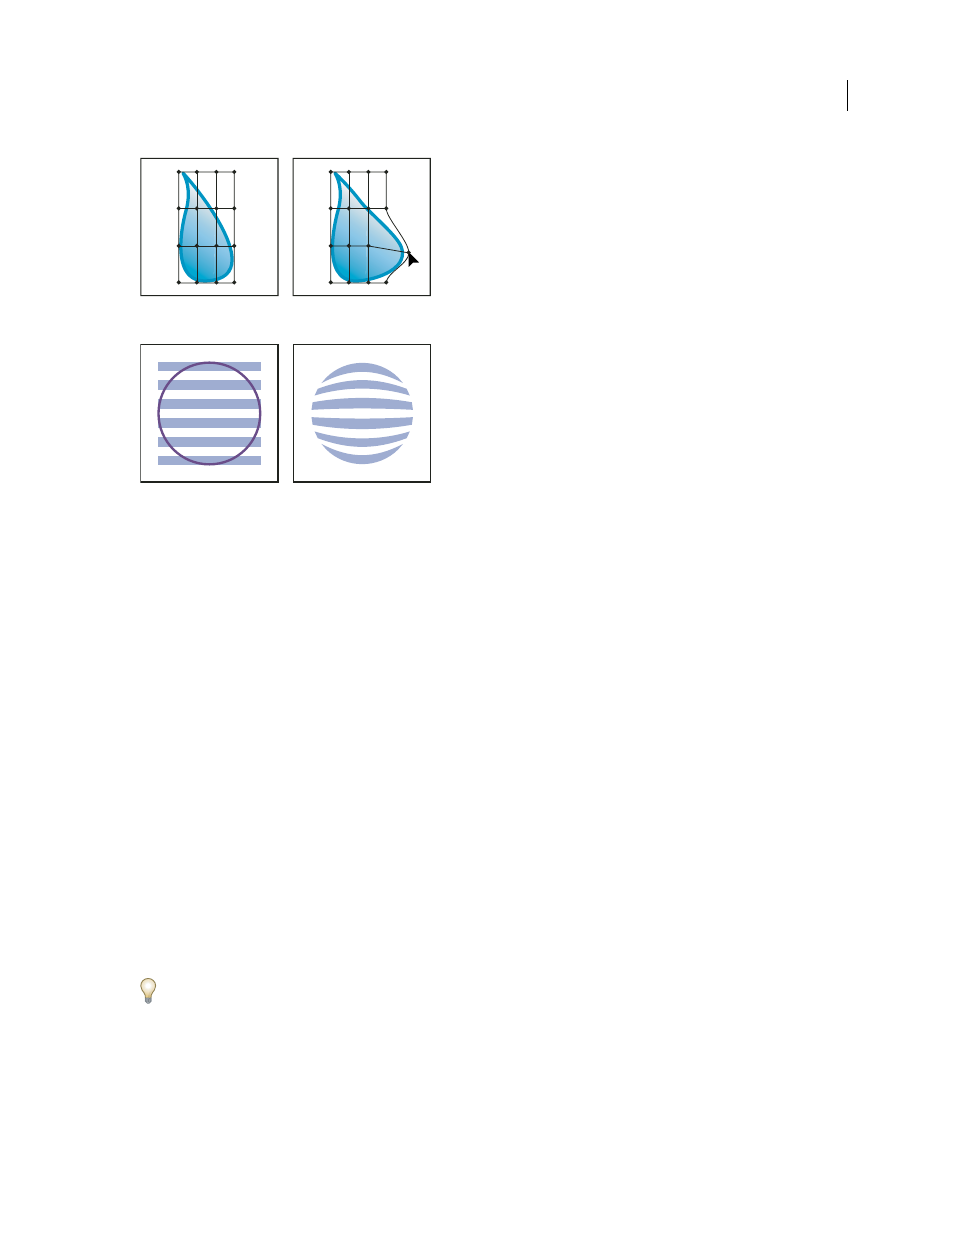
Mesh grid envelope
Envelope created from another object
The Layers panel lists envelopes as <Envelope>. Once you apply an envelope, you can continue to edit the original
objects. You can also edit, delete, or expand an envelope at any time. You can edit an envelope shape or the enveloped
object, but not both at the same time.
Distort objects using an envelope
1
Select one or more objects.
2
Create the envelope using one of the following methods:
•
To use a preset warp shape for the envelope, choose Object > Envelope Distort > Make With Warp. In the Warp
Options dialog box, select a warp style and set options.
•
To set up a rectangular grid for the envelope, choose Object > Envelope Distort > Make With Mesh. In the
Envelope Mesh dialog box, set the number of rows and columns.
•
To use an object as the shape of the envelope, make sure the object is at the top of the stacking order for the selected
object. If it’s not, use the Layers panel or an Arrange command to move it up, and reselect all the objects. Then
choose Object > Envelope Distort > Make With Top Object.
3
Reshape the envelope by doing any of the following:
•
Drag any anchor point on the envelope with the Direct Selection or Mesh tool.
•
To delete anchor points on the mesh grid, select an anchor point with either the Direct Selection or Mesh tools,
and then press Delete.
•
To add anchor points to the mesh grid, click on the grid with the Mesh tool.
To apply a stroke or fill to an envelope, use the Appearance panel.