Adjusting video and audio in/out points – Grass Valley EDIUS v.5.1 User Manual
Page 271
EDIUS — User Reference Guide
271
Clip Operations
Each click of the toggle button selects a different mode and changes the
In
and
Out
button icon in the Player as follows:
Set Video In
Set Video Out
Set Audio In
Set Audio Out
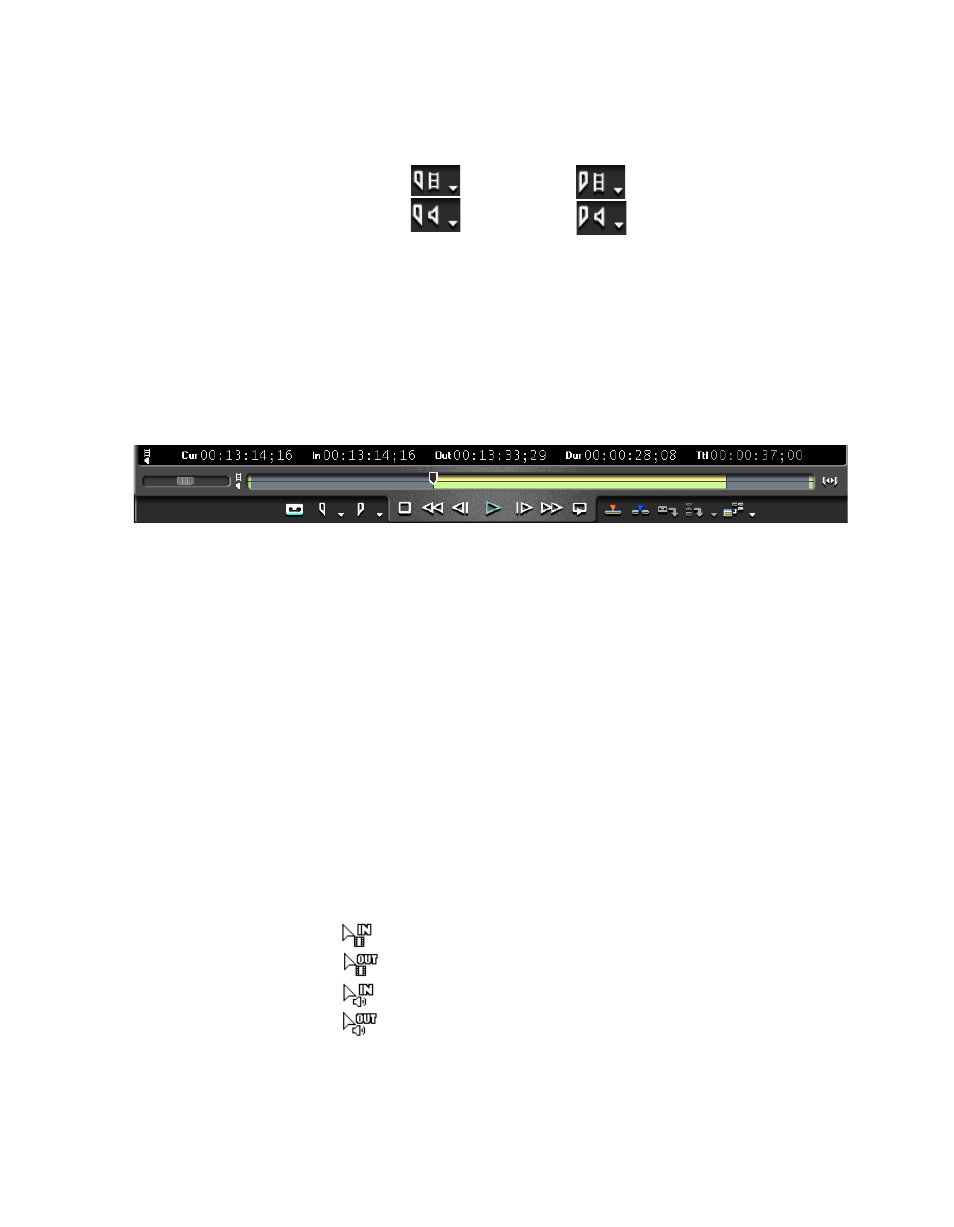
With In and Out points set separately for video and audio the position bar
in the player is divided horizontally into two sections. The upper (yellow)
section represents the video and the lower (green) section the audio. See
for an example.
Note
If the position bar is not divided, place the mouse cursor at the far right or far
left edge of the position bar. Click the left mouse button while holding down
the [CTRL] key and the position bar is divided.
Figure 266. Split Position Bar for Video and Audio
Alternative Methods:
•
Select Marker>Set Audio In or Marker>Set Audio Out from the
Preview window menu bar.
•
Press [
U
] or [
P
] on the keyboard to set In or Out points respectively.
Note
When setting In and Out points for either video or audio only, only that
portion of the clip can be placed on the Timeline. If In and Out points are set
for both parts of the clip, both may be placed on the Timeline as a single clip
with separate video and audio In and Out points.
Adjusting Video and Audio In/Out Points
To adjust the In and Out points for video and audio, position the cursor at
the current In or Out point on the video or audio position bar. The cursor
changes to indicate which point will be adjusted as follows:
•
- Video In
•
- Video Out
•
- Audio In
•
- Audio Out
Hold down the left mouse button and drag the cursor on the position bar
in the direction in which you wish to adjust the In or Out point.