Output to dv (generic ohci) device – Grass Valley EDIUS v.5.1 User Manual
Page 704
704
EDIUS — User Reference Guide
Section 8 — Exporting/Project Output
3.
Select “Microsoft AV/C Tape Subunit Device” from the device drop-
down list.
Note
To use HDV devices, Windows XP Service Pack 2 or higher must be installed.
If the HDV device is not recognized, check the Windows Device Manager to
see if an entry for “AV/C Tape Device” appears in the “Sound, video and game
controllers” category. Also, check that the HDV camera is in HDV fixed mode
and that HDV-DV convert is off.
4.
Click the
Add File to List
button.
5.
Select the .m2t output file and click the
Open
button.
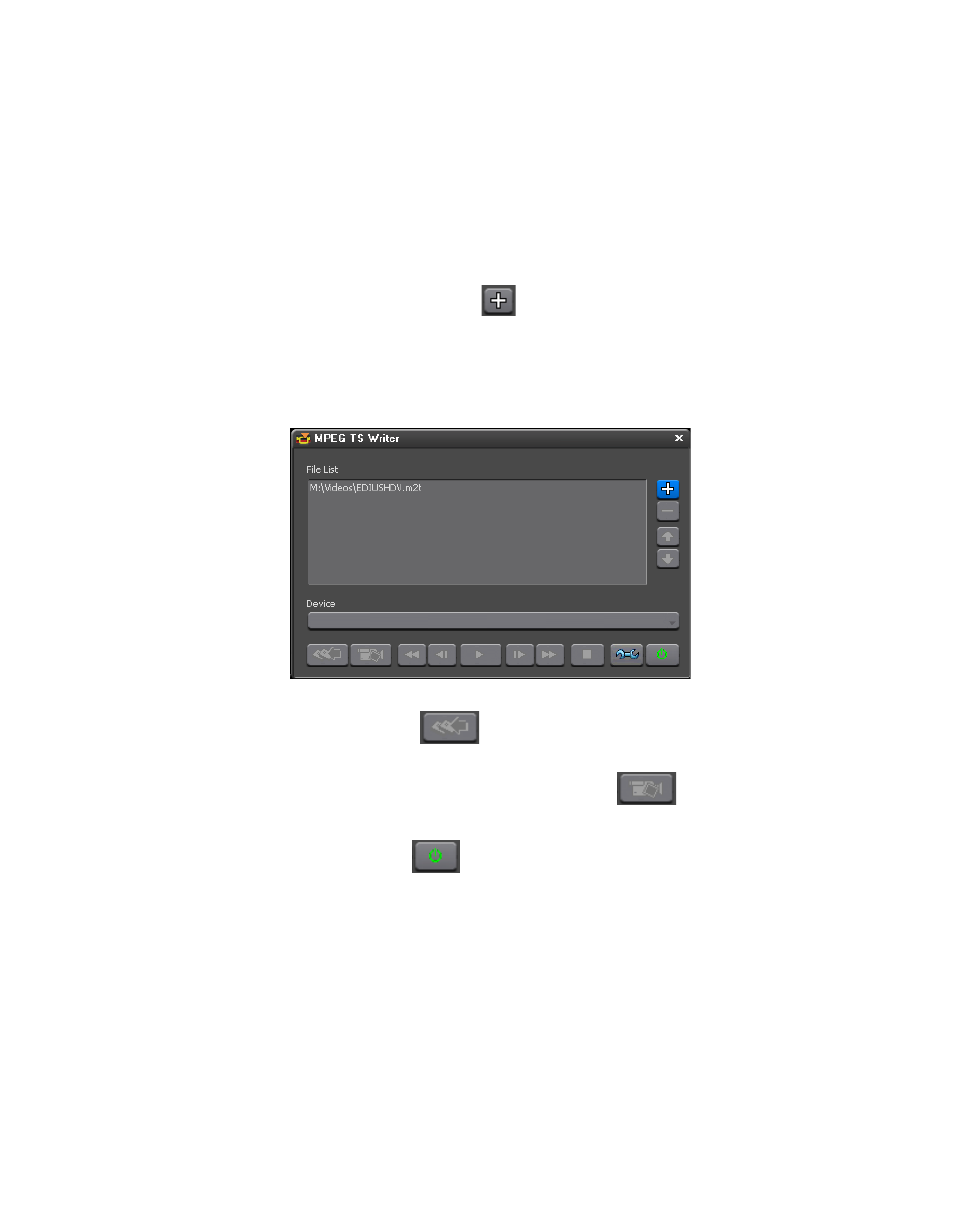
The file is added to the file list (see
).
Figure 857. MPEG TS Writer Output File List
6.
Click the
Write
button.
Note
To output the video is from the HDV device component output for previewing
without recording to tape, click the Preview
button,
7.
Click the
OK
button.
8.
Click the
Exit
button to close the MPEG TS Writer dialog.
Output to DV (Generic OHCI) Device
To output to a DV tape through a generic OHCI connection, do the fol-
lowing:
1.
Connect the DV device to the IEEE1394 port on the EDIUS computer
with a FireWire/IEEE1394 cable.
2.
Set the DV device to “Play” mode.
3.
Select Settings>Project Settings in the Preview window menu bar.