Placing clips by channel, Figure 357 – Grass Valley EDIUS v.5.1 User Manual
Page 335
EDIUS — User Reference Guide
335
Clip Placement
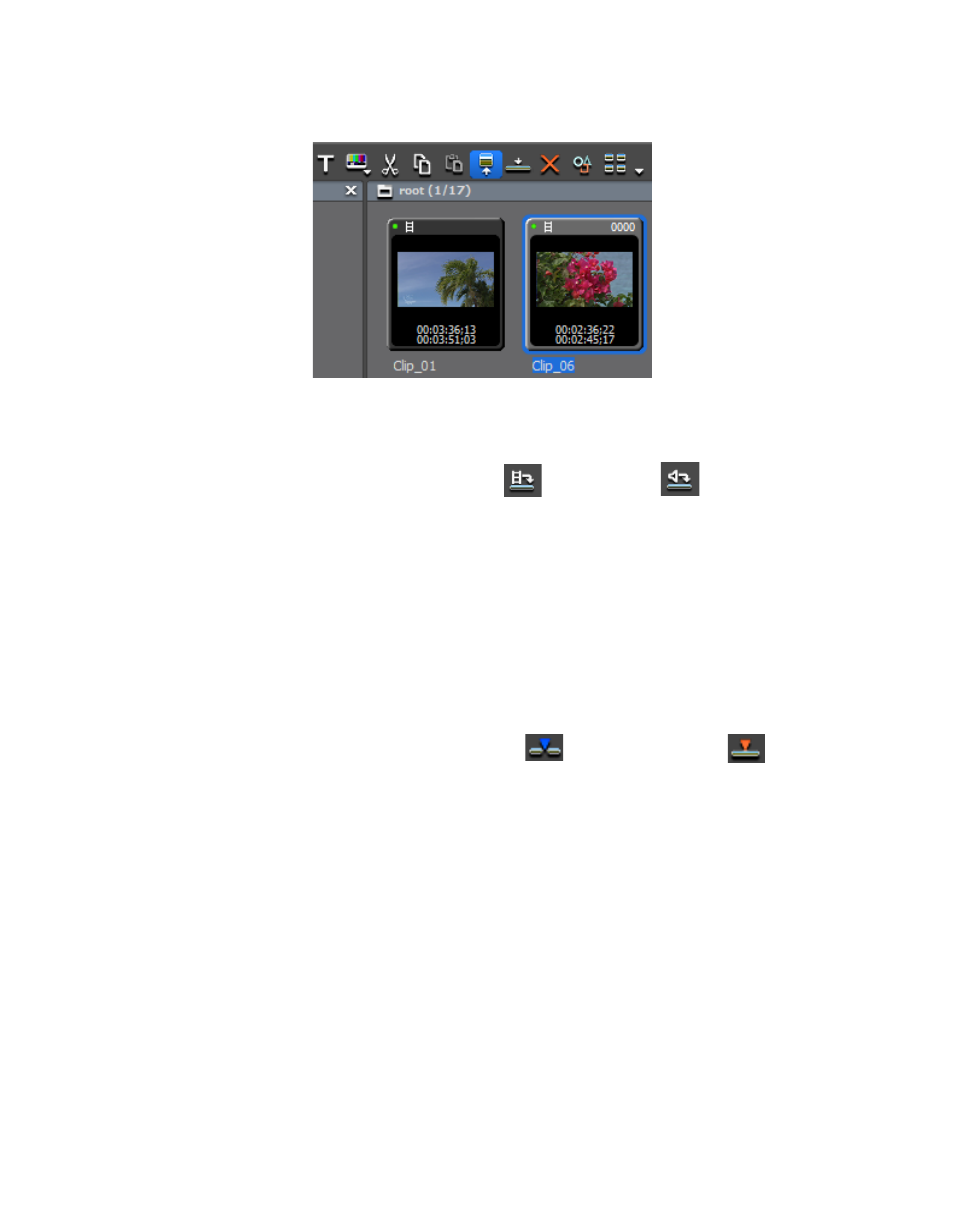
Figure 357. Asset Bin - Show in Player
Review the clip in the Player. If necessary, set In and Out points using the
procedures documented in In and Out Points
.
2.
Click the
Set Add Video
or
Set Add Audio
button to enable or
disable the video or audio elements as desired.
Note
If the Set Add Video or Set Add Audio buttons have a diagonal red line
through them (clicking the button toggles between the enabled and disabled
states), the corresponding clip element will not be placed on the Timeline.
Note
[SHIFT]+[J] also toggles the Set Add Video button and [SHIFT]+[K] also
toggles the Set Add Audio button.
3.
Select the track on which to place the clip.
4.
Position the Timeline cursor at the desired insertion point.
5.
Click the
Insert to Timeline
or
Overwrite to Timeline
button.
Only the video or audio of the clip is placed on the Timeline at the Timeline
cursor position.
Alternative Methods:
•
After
, drag and drop the clip in the Player to the Timeline
•
Set In and Out points for the video or audio element only. Click
Insert to
Timeline
or
Overwrite to Timeline
. In this case, regardless of the state of the
Set Add Video
or
Set Add Audio
buttons, only the element with In and Out
points is placed on the Timeline.
Placing Clips by Channel
Placing clips by channel operates with the Video Channel and Audio
Channel settings for the track in the Track Panel.
illustrates the
buttons in the Track Panel which enable channel filtering.