Rendering sequence overload areas – Grass Valley EDIUS v.5.1 User Manual
Page 443

EDIUS — User Reference Guide
443
Rendering Operations
Important Rendering Considerations:
•
When CG animation data is placed as consecutive still images on the
Timeline, rendering the area does not affect the playback speed. In this
case, use the “Render and Add to Timeline” function as explained in
Exporting Video Clips from the Timeline
.
•
Once rendered, if a clip is repositioned in any way (including a ripple
delete), the rendering for that clip is still valid.
•
Tracks with video muted cannot be rendered.
•
If a rendered clip needs to be utilized in project output, it should be
saved with the Exporter.
•
A temporary rendering file is created in the “rendered” folder. This
folder is a sub-folder of the project folder. Make sure there is enough
disk space (approximately twice the size of the file(s) to be rendered) for
rendering before starting the rendering process. See Deleting Temporary
Files Manually
for more information on creating more disk
space.
Rendering Sequence Overload Areas
To render all of the overload and loaded areas in the entire sequence, do
any of the following:
•
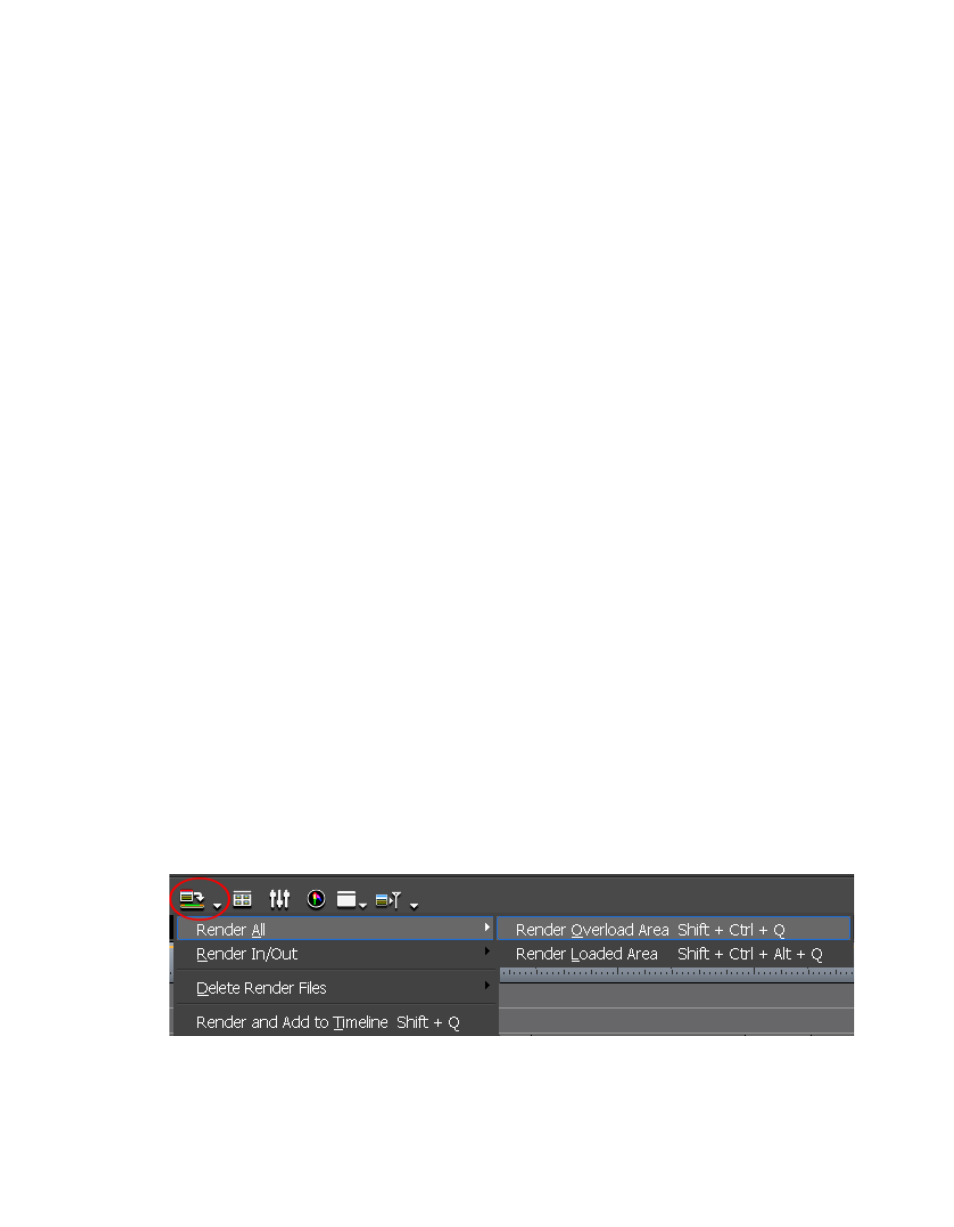
Click the list button [V] on the
Render In/Out - Render overload area
button
and select “Render All>Render Overload Area” from the menu as illus-
trated in
.
•
Select Render>Render Sequence>Render Overload Area from the
Preview window menu bar.
•
Press the [
SHIFT
]+[
CTRL
]+[
Q
] keys on the keyboard.
A Rendering dialog appears and rendering begins.
Note
Click the Abort button in the Rendering dialog to stop rendering in progress.
Figure 497. Timeline Render In/Out Menu - Render Overload Area