Adobe Premiere Pro CS6 User Manual
Page 400

Hue Balance And Angle Controls hue balance and hue angle using a color wheel. The small circle moves about the center of the wheel and
controls the hue (UV) translation. This changes the balance magnitude and balance angle. The small perpendicular line sets the relative
coarseness/fineness of the control, which controls the balance gain.
Adjustments to the Hue Balance And Angle can be viewed in the vectorscope.
Hue Angle Controls the hue rotation. The default value is 0. Negative values rotate the color wheel to the left and positive values rotate the color
wheel to the right.
Balance Magnitude Controls the amount of color balance correction as determined by the Balance Angle.
Balance Gain Adjusts brightness values by multiplication so that lighter pixels are affected more than darker pixels.
Balance Angle Controls the selection of desired hue value.
Saturation Adjusts the image’s color saturation. The default value is 100, which doesn’t affect the colors. Values less than 100 decrease
saturation, with 0 completely removing any color. Values greater than 100 produce more saturated colors.
Auto Black Level Raises the black levels in a clip so the darkest levels are above 7.5 IRE (NTSC) or 0.3v (PAL). A portion of the shadows is
clipped and the intermediate pixel values are redistributed proportionately. As a result, using Auto Black Level lightens the shadows in an image.
Auto Contrast Applies both the Auto Black Level and Auto White Level simultaneously. Auto Contrast makes the highlights appear darker and
shadows appear lighter.
Auto White Level Lowers the white levels in a clip so the lightest levels do not exceed 100 IRE (NTSC) or 1.0v (PAL). A portion of the highlights
is clipped and the intermediate pixel values are redistributed proportionately. As a result, using Auto White Level darkens the highlights in an
image.
Black Level, Gray Level, White Level Sets the levels for darkest shadow, midtone gray, and lightest highlight using the different Eyedropper
tools to sample a target color in the image or anywhere on your monitor’s desktop. You can also click the color swatch to open the Adobe Color
Picker and select a color to define the black, midtone gray, and white.
Input Levels The outer two Input Levels sliders map the black point and white point to the settings of the Output sliders. The middle Input slider
adjusts the gamma in the image. It moves the midtone and changes the intensity values of the middle range of gray tones without dramatically
altering the highlights and shadows.
Output Levels Map the black point and white point input level sliders to specified values. By default, the Output sliders are at level 0, where the
shadows are completely black, and level 255, where the highlights are completely white. So, in the default position for the Output sliders, moving
the black input slider maps the shadow value to level 0, and moving the white point slider maps the highlight value to level 255. The remaining
levels are redistributed between levels 0 and 255. This redistribution decreases the tonal range of the image, in effect reducing the overall contrast
of the image.
Input Black Level, Input Gray Level, Input White Level Adjust the black point, midtone, and white point input levels for the highlights, midtones,
or shadows.
Output Black Level, Output White Level Adjust the mapped output levels for the input black and input white levels for the highlights, midtones,
or shadows.
Leave Color effect
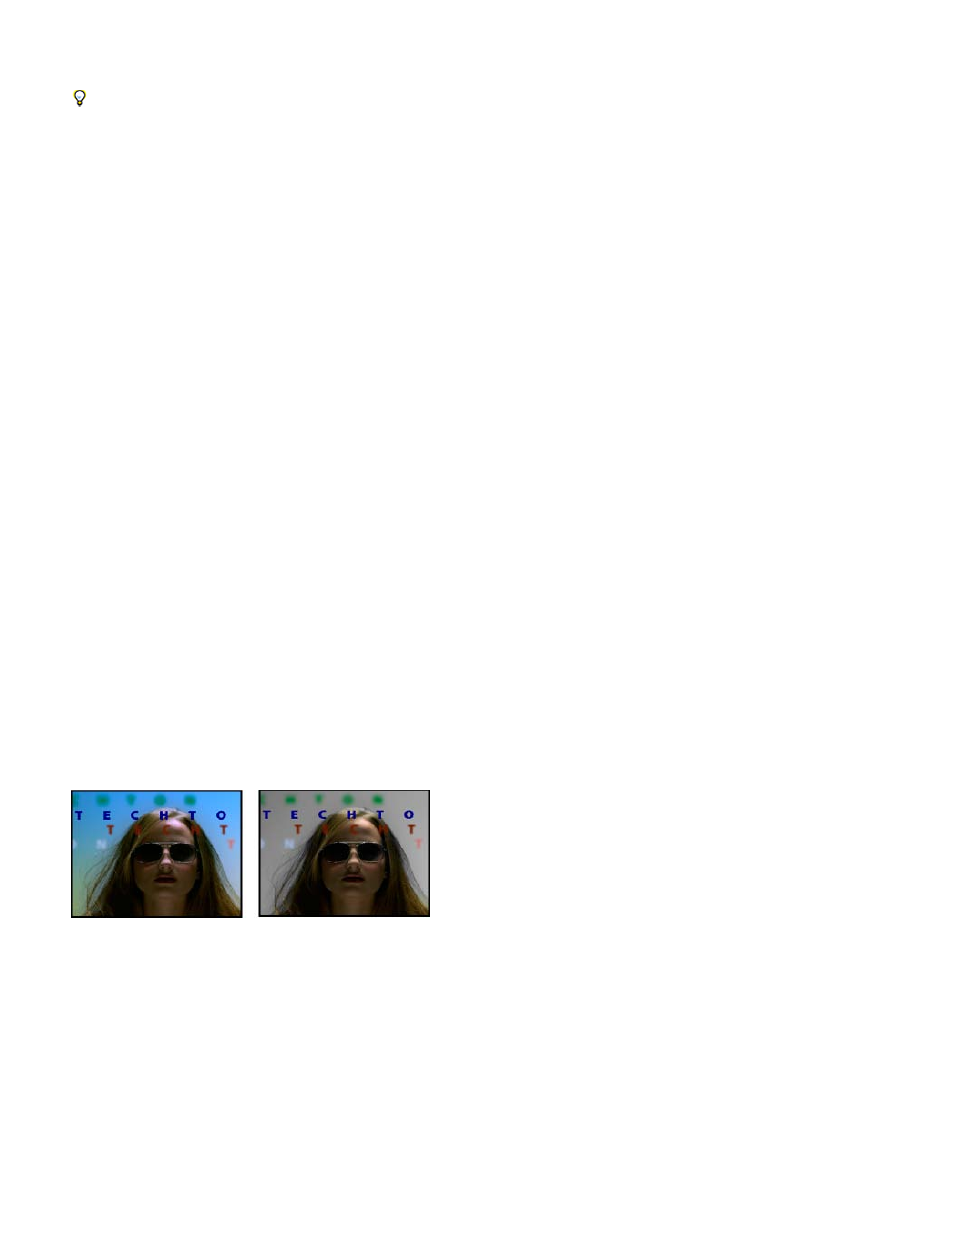
The Leave Color effect removes all colors from a clip except those similar to the Color To Leave. For example, a shot of a basketball game could
be decolored except for the orange of the ball itself.
How to leave two colours in a clip
by Ann Bens.
Richard Harrington
the Creative COW website that demonstrates the Leave Color effect in Adobe Premiere Pro.
For more information about the Leave Color effect in Premiere Pro,
Learn by Video and Video2Brain by Jan Ozer.
Original image (left), and with effect applied (right)
Amount To Decolor How much color to remove. 100% causes areas of the image dissimilar to the selected color to appear as shades of gray.
Color To Leave Use the eyedropper or Color Picker to determine which color to leave.
Tolerance The flexibility of the color-matching operation. 0% decolors all pixels except those that exactly match Color To Leave. 100% causes no
color change.
Edge Softness The softness of the color boundaries. High values smooth the transition from color to gray.
Match Colors Determines whether colors’ RGB values or hue values are compared. Choose Using RGB to perform more strict matching that
usually decolors more of the image. For example, to leave dark blue, light blue, and medium blue, choose Using Hue and choose any shade of
blue as Color To Leave.
Luma Corrector effect
The Luma Corrector effect lets you adjust the brightness and contrast in the highlights, midtones, and shadows of a clip. You can also specify the
color range to be corrected by using the Secondary Color Correction controls.
396