Advancing and replacing blades – QuickLabel Vivo! Touch User Manual
Page 111
Accessories
Vivo! Touch User Guide
97
6
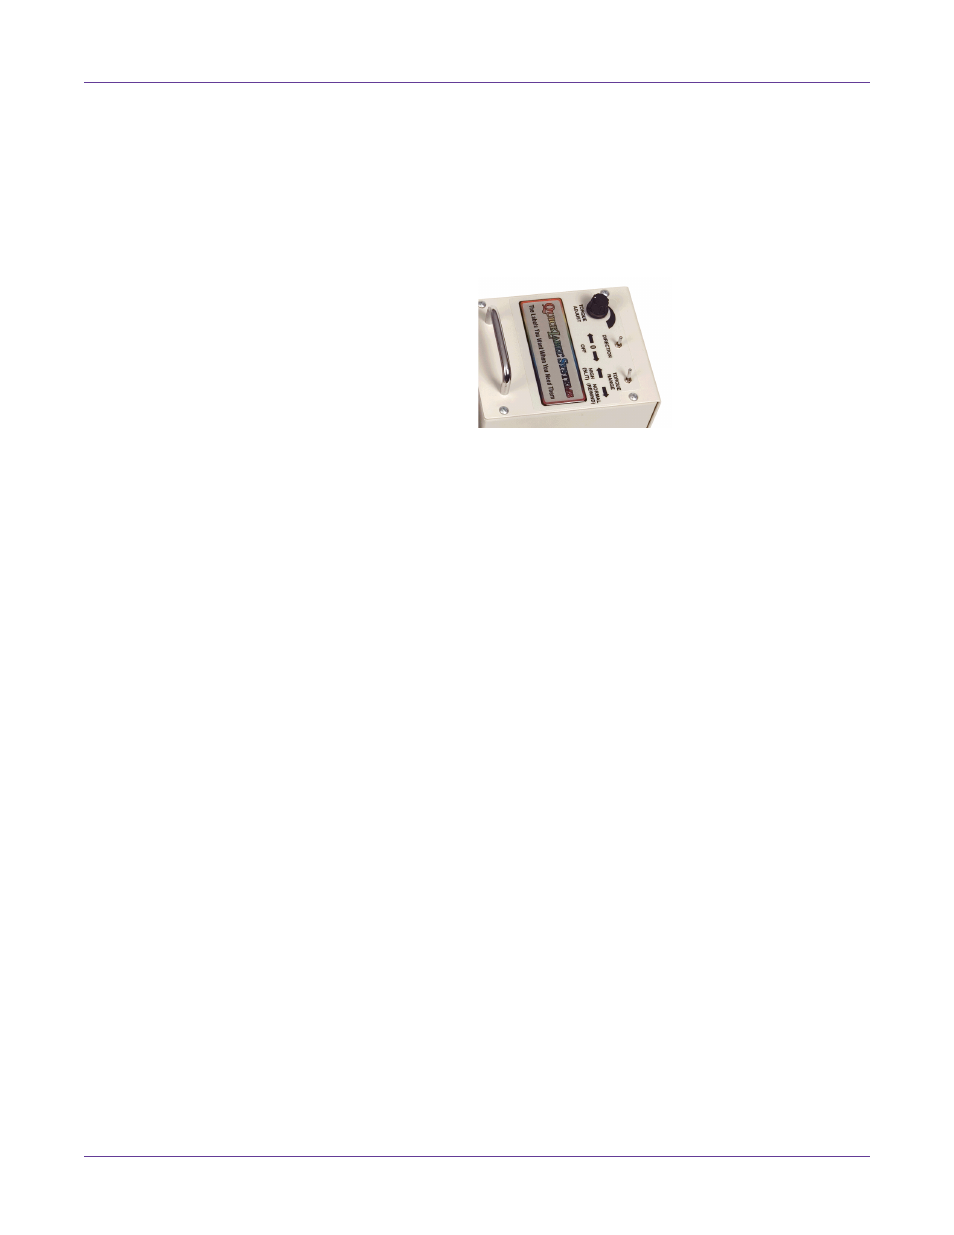
Plug the power adapter into the rewinder, and plug the rewinder into an earth
grounded AC receptacle. Press the “Power On” switch on the back of the rewinder.
Position the rewinder to the left of the slitter.
Turn the torque down all the way by turning the knob counterclockwise. Set the
Direction toggle to Off and slide empty cores onto the arm of the rewinder, with
clear plastic flanges in place to separate them. Use one core for each roll that will
result from slitting.
7
Being careful to avoid contact with the cutting blades, pull the labels through the
cutting blades, slitting the first several inches of the media manually.
Then take the slit label sections and fasten them to the empty cores on the rewinder
using tape (or a label).
8
Set the direction and torque range for each rewinder.
•
On the rewinder that will receive cut labels, switch the Direction toggle to the
left, turning counterclockwise away from the slitter. Ensure the Torque Range
toggle switch is set to High.
•
On the rewinder that will unroll labels toward the slitter, switch the Direction
toggle to the right, turning clockwise toward the slitter. Ensure the Torque
Range toggle switch is set to Normal.
Adjust the torque for each rewinder.
•
On the rewinder that will receive cut labels, increase the torque and observe as
the labels are slit. Ensure they are being cut cleanly.
•
On the rewinder that will unroll labels toward the slitter, set the torque to a
minimal setting, providing slight back tension as the labels are pulled by the
other rewinder.
9
To make fine adjustments to the position of the blades over the web as a set, use
the large black knob marked “LIFT BLADES TO ADJUST.”
Caution: Always lift the blades from the label web before making adjustments. Use
caution to avoid contact with the cutting blades.
Advancing and Replacing Blades
As labels are slit, the blades will eventually become dull and will not cut as effectively.
You can advance blades to expose the unused, sharp surface for cutting.
1
Slide the blades down in their holders to expose an unused area of the blade. If
desired, you can snap off the used blade portion at the score line.