Adjusting color registration manually, 1 start a print job – QuickLabel Vivo! Touch User Manual
Page 93
Printer Settings
Vivo! Touch User Guide
79
3
Choose
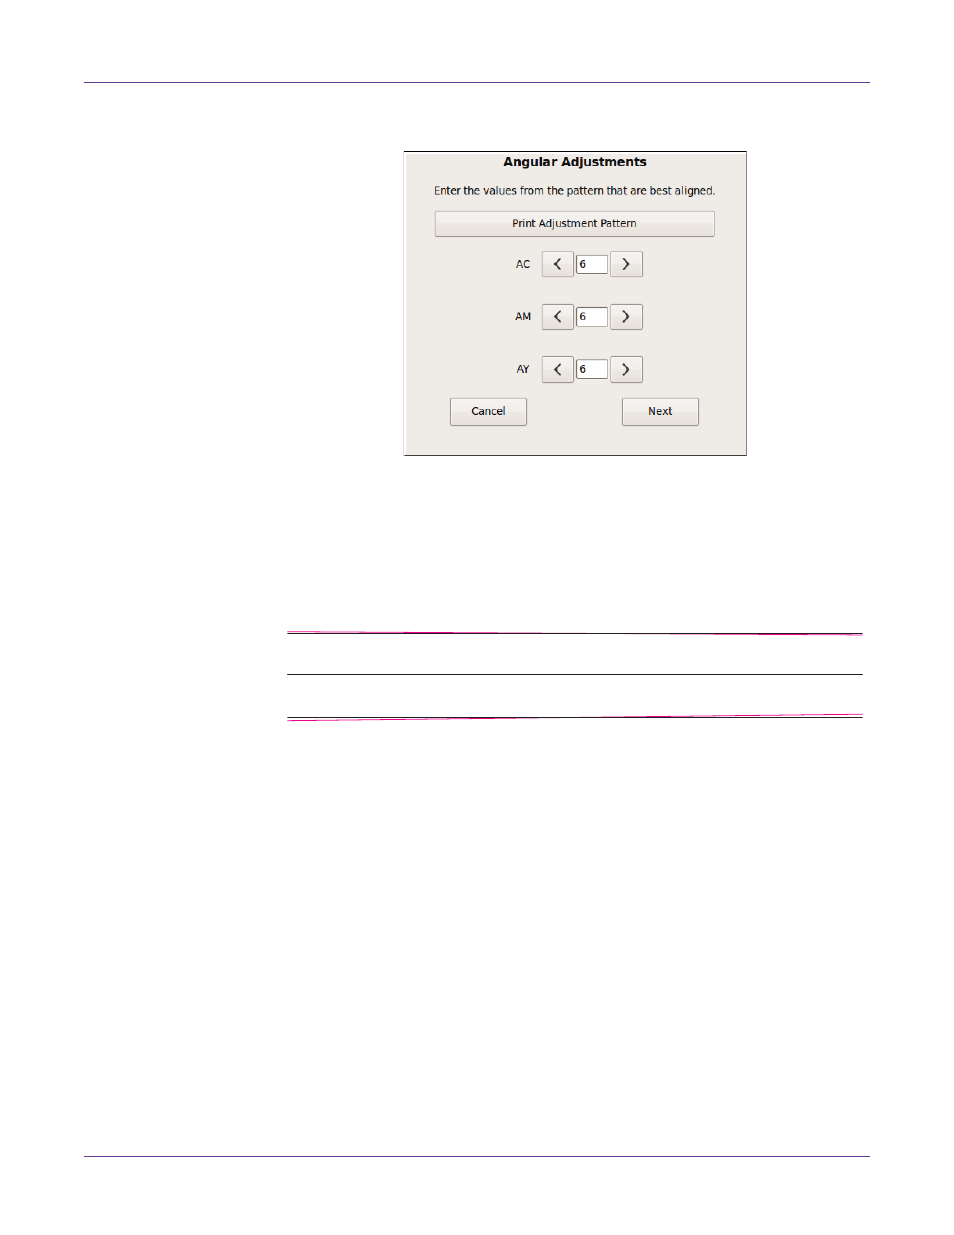
Angular Registration
. The Angular Adjustments screen will open.
4
Choose
Print Adjustment Pattern
. A pattern will be printed. The pattern consists
of lettered sections of black and colored lines.
5
Examine the pattern. For each of the three colors, choose the pattern where the
cyan, magenta, or yellow line appears most parallel to the black reference line.
For example, in the following illustration, the color line at AM11 is parallel with
the corresponding black line. In this case, you select 11 in the
AM
field.
The most parallel line might not always be completely obscured by the black
reference line. It may be uniformly exposed slightly above or slightly below the
black reference line.
This example only illustrates adjusting the angularity of magenta (AM). You will
need to examine angularity (A) patterns for cyan (C), magenta (M), and yellow (Y).
6
Choose
Next
. The angular registration calibration will be complete. Choose
OK
.
Adjusting Color Registration Manually
If you notice misalignment of colors on the printed label after calibrating color
registration, the printer may require small manual color registration adjustments. You
can adjust the horizontal and vertical registration for cyan, magenta, and yellow on an
individual basis.
Note: This feature should only be used to make fine adjustments after calibrating color
registration.
1
Start a print job.
AM10
AM11
AM12