3 unwrap the new fuser and remove all packing tape, 5 close the top cover of the vivo! touch, Replacing the feeder cutter blade – QuickLabel Vivo! Touch User Manual
Page 142
Replacing Toner and Wear Parts
128
Vivo! Touch User Guide
2
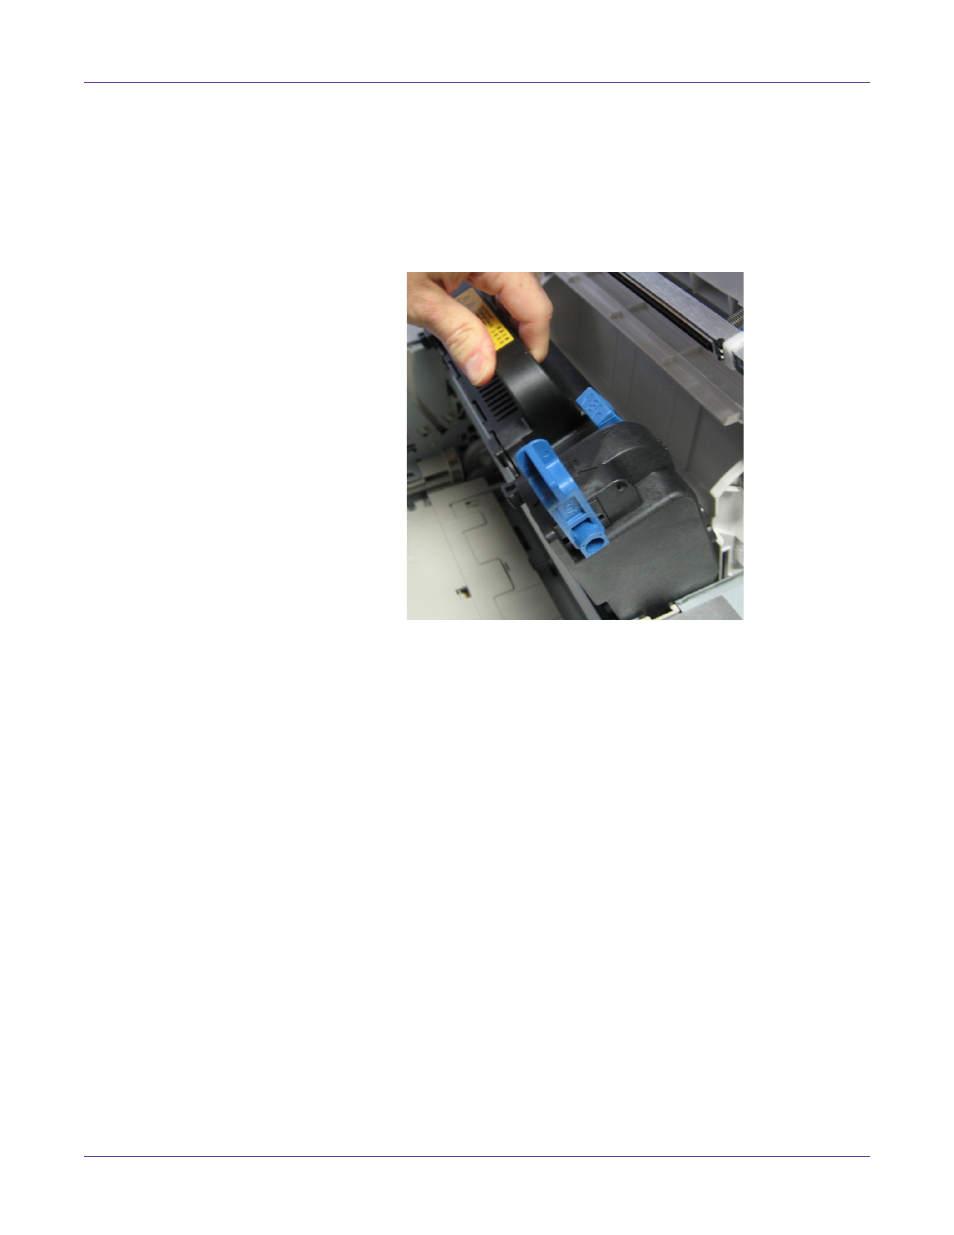
Pull the two blue fuser retaining levers towards the front of the printer so that they
are fully upright.
Warning: The fuser is always extremely hot when the printer is in use. Always lift the
fuser by the handle only. Use caution when handling the fuser.
Holding the fuser by its handle, lift the fuser straight up and out of the printer.
Place the fuser upright on a clean, flat surface away from any flammable materials.
3
Unwrap the new fuser and remove all packing tape.
4
Holding the fuser by its handle, ensure it is oriented correctly. The blue retaining
levers should be fully upright and the two locating lugs should be towards you.
Lower the fuser into the printer, locating the two lugs into their slots in the metal
partition that separates the fuser area from the image drums.
Push the two blue retaining levers towards the rear of the printer to lock the fuser
in place.
5
Close the top cover of the Vivo! Touch.
Replacing the Feeder Cutter Blade
A cutter blade is located in the top section of the feeder. After each batch is printed, the
media at the end of the label run is cut and advanced through the printer. Over time,
the blade will become dull or adhesive may accumulate on the blade and reduce cut
quality. Eventually, the blade will need to be replaced.