9 close the top cover of the vivo! touch, Cleaning excess adhesive from the fuser, 2 open the top cover of the vivo! touch – QuickLabel Vivo! Touch User Manual
Page 118
Maintenance
104
Vivo! Touch User Guide
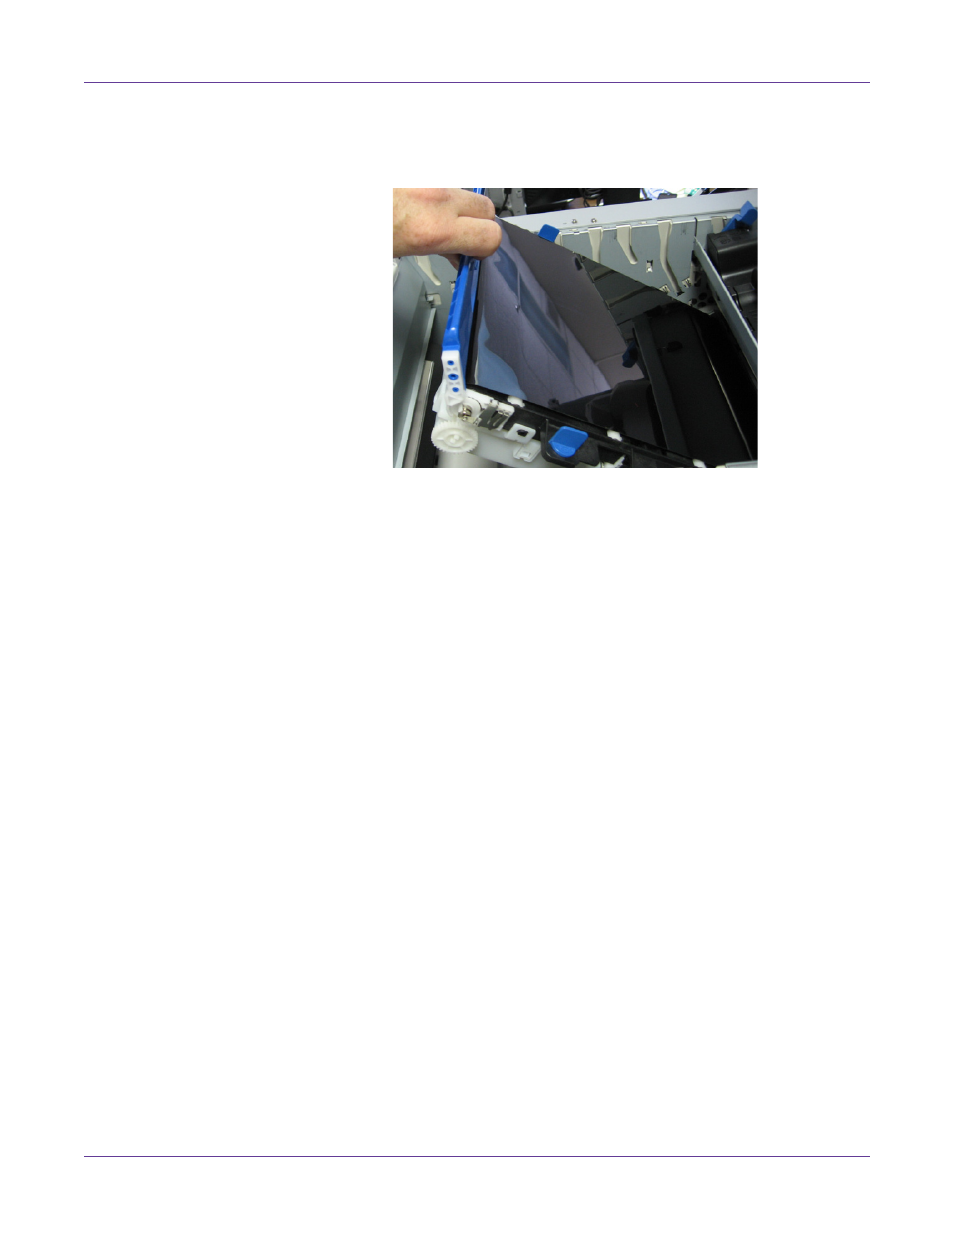
5
Turn the two blue image belt fasteners counterclockwise. This will release the belt
from the printer chassis. Pull the blue bar on the image belt up and remove the belt
from the printer.
When lifting out the image belt, notice how the drive gear fits into the
corresponding gear in the rear left corner of the printer. This will help you replace
the belt later.
6
Use a pre-moistened alcohol cloth to remove adhesive from the image belt
surfaces. When you are finished cleaning the image belt, let the alcohol dry.
Do not advance the belt until the alcohol has dried. Also, do not allow alcohol to
come into contact with the belt wiper.
7
Lower the image belt into place, with the blue bar at the front and the drive gear
towards the rear of the printer. Insert the drive gear into the corresponding gear in
the rear left corner inside the printer. Lower the belt flat inside the printer.
Turn the two blue image belt fasteners clockwise. This will lock the belt to the
printer chassis.
8
Replace the four image drums, complete with their toner cartridges, into the
printer in the correct sequence: cyan (nearest the media exit), magenta, yellow, and
black (nearest the media entry).
Note: Color labels are located next to each image drum/cartridge slot. These labels indicate
the correct location for each color.
9
Close the top cover of the Vivo! Touch.
Cleaning Excess Adhesive from the Fuser
1
Turn the printer power off and wait for the LED near the touchscreen to turn
amber. Then unplug the AC power cord from the receptacle.
2
Open the top cover of the Vivo! Touch.