JVC GY-HC900STU 2/3" HD Connected Cam Studio Camcorder (Body Only) User Manual
Page 65
Setting the [Preset Temp.] or [Alternative
Temp.] Values
You can change both the color temperature
settings in the Preset mode in the menu.
1
Open the [Preset Temp.] or [Alternative
Temp.] menu.
0
Select [Camera Process]
B
[White Balance]
B
[Preset Temp.] and [Alternative Temp.],
and press the Set button (
R
).
0
The Color Temperature setting screen
appears.
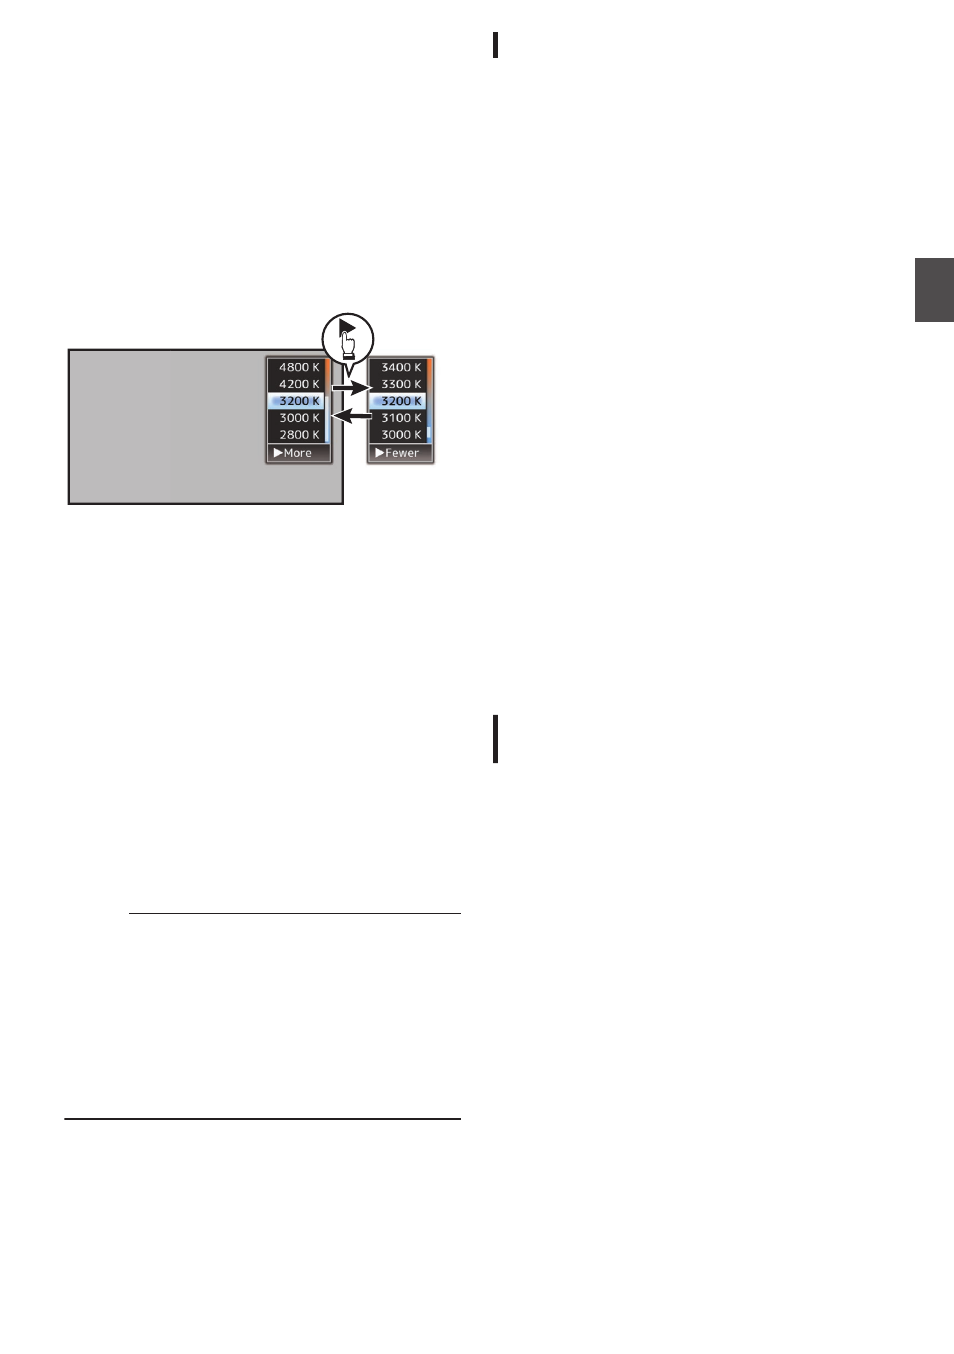
.
Color Temperature
Detailed Selection
Screen
Color Temperature Selection Screen
2
Select the color temperature.
0
When selecting from a setting value (Color
Temperature Selection screen), use the
cross-shaped button (
JK
) to select the color
temperature.
[Setting Values: 7500K, 6500K, 5600K,
5200K, 4800K, 4200K, 3200K, 3000K,
2800K]
0
To select detailed values (Color
Temperature Detailed Selection screen)
0
Press the cross-shaped button (
I
) to
display the Color Temperature Detailed
Selection screen.
0
Use the cross-shaped button (
JK
) to
select a color temperature.
[Setting Values: 2300K to 15000K (in
100K increments)]
Memo :
0
Use the cross-shaped button (
I
) to switch
between the Color Temperature Selection
screen and the Color Temperature Detailed
Selection screen.
0
If [White Balance] is assigned to the user button,
pressing the assigned user button will display
the Color Temperature Selection screen.
P45 [Assignment of Functions to User
Preset Paint Adjustment
The white balance for [Preset Temp.] and
[Alternative Temp.] can be fine adjusted
individually or collectively.
1
Select [Camera Process]
B
[White
Balance]
B
[Preset Paint Memory].
0
“Common” configures the settings for the
entire color temperature range collectively.
0
“Individual” configures the settings for the 9
types of color temperature individually.
2
Select [Camera Process]
B
[White
Balance]
B
[Preset Paint].
0
The adjustment screen appears if “Common”
is selected.
0
The lower color temperature limit of the color
temperature range is displayed if “Individual”
is selected. Select the color temperature to
adjust.
In the case of 2300K for example, the target
range is 2300K to 2900K (less than 3000K)
3
Adjust the R and B values.
0
Use the cross-shaped button (
JK
) to adjust
R value and (
HI
) to adjust B value.
4
Press the Set button (
R
).
0
In the case of “Common”, the display returns
to the [White Balance] screen.
0
As for “Individual”, repeat steps 1 to 4 as
necessary to configure each color
temperature individually.
Memory A Mode (A), Memory B Mode
(B)
0
Set to the white balance saved in Memory A or
Memory B.
0
When the [WHT.BAL] switch is set to “A” or “B”,
pushing the [AWB/USER8] switch upward or
pressing the user button assigned with the
“AWB” function executes Auto White Balance.
The white balance will be automatically adjusted
and the adjusted value will be saved in Memory
A or Memory B.
1
Prepare the camera recorder.
A
Set the [POWER ON/OFF] switch to “ON”.
B
Set Full Auto mode to off using the user button
assigned with “Full Auto”.
C
Set the [IRIS A/M] mode switch on the lens to “A”.
2
Set the [ND FILTER] switch according to the
lighting.
3
Set the [WHT.BAL] switch to “A” or “B”.
Adjusting the White Balance
65
Sh
ooting