Specifying destinations (ldap server), Specifying destinations (ldap server)(p. 174) – Canon imageCLASS MF753Cdw Multifunction Wireless Color Laser Printer User Manual
Page 184
Specifying Destinations (LDAP Server)
84CU-059
When user information is managed by an LDAP server, you can search for that information using the scan or fax
screen of the operation panel and specify a destination.
When you are logged in with authenticated sending (LDAP server authentication), you can also specify the e-mail
address of the logged-in user.
Required Preparations
●
Register the LDAP server to be used for searching for information to the machine. Registering LDAP
Servers(P. 77)
1
On the [Specify Destination] tab of the scan or fax screen, press [LDAP Server].
When you are logged in with authenticated sending and you want to specify the e-mail address of the
logged-in user, press [Specify Myself as Destination]. The operations thereafter are not required.
2
Select the LDAP server.
3
Select the search item, and specify the search string.
●
Enter the string to search for, and press [Apply].
●
You can specify multiple search items.
4
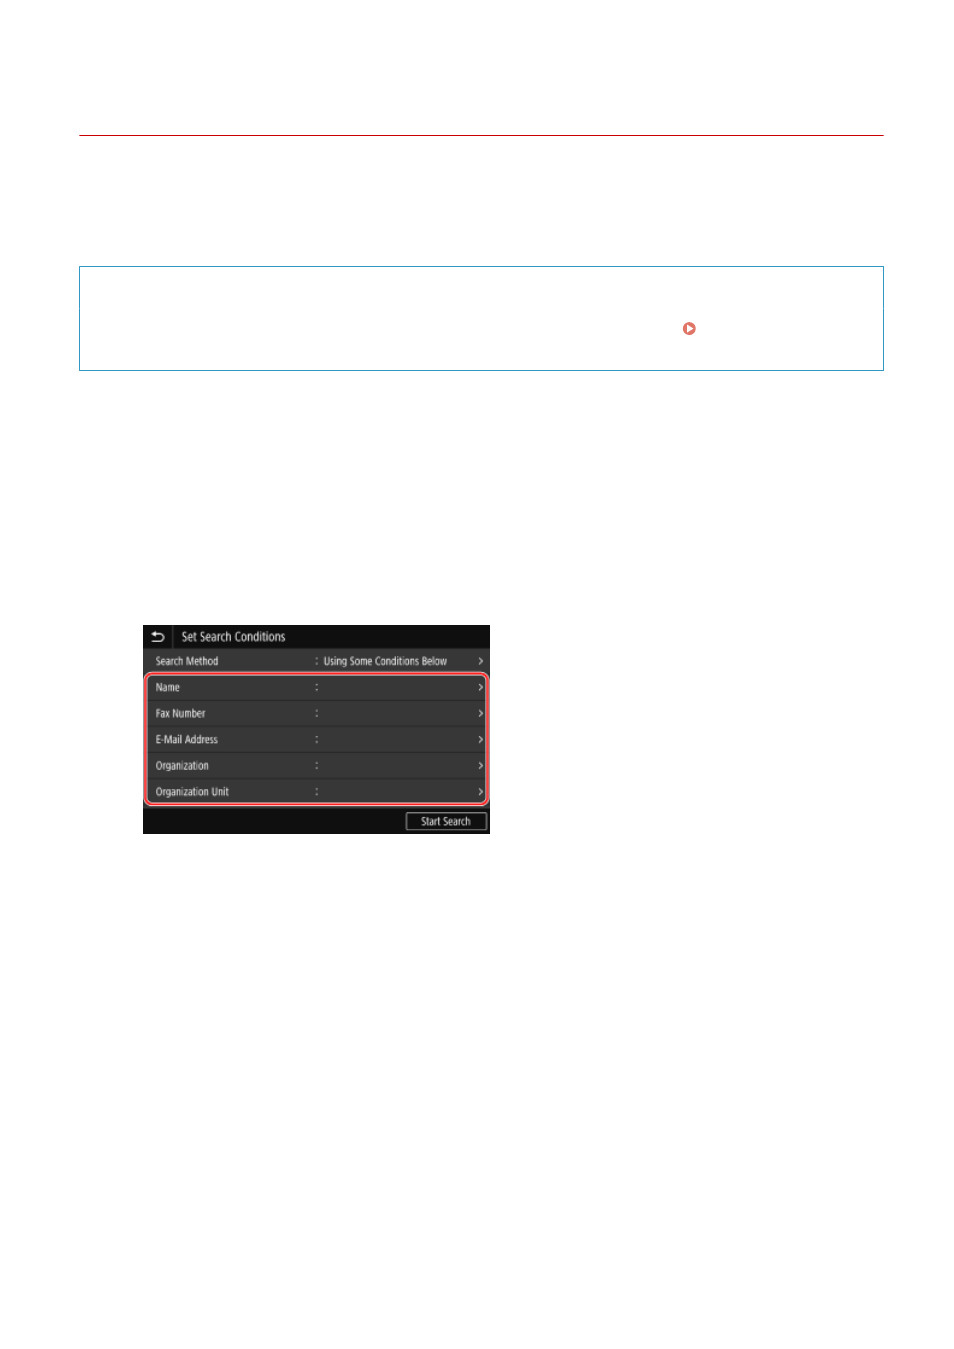
Select [Search Method], and select the search conditions.
●
To search for users who meet all items specified in Step 3, select [Using All Conditions Below].
●
To search for users who meet any of the items specified in Step 3, select [Using Some Conditions Below].
5
Press [Start Search].
➠
The users who meet the search conditions are displayed.
When the authentication screen is displayed, enter the user name and password of the machine that is
registered to the LDAP server, and press [Apply].
6
Select the checkboxes of the users to specify as destinations, and press [Apply].
➠
The destinations are specified.
Basic Operations
174