Canon imageCLASS MF753Cdw Multifunction Wireless Color Laser Printer User Manual
Page 267
●
You can also set the subject and main body of the e-mail on the [Send Settings] tab. E-mail and I-Fax
Settings(P. 269)
●
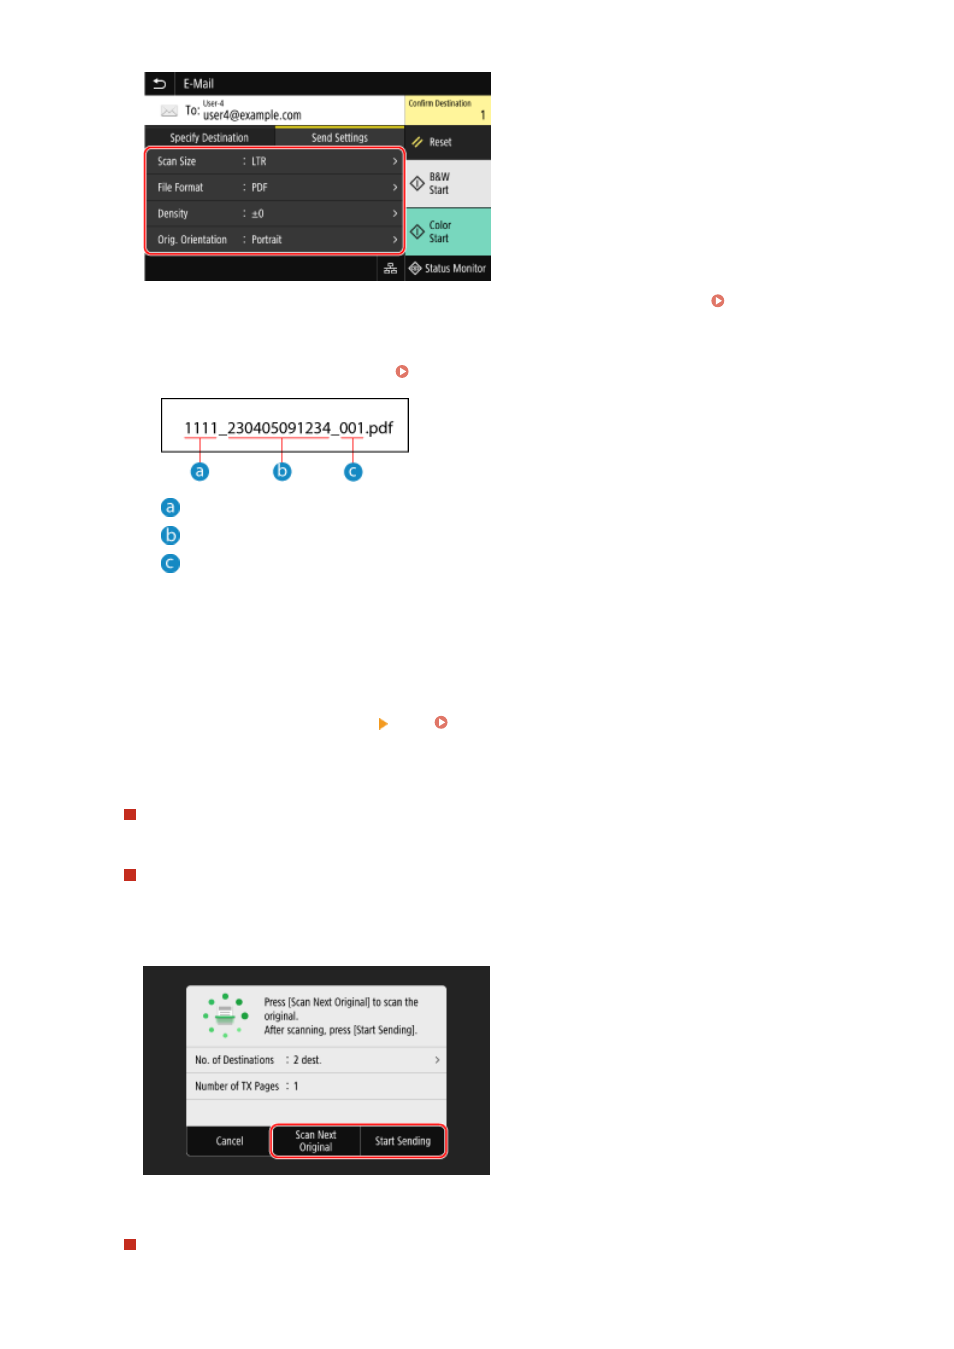
Scanned data is sent with the following file name. You can also use the [Send Settings] tab to specify a
custom string and add it to the start. Setting File / Division(P. 269)
Communications management number
Date sent (in this example, "April 5, 2023, 9:12:34 AM")
File sequence number (if one file, then "001")
6
Press [Start B&W] or [Start Color].
➠
Scanning of the original starts.
●
To scan the original in black and white, press [Start B&W], and to scan in color, press [Start Color].
●
To cancel scanning, press [Cancel] [Yes]. Canceling Scanning(P. 271)
●
When scanning is completed, the scanned data is sent. Press [Status Monitor] to view the sending status and
log.
When [Confirm Destination] appears
Check that the destination is correct, and then press [Start Scanning].
When [Scan Next Original] appears
After the original is placed on the platen glass and is scanned in PDF or TIFF format, the screen for scanning
additional originals is displayed.
To continue scanning originals, place on the platen glass, and press [Scan Next Original].
When scanning of all documents is completed, press [Start Sending] or [Preview & Send].
* If the size of the original is different, part of the image may be missing, or the image may be scanned
smaller.
When the preview screen appears
Press [Start Sending] after previewing the scanned data.
Scanning
257