Adjusting image quality(p. 267), Adjusting image quality – Canon imageCLASS MF753Cdw Multifunction Wireless Color Laser Printer User Manual
Page 277
Use the following procedure to register sizes when frequently using specific non-standard size originals. You
can call up the size on the size input screen, saving you the trouble of entering the size each time.
You can register up to three non-standard sizes.
[Specify Custom Size] [Register Size] select [S1] to [S3] enter the dimensions in [X] and [Y] [Apply]
On the size input screen, press [Name] to change the display name of [S1] to [S3].
Automatically Detecting the Size of the Original
When you select [Auto (LTR/LGL)], LTR, LGL, and STMT size paper is detected automatically.
When you place the original on the platen glass and press [Start B&W] or [Start Color], the [Scan Size] screen
is displayed. Select the size of the original.
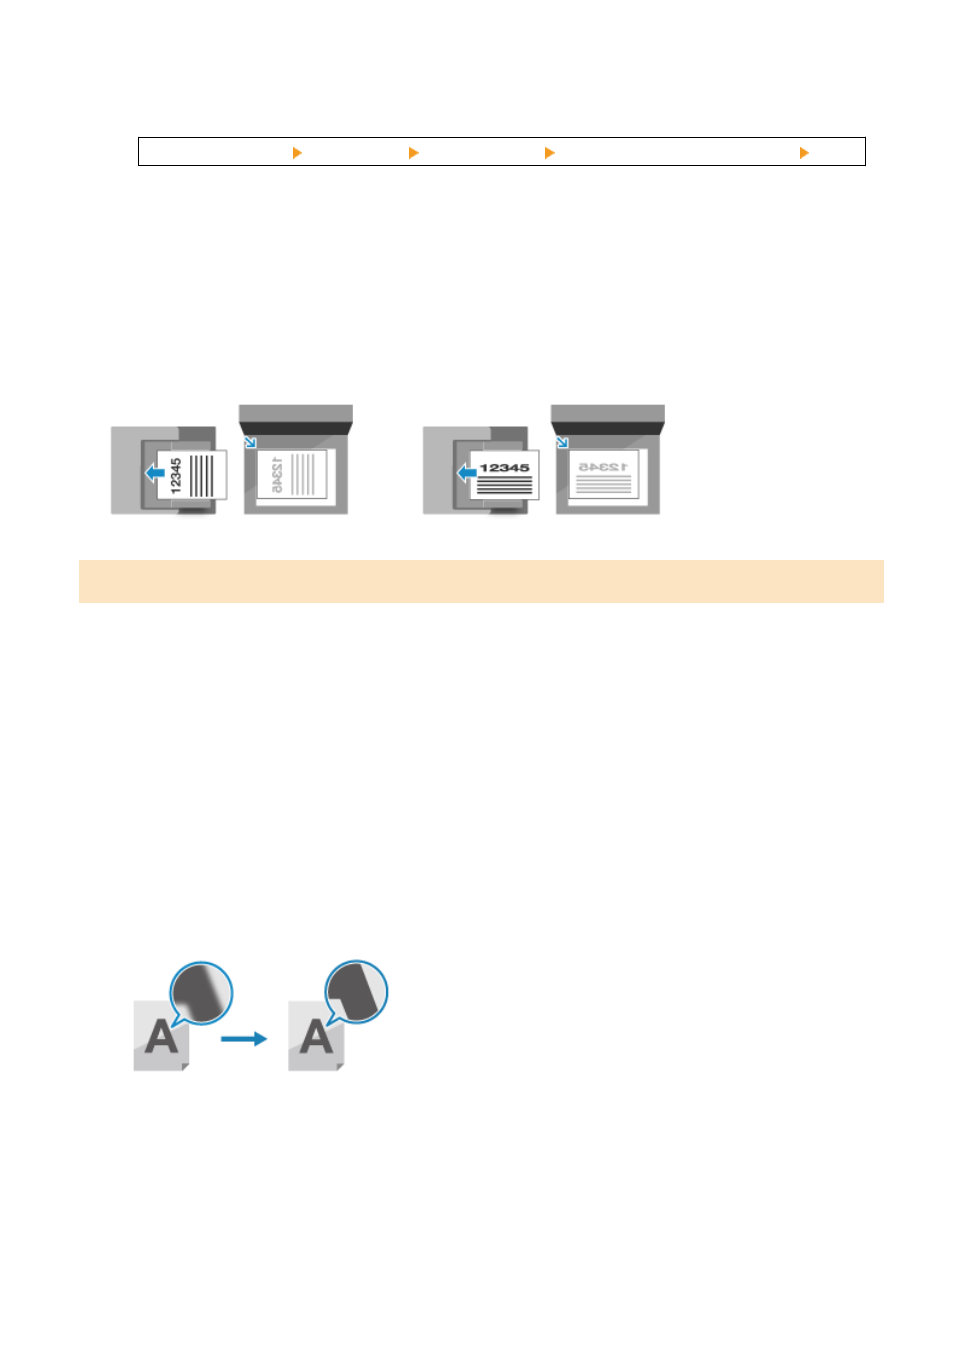
[Orig. Orientation]
Select [Portrait] or [Landscape] to suit the placed original.
[Portrait]
[Landscape]
Adjusting Image Quality
You can adjust the image quality such as when the scanned data image is not clear or the text is difficult to read.
[Density]
Adjust the density to suit the original.
Press [+] to increase the density and [-] to lower it.
[Original Type]
Select the original type.
Scanning is performed using the image quality to suit the content of the original.
[Sharpness]
Adjust the sharpness.
Emphasize the contours and lines to make them clearer, or weaken them to make them softer.
Adjustment example:
●
To make blurry text or shapes clearer
Press [+].
●
To reduce moiré (vertical pattern noise) in pictures
Press [-].
Scanning
267