Fax original scan settings, Fax original scan settings(p. 297), Adjusting image quality – Canon imageCLASS MF753Cdw Multifunction Wireless Color Laser Printer User Manual
Page 307
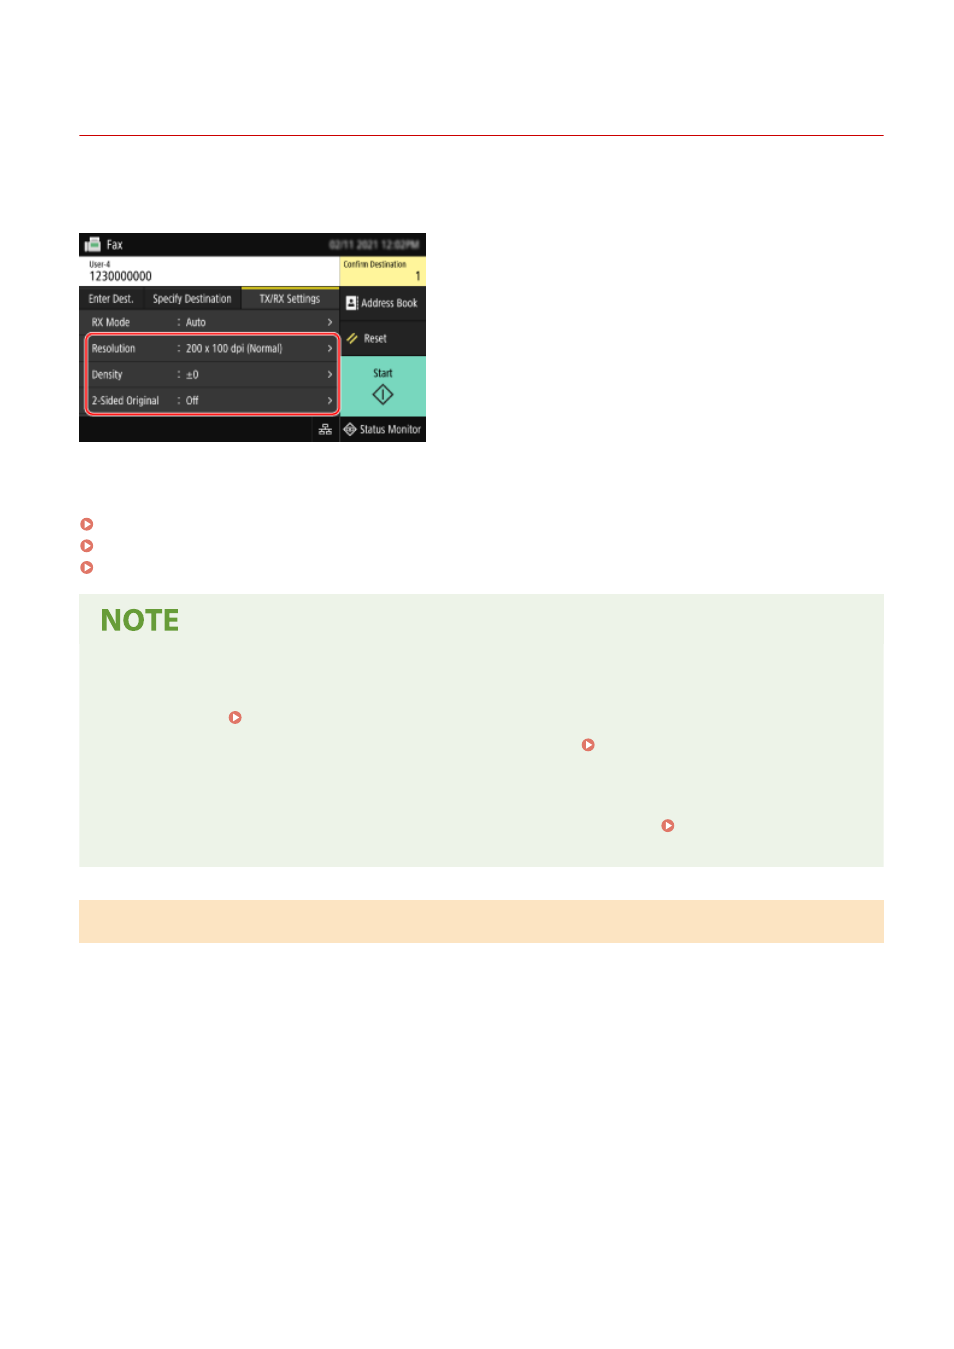
Fax Original Scan Settings
84CU-03H
When sending a fax using the machine, you can use the [TX/RX Settings] tab to adjust the image quality and set 2-
sided scanning.
If the recipient cannot read the text or the sent fax was not as intended, the settings can be adjusted and the fax
resent.
Adjusting Image Quality(P. 297)
2-sided Scan Settings(P. 298)
Setting Preview(P. 298)
Registering Favorite Settings
●
You can register frequently used settings for scanning fax originals to easily call up these settings as needed
when sending. Registering and Calling Up Favorite Settings(P. 180)
●
You can also change the default settings for scanning fax originals. Changing the Default
Settings(P. 183)
Recalling Past Settings (TX Job Log)
●
You can use the TX Job Log to recall the settings used to send faxes in the past. Specifying Destinations
(TX Job Log)(P. 176)
Adjusting Image Quality
You can adjust the image quality such as when the fax image is not clear or the text is difficult to read.
[Resolution]
Select the resolution for scanning originals.
The higher the resolution, the sharper the image, but the longer it takes to send the data.
[Density]
Adjust the density to suit the original.
Press [+] to increase the density and [-] to lower it.
[Sharpness]
Adjust the sharpness.
Emphasize the contours and lines to make them clearer, or weaken them to make them softer.
Adjustment example:
●
To make blurry text or shapes clearer
Faxing
297