Canon imageCLASS MF753Cdw Multifunction Wireless Color Laser Printer User Manual
Page 623
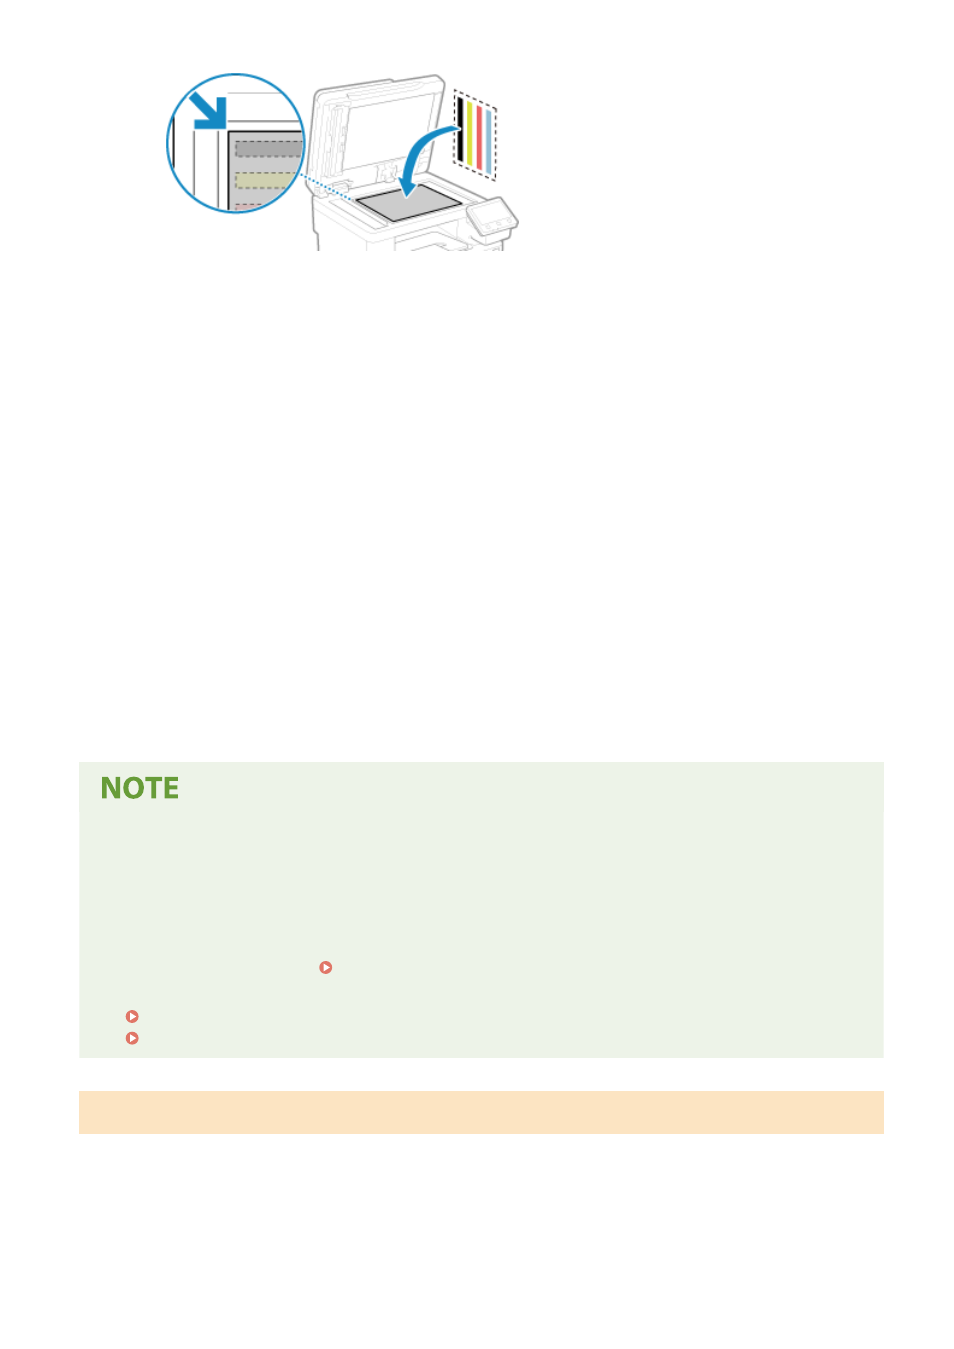
Place the print side of the correction image face down with the black band at the back of the machine.
3
Gently close the feeder.
6
Press [Start Scanning].
➠
After the calibration image is scanned, the calibration image is printed on the second sheet.
7
Remove the first sheet from the platen glass, and place the second sheet.
Place the second sheet with the printed calibration image on the platen glass in the same way as the first
sheet. For details about placing originals, see Step 5.
8
Press [Start Scanning].
➠
The calibration image is scanned, and calibration is performed.
When calibration is completed, the message [Finished.] appears, and then the [Auto Adjust Gradation]
screen is displayed.
9
Remove the second sheet from the platen glass.
When [Could not perform correction.] Appears
●
Check that operations are performed with the procedure above. In particular, check the following:
- In 3, check that available paper is loaded in the paper drawer.
- In 5, check that the calibration image is properly set. Be careful of the print side and the position of the
black band.
●
Remove any jammed paper. Paper Jams(P. 626)
●
Check the remaining amount of toner in the toner cartridges, and replace any toner cartridges, as needed.
Checking the Remaining Amount of Consumables(P. 607)
Replacing Toner Cartridges(P. 605)
Calibrating the Gradation of Copy Images (Adjust Copy Image)
Scan a calibration image (image used for calibration) printed with the machine on the platen glass to calibrate the
gradation of the copy image.
Use the operation panel to perform Adjust Copy Image. You cannot perform Adjust Copy Image using Remote UI from
a computer.
Maintenance
613