Canon imageCLASS MF753Cdw Multifunction Wireless Color Laser Printer User Manual
Page 299
6
Press [Start].
➠
Scanning of the original starts.
●
To cancel sending of a fax, press [Cancel] [Yes]. Canceling Fax Sending(P. 303)
●
When scanning of the original is completed, the fax is sent. Use [Status Monitor] to view the sending status
and log. Checking the Status and Log for Sent and Received Faxes(P. 304)
When [Confirm] appears
Enter the fax number again, and press [Apply].
When [Confirm Destination] appears
Check that the destination is correct, and then press [Start Scanning].
When [Scan Size] appears
Select the size of the placed original.
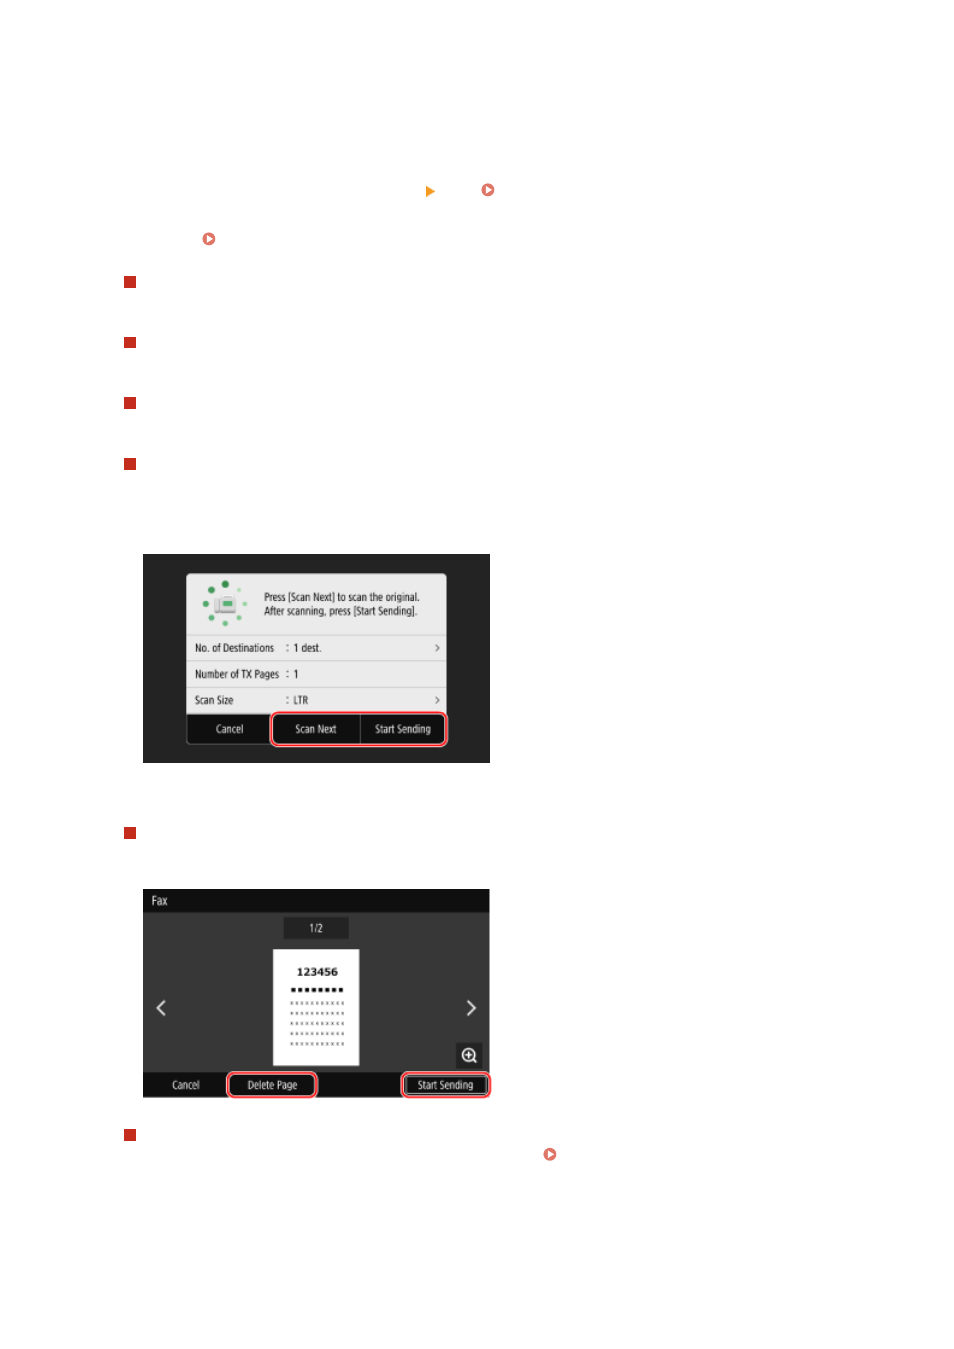
When [Scan Next] appears
When an original is placed on the platen glass and scanned, the screen for scanning additional originals is
displayed.
To scan additional originals, place them on the platen glass, and press [Scan Next].
When scanning of all documents is completed, press [Start Sending] or [Preview & Send].
* If the size of the original is different, part of the image may be missing, or the image may be scanned
smaller.
When the preview screen appears
Press [Start Sending] after previewing the scanned data.
If there are pages you do not want to send, open the page and press [Delete Page].
When [Status Monitor] appears
To view the sending status and log, press [Status Monitor]. Checking the Status and Log for Sent and
Pressing [Close] displays the fax screen.
Faxing
289