Register the switch, How to configure interface settings – NETGEAR MS510TXPP 8 Port Gigabit PoE Managed Switch User Manual
Page 19
Smart Managed Pro Switches MS510TX and MS510TXPP
Get Started
User Manual
19
5.
After you complete the configuration of the switch, reconfigure the computer that you used
for this process to its original TCP/IP settings.
You can now connect your switch to your network using an Ethernet cable.
Register the Switch
To qualify for product updates and product warranty, we encourage you to register your
product. The first time you log in to the switch, you are given the option of registering with
NETGEAR. Registration confirms that your email alerts work, lowers technical support
resolution time, and ensures that your shipping address accuracy. We would also like to
incorporate your feedback into future product development. We never sell or rent your email
address and you can opt out of communications at any time.
When you log in to the switch, you are prompted to register with NETGEAR. However, at any
time you can visit the NETGEAR website for registration at
How to Configure Interface Settings
For some features that allow you to configure interface settings, you can apply the same
settings simultaneously to any of the following:
•
A single port
•
Multiple ports
•
All ports
•
A single LAG
•
Multiple LAGs
•
All LAGs
•
Multiple ports and LAGs
•
All ports and LAGs
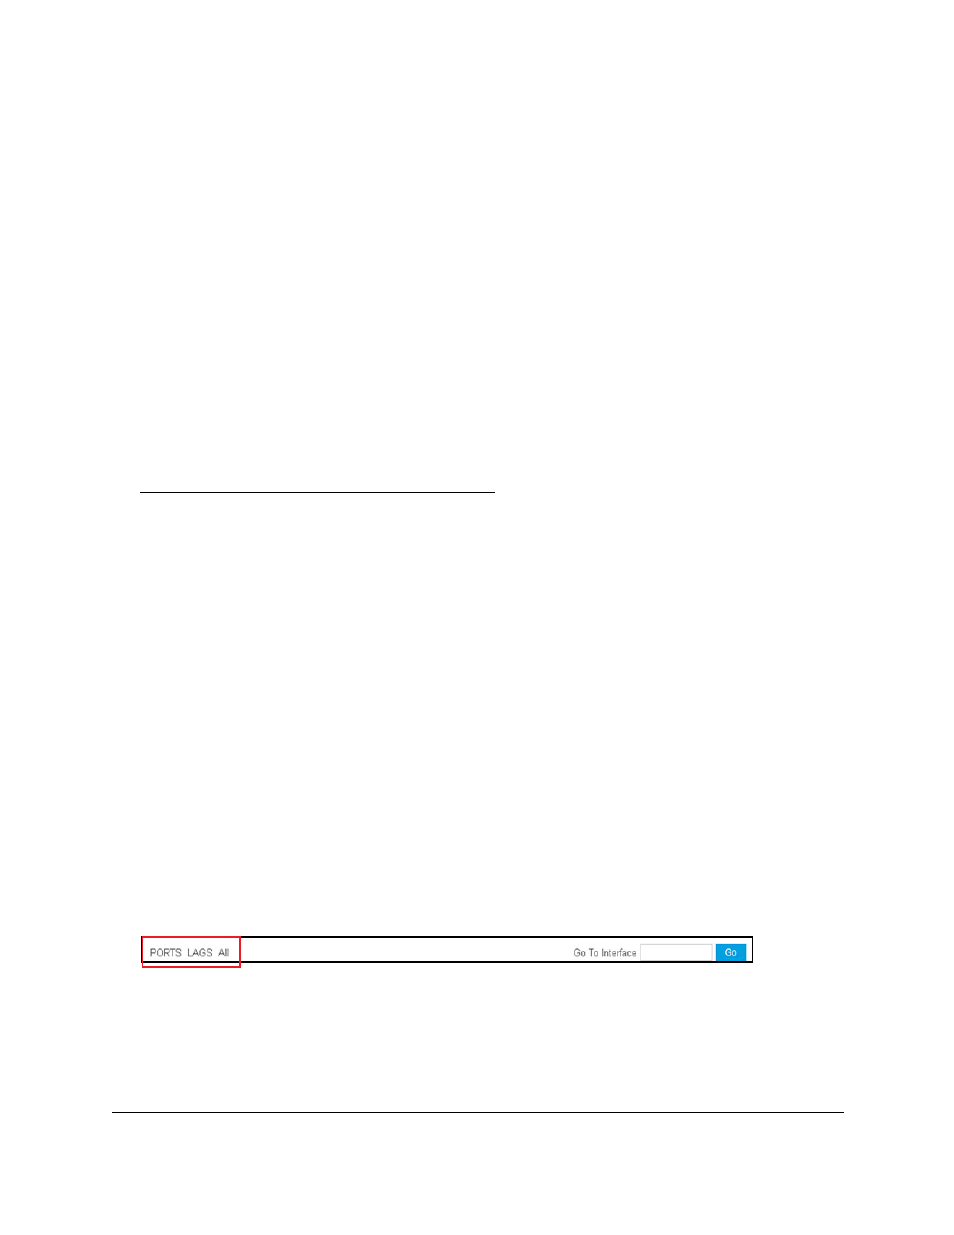
Many of the pages that allow you to configure or view interface settings include links to
display all ports, all LAGs, or all ports and LAGs on the page.
Use these links as follows:
•
To display all ports, click the
PORTS
link.
•
To display all LAGs, click the
LAGS
link.
•
To display all ports and LAGs, click the
All
link.